Product Design | Wine Bottle Display
MY ROLE
Product Design
March – June 2022
Stanford, CA
INSTRUCTORS
Andy Switky | Professor
Natalie Ezeugwu | Course Assistant (CA)
Gabriella Macias | Course Assistant (CA)
AT A GLANCE
In the course, ME 103: Product Realization (Design and Making), students will manufacture a personally meaningful product of their own design. Students will evolve their ideas through a series of prototypes of increasing fidelity, storyboards, sketches, CAD models, etc. The final project will be a high-fidelity object made with the Stanford Product Realization Lab’s manufacturing resources, giving students a sound foundation in fabrication processes, design guidelines, tolerancing, and material choices. The student’s body of work will be presented in a large public setting, Meet the Makers, through a professional grade portfolio that shares and reflects on the student’s product realization adventure.
FUNCTION
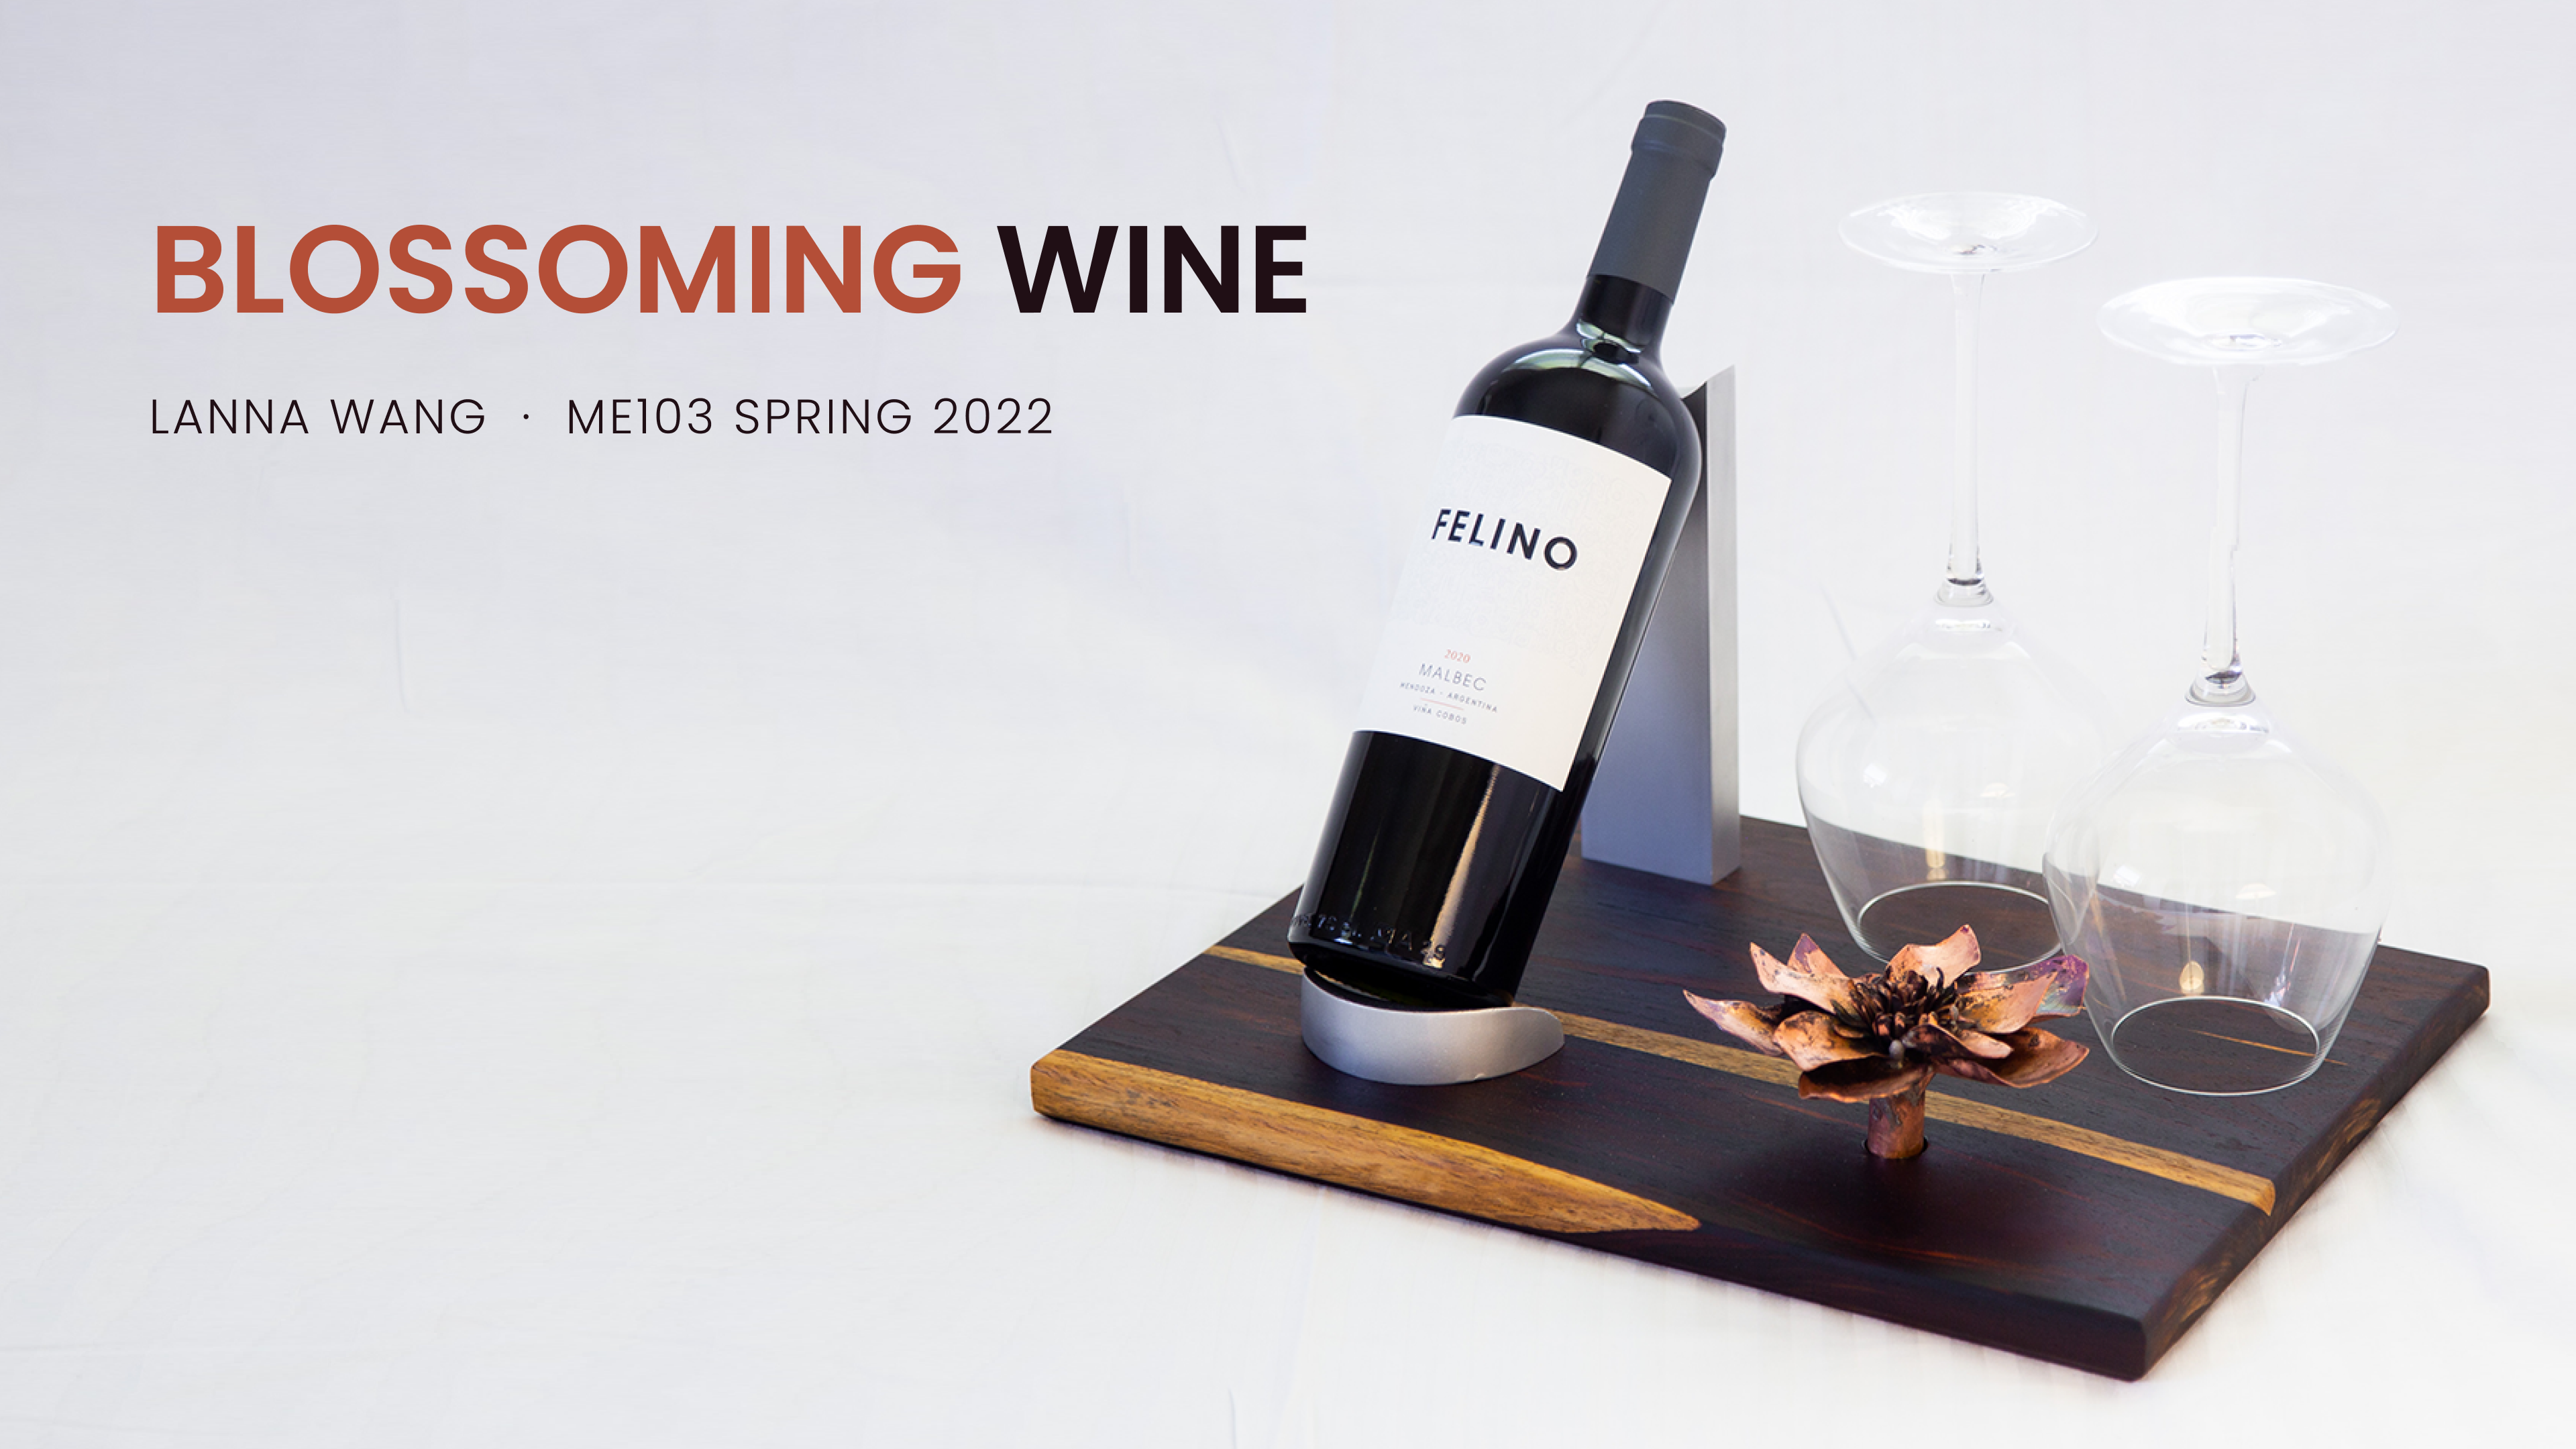
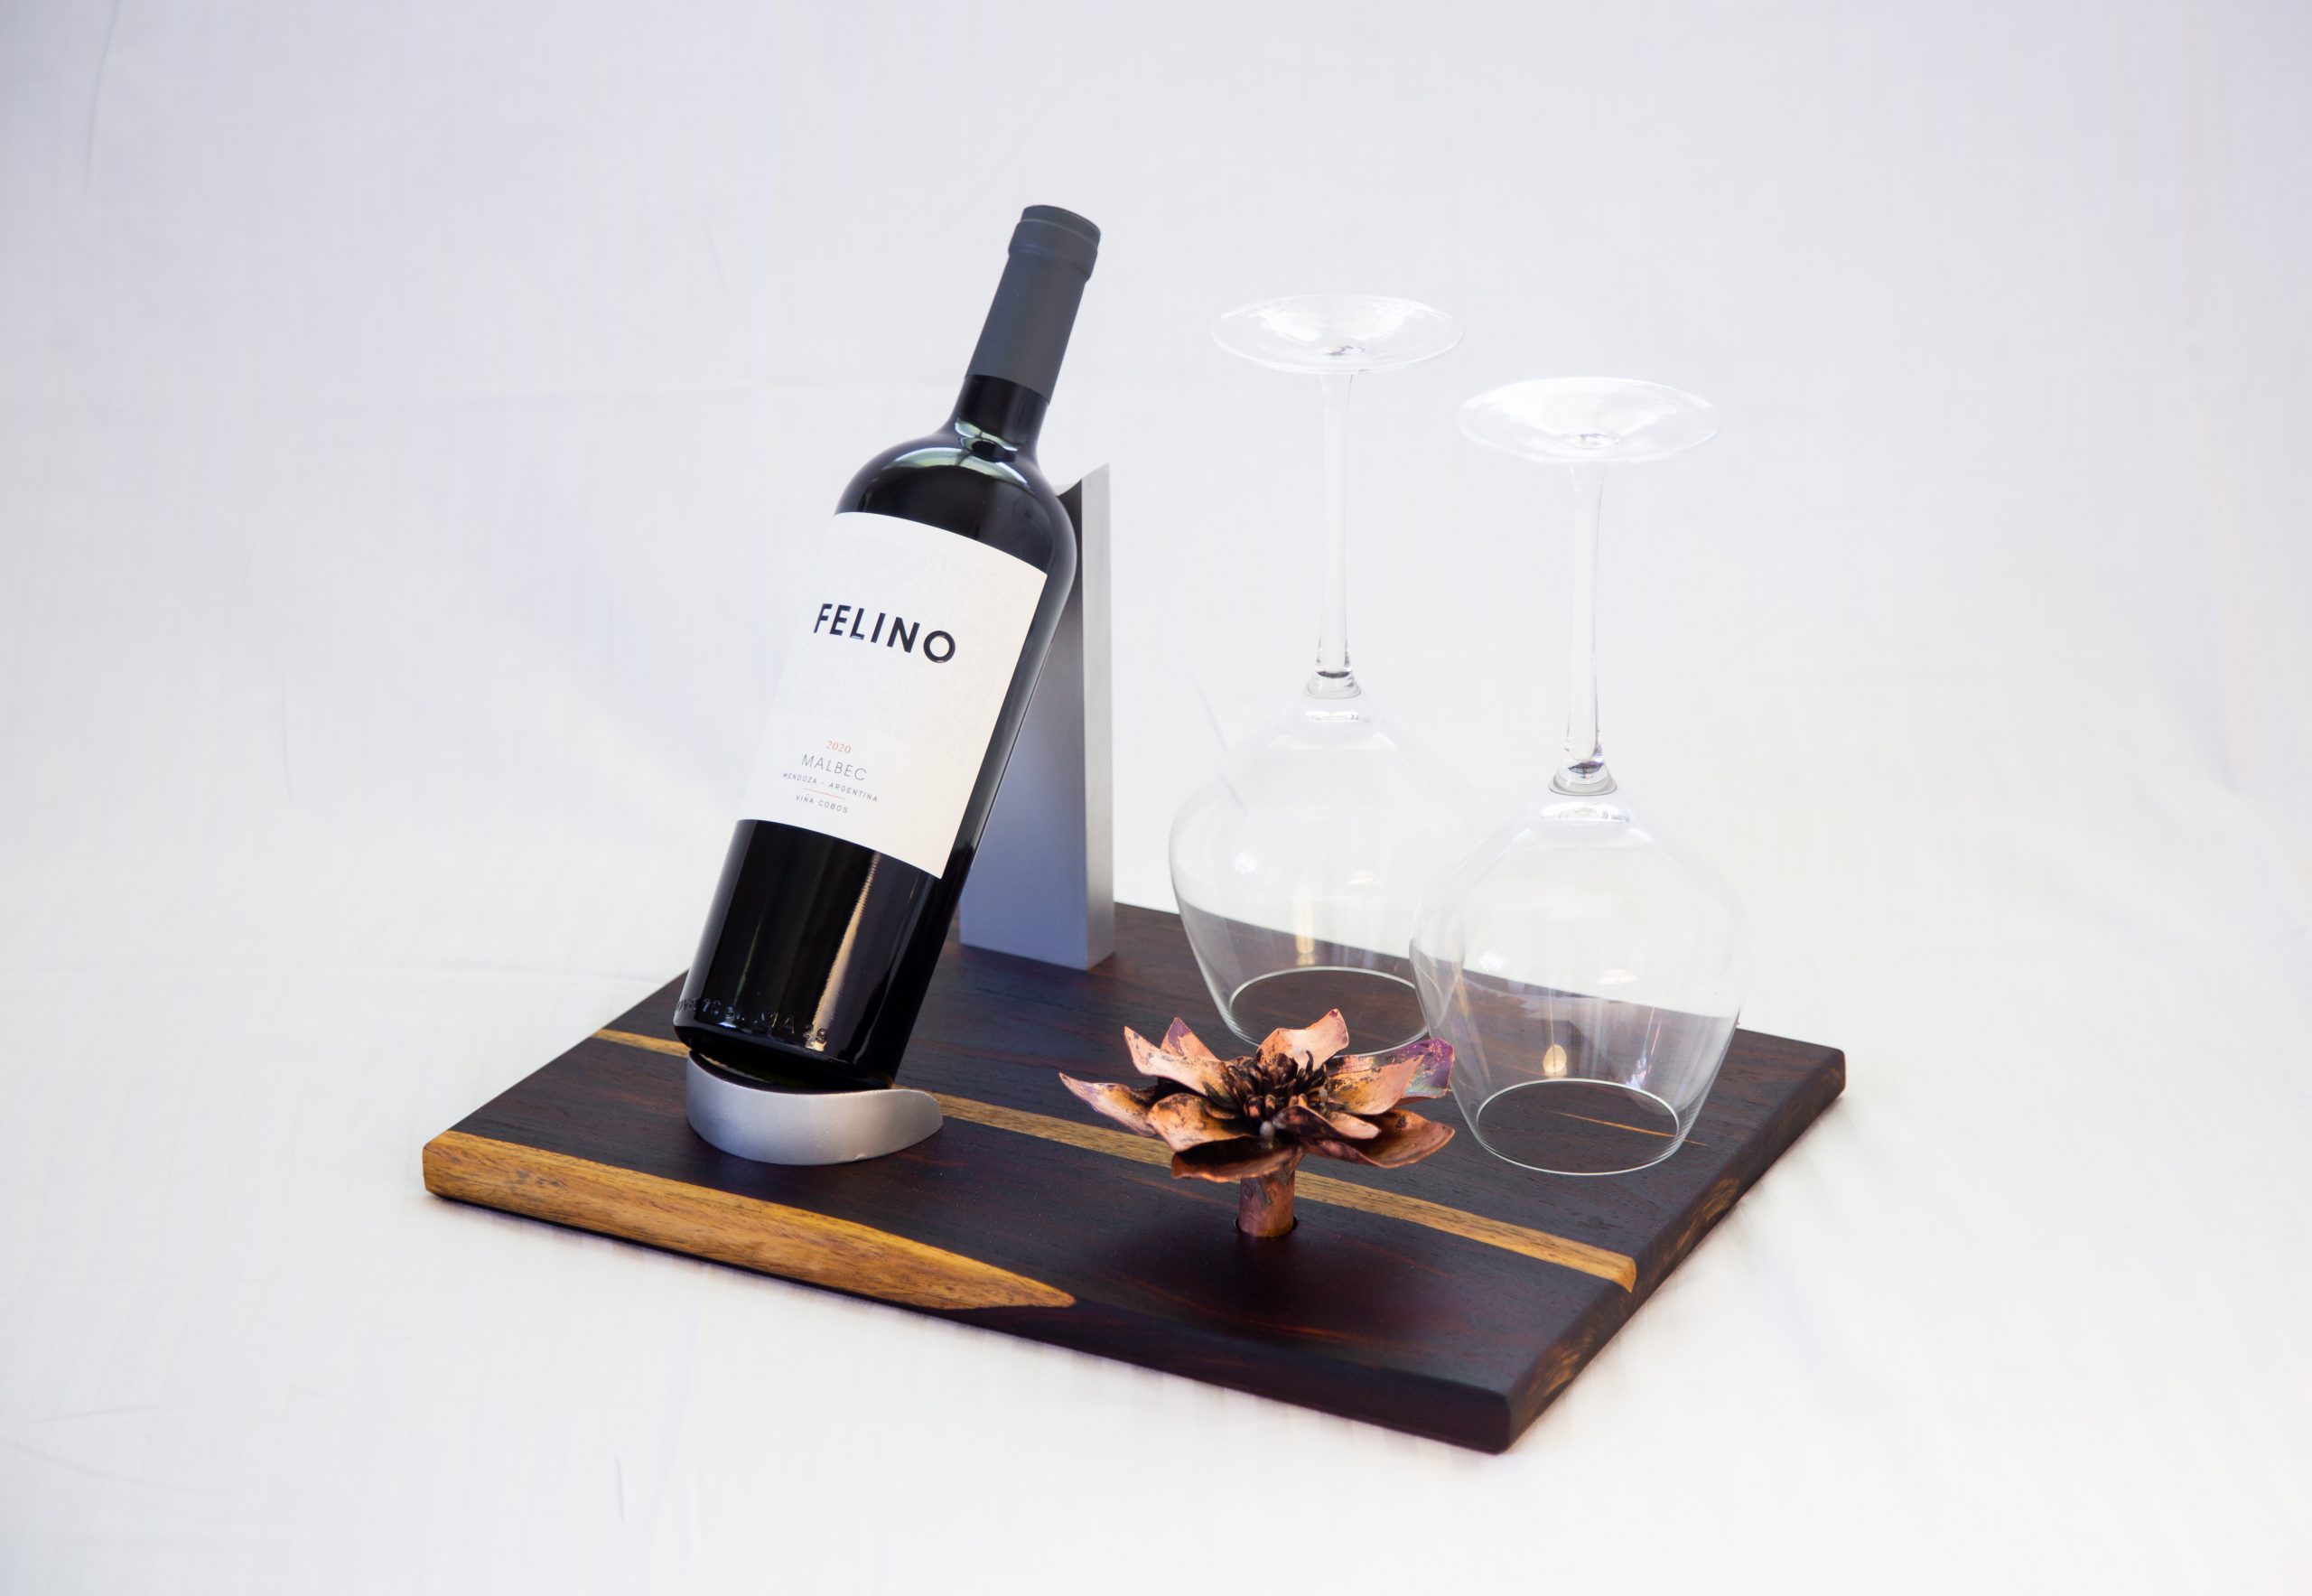
In case you’re wondering, the function of my wine bottle display is exactly what you would expect: to display a fine bottle of wine and two wine glasses—perfect for a couple’s wine night.
MEANING
What’s more interesting is WHY I decided to spend a whole quarter laboring in the Product Realization Lab to create this product. In fact, this wine bottle display is a wedding gift for my older sister. Although my sister and I are 12 years apart, we have always been quite close. She went to Stanford as well and took the infamous wine tasting course back when it was still offered. Since then, I would say that she has become quite the wine connoisseur, and that is why I thought of making a wine bottle display as a wedding gift.
However, there’s another more nostalgic reason why I wanted to make this for her. When I was younger, I would often make pieces of artwork for her. Cheesy cards, silly doodles, watercolor paintings to hang up in her room… It’s been a while since I’ve done that for her—making something beautiful with my own hands—and I thought that her wedding would be the perfect opportunity to do so.
IDEATION
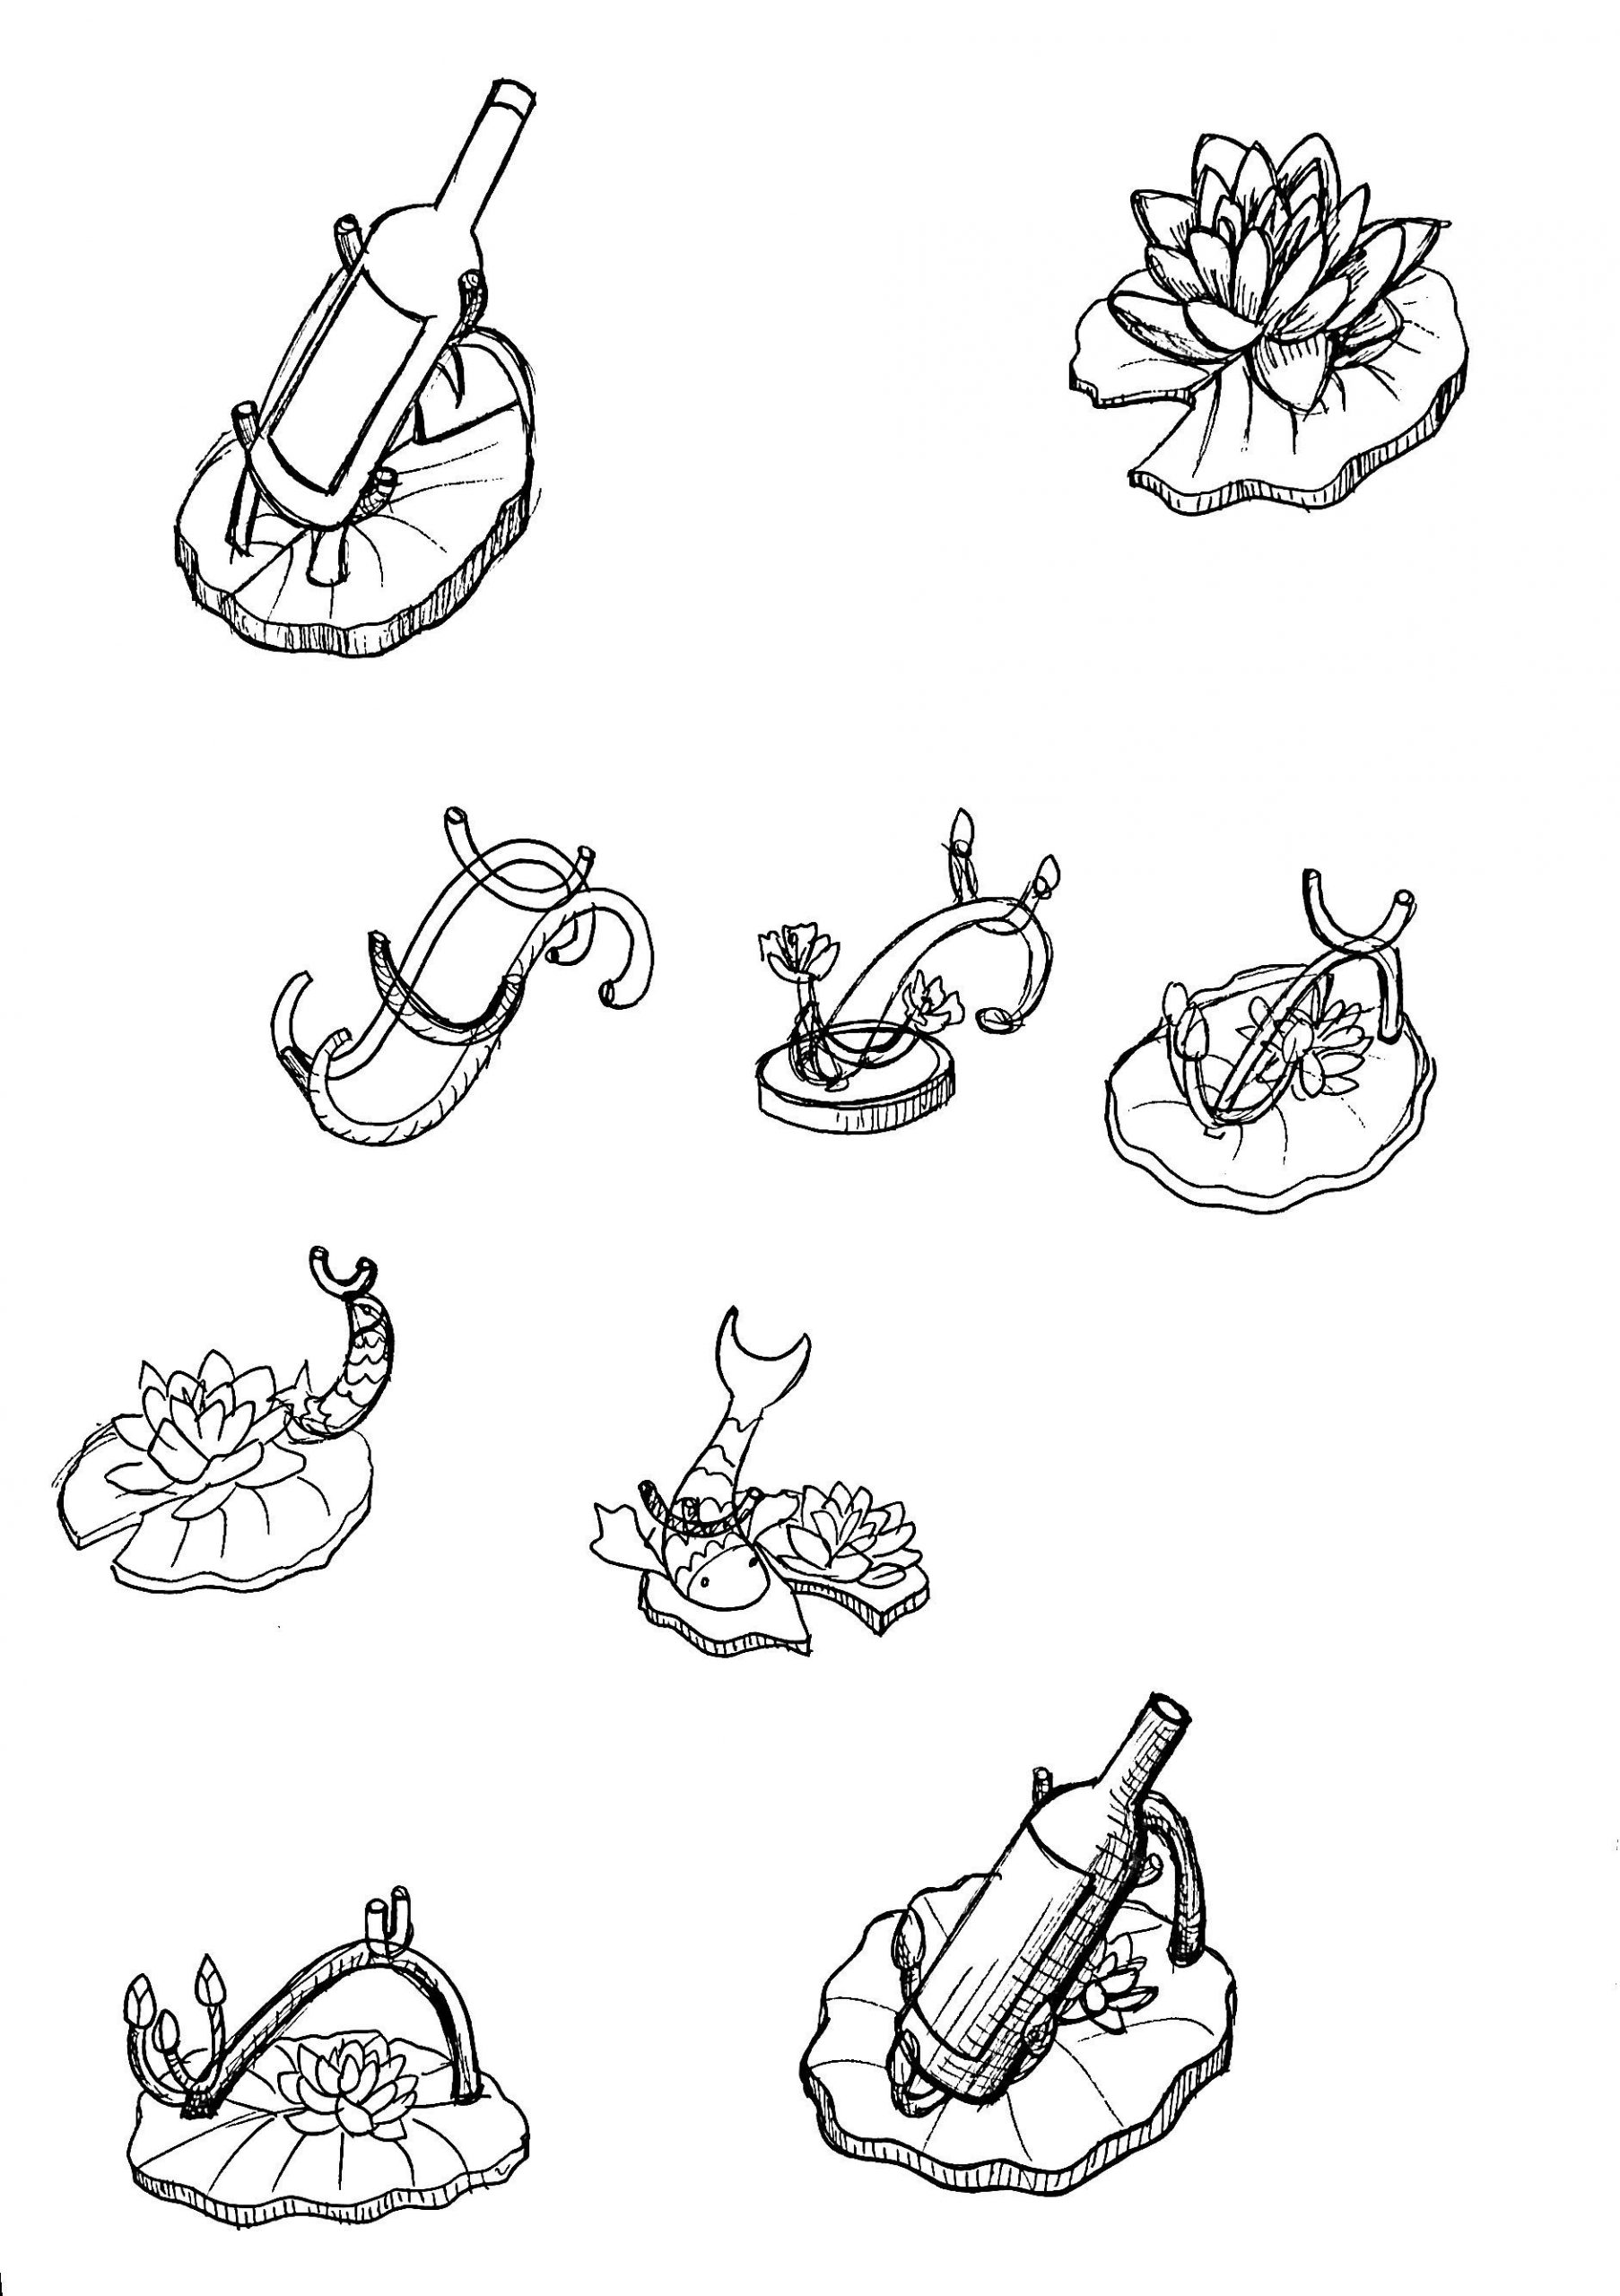
First, the ideation phase!
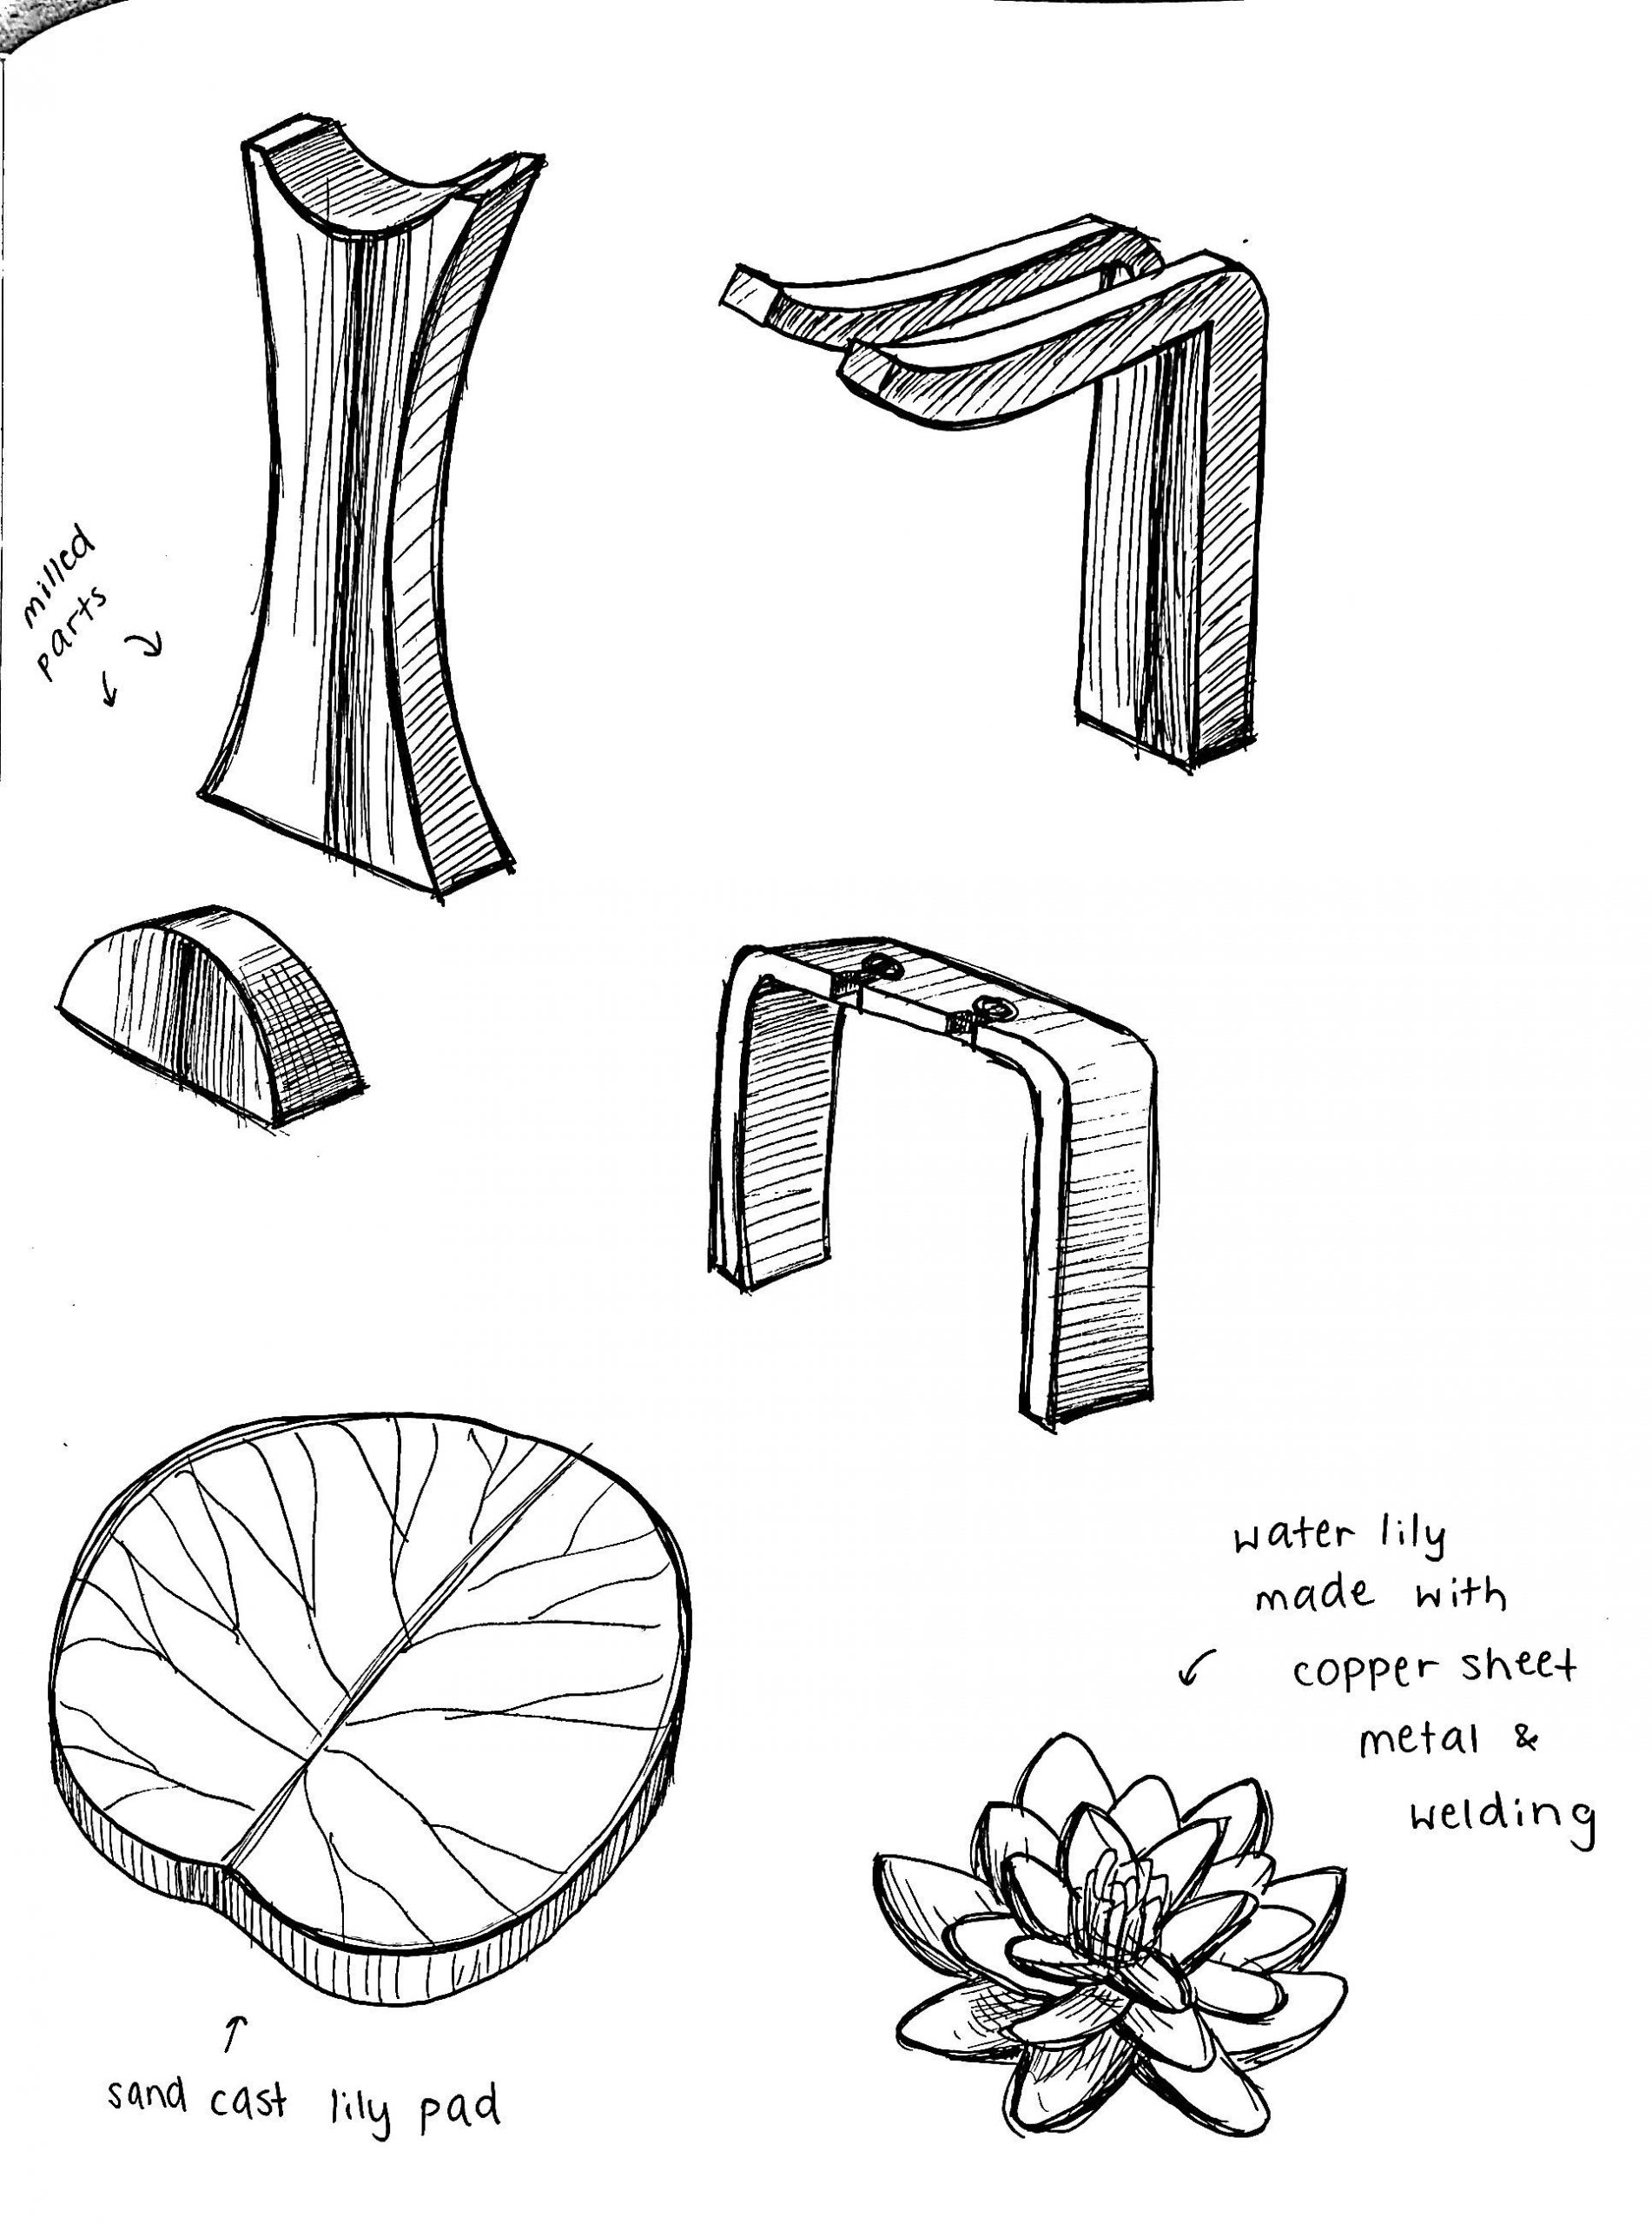
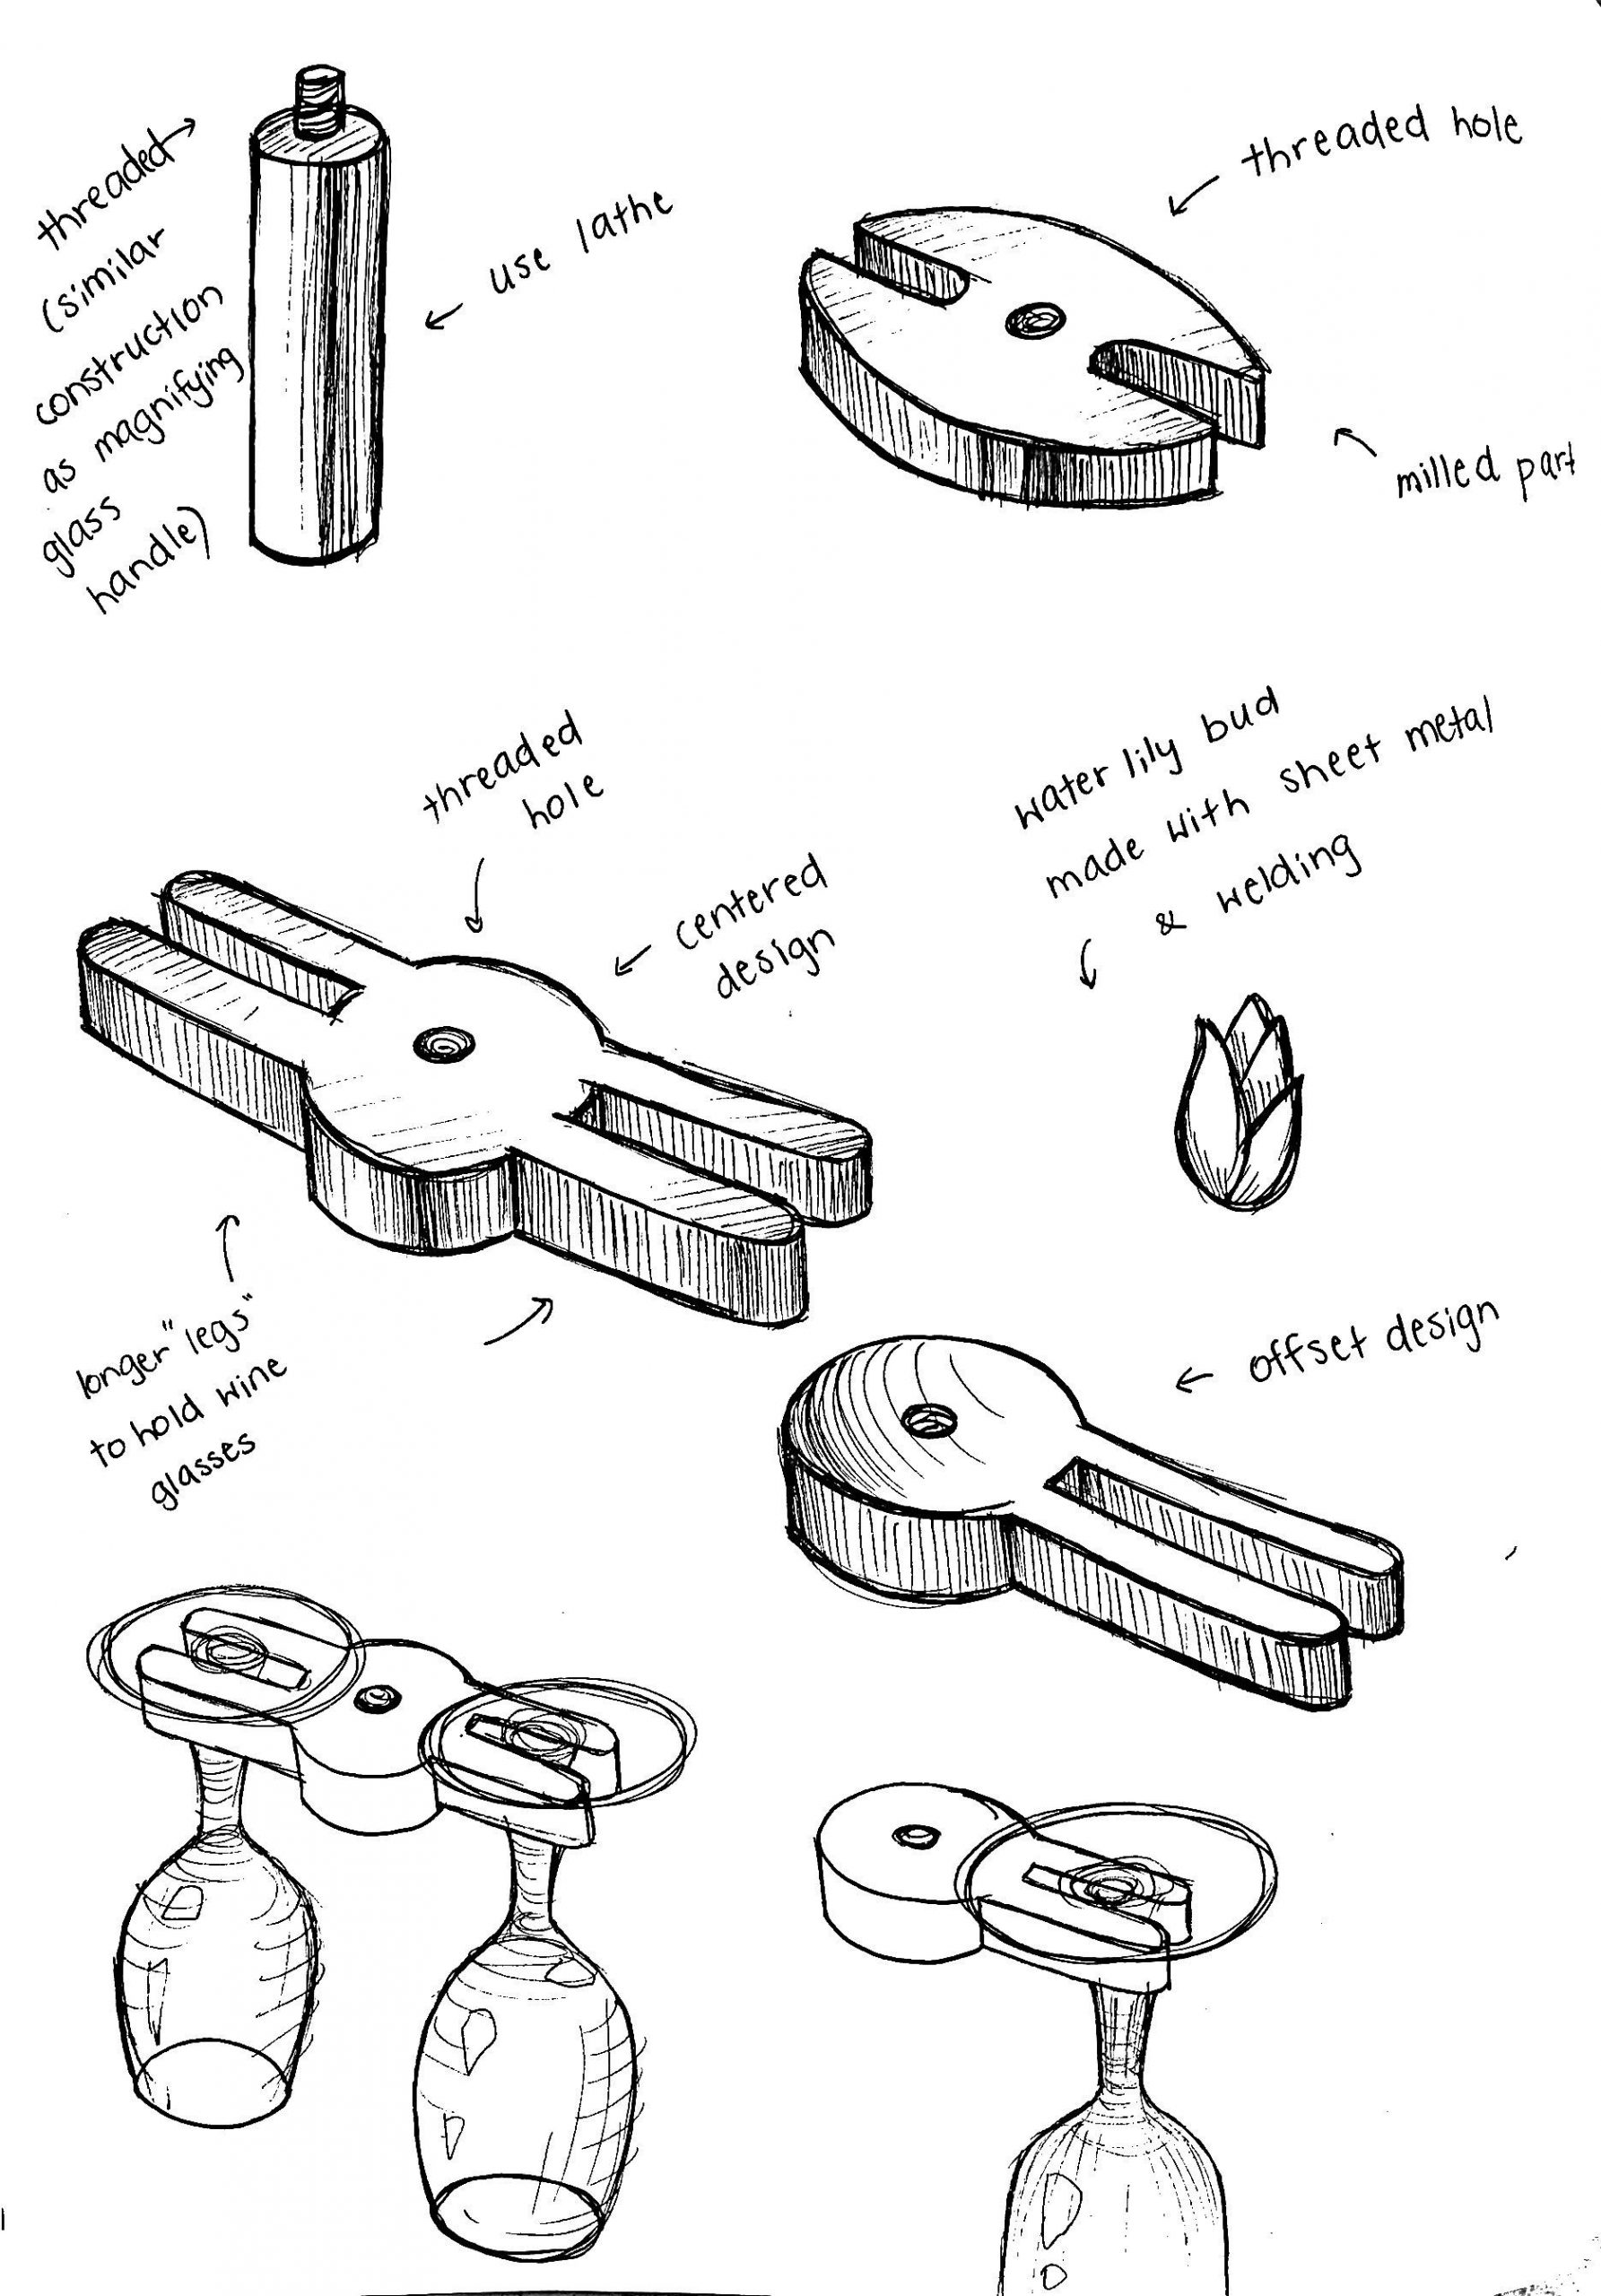
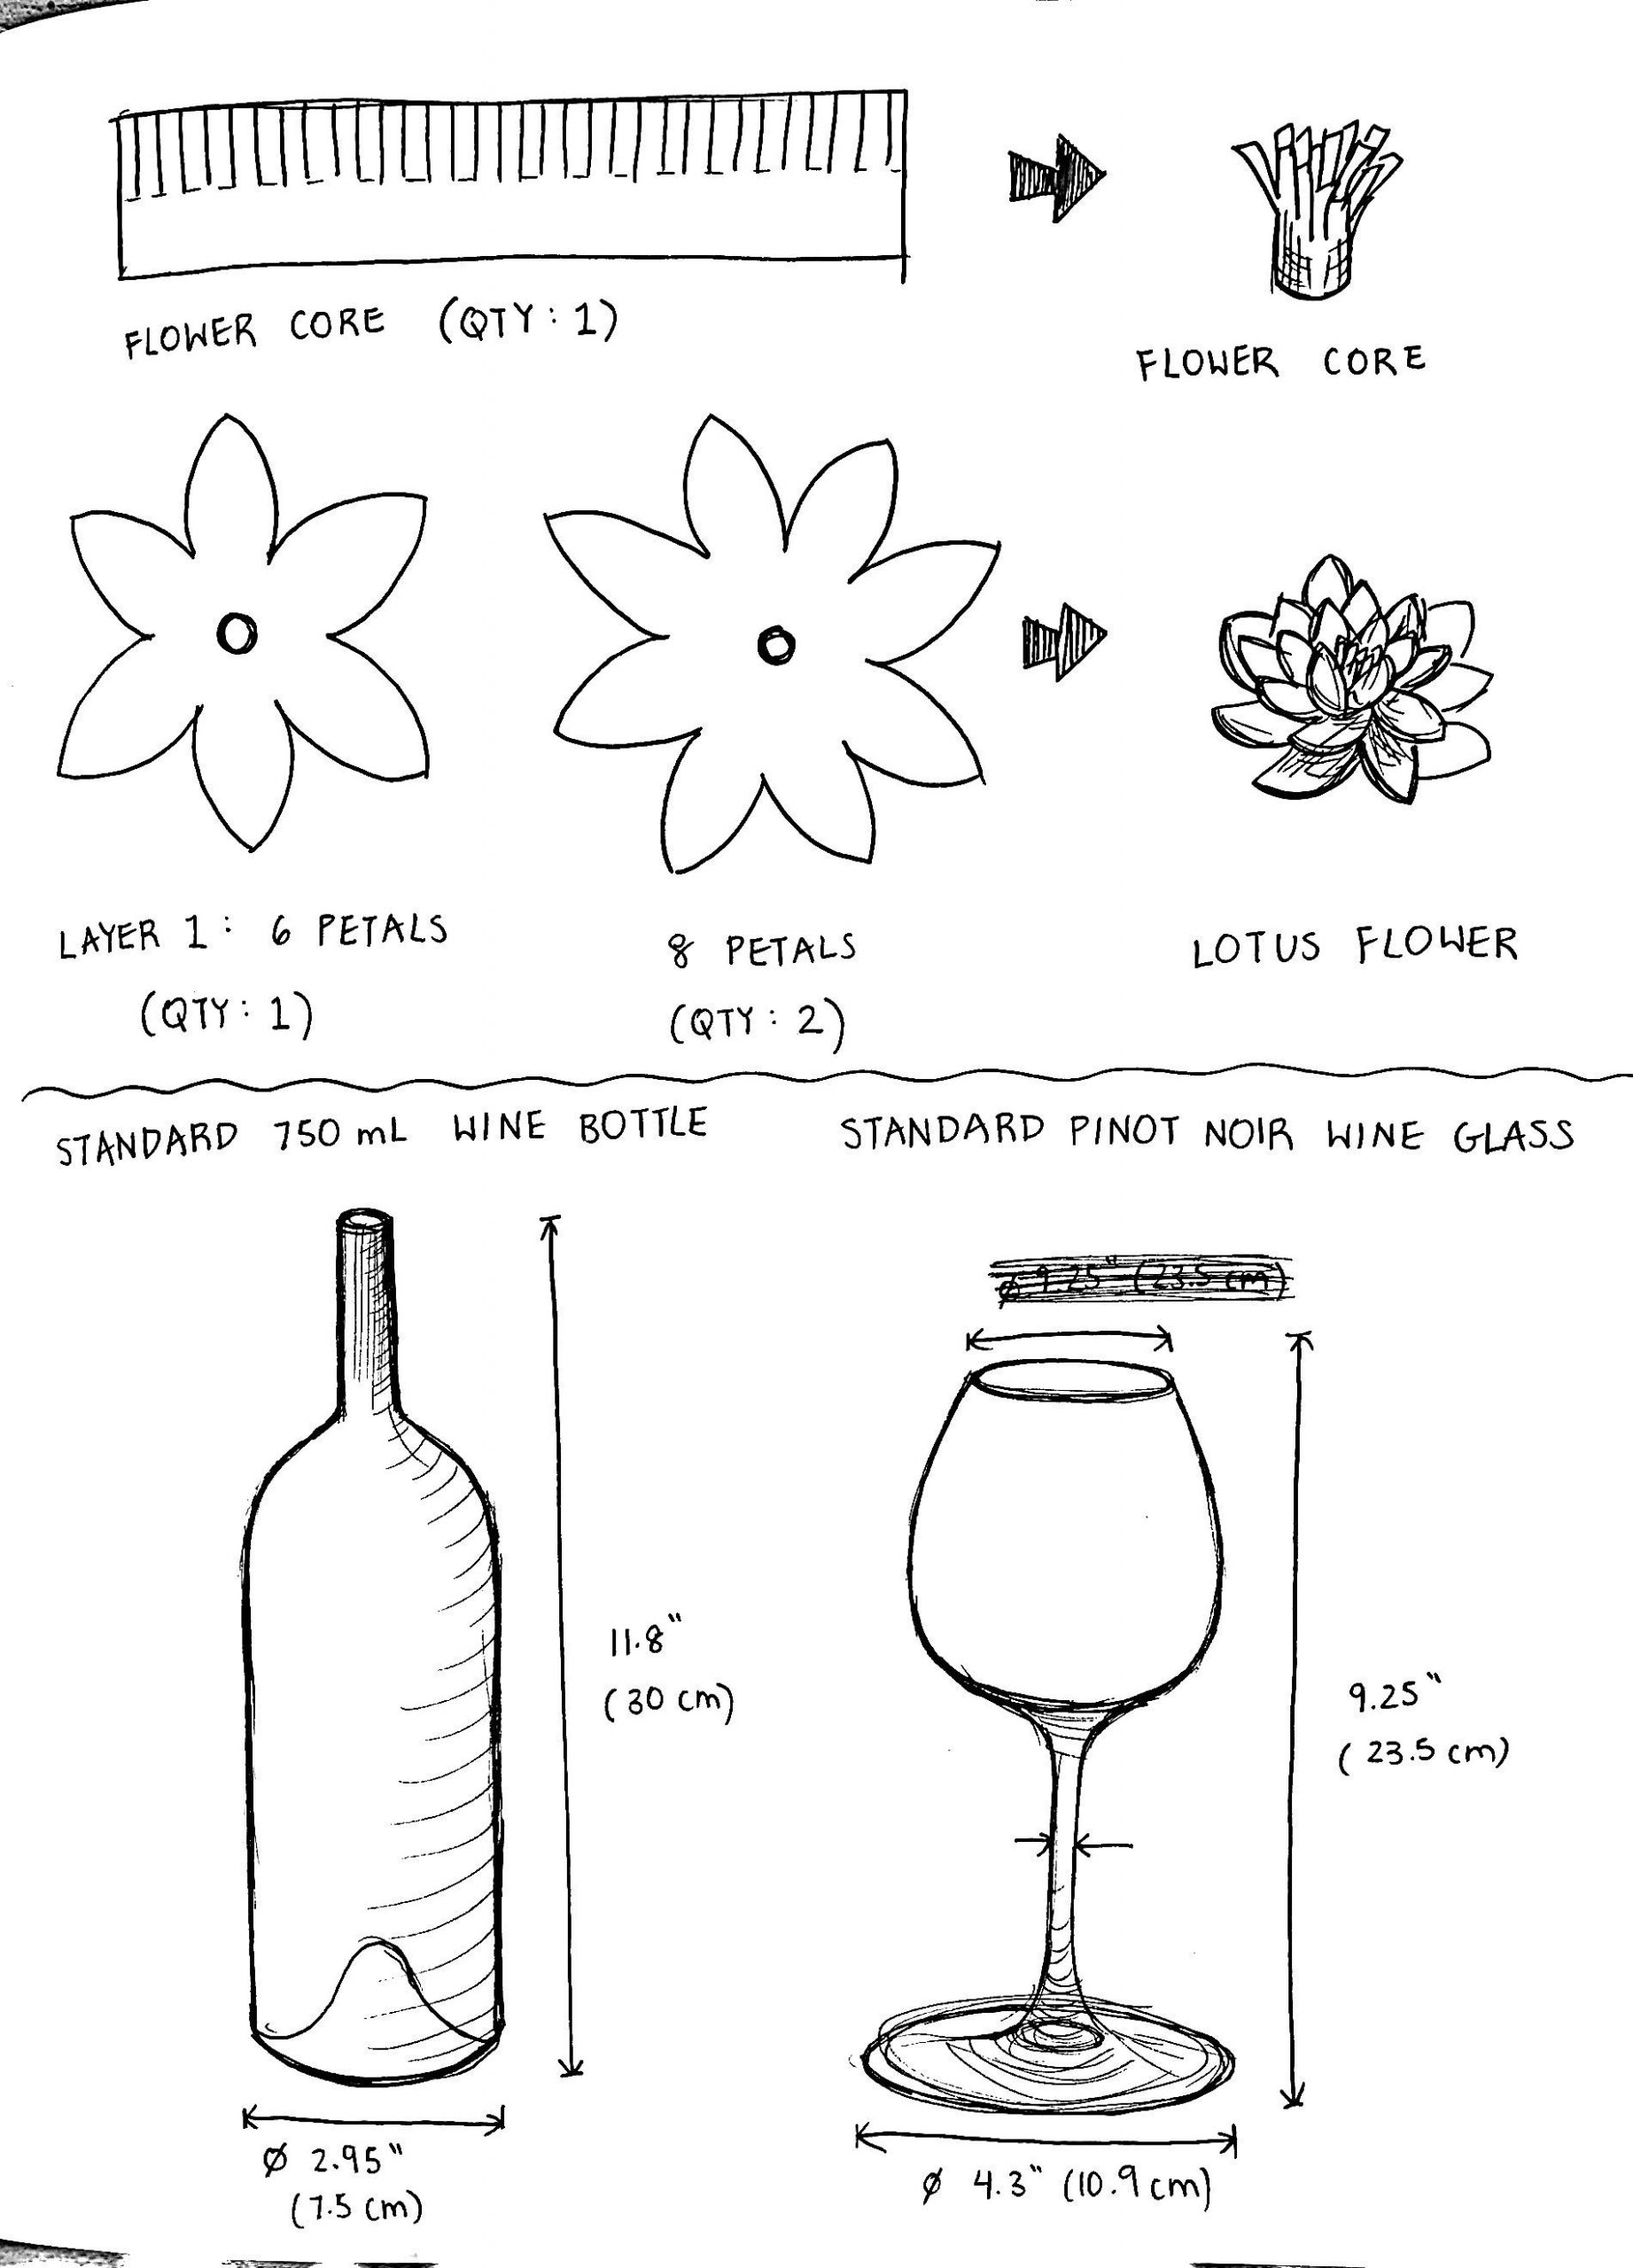
My initial ideas were quite artistic and whimsical, but I soon realized that they would be difficult to manufacture. That’s why I decided to drastically simplify my shapes in my final design. In the beginning, I wanted to create a rack to hang the two wine glasses in addition to the wine bottle holder. Unfortunately, I had to cut that out later in the process due to time constraints.
RAPID PROTOTYPING
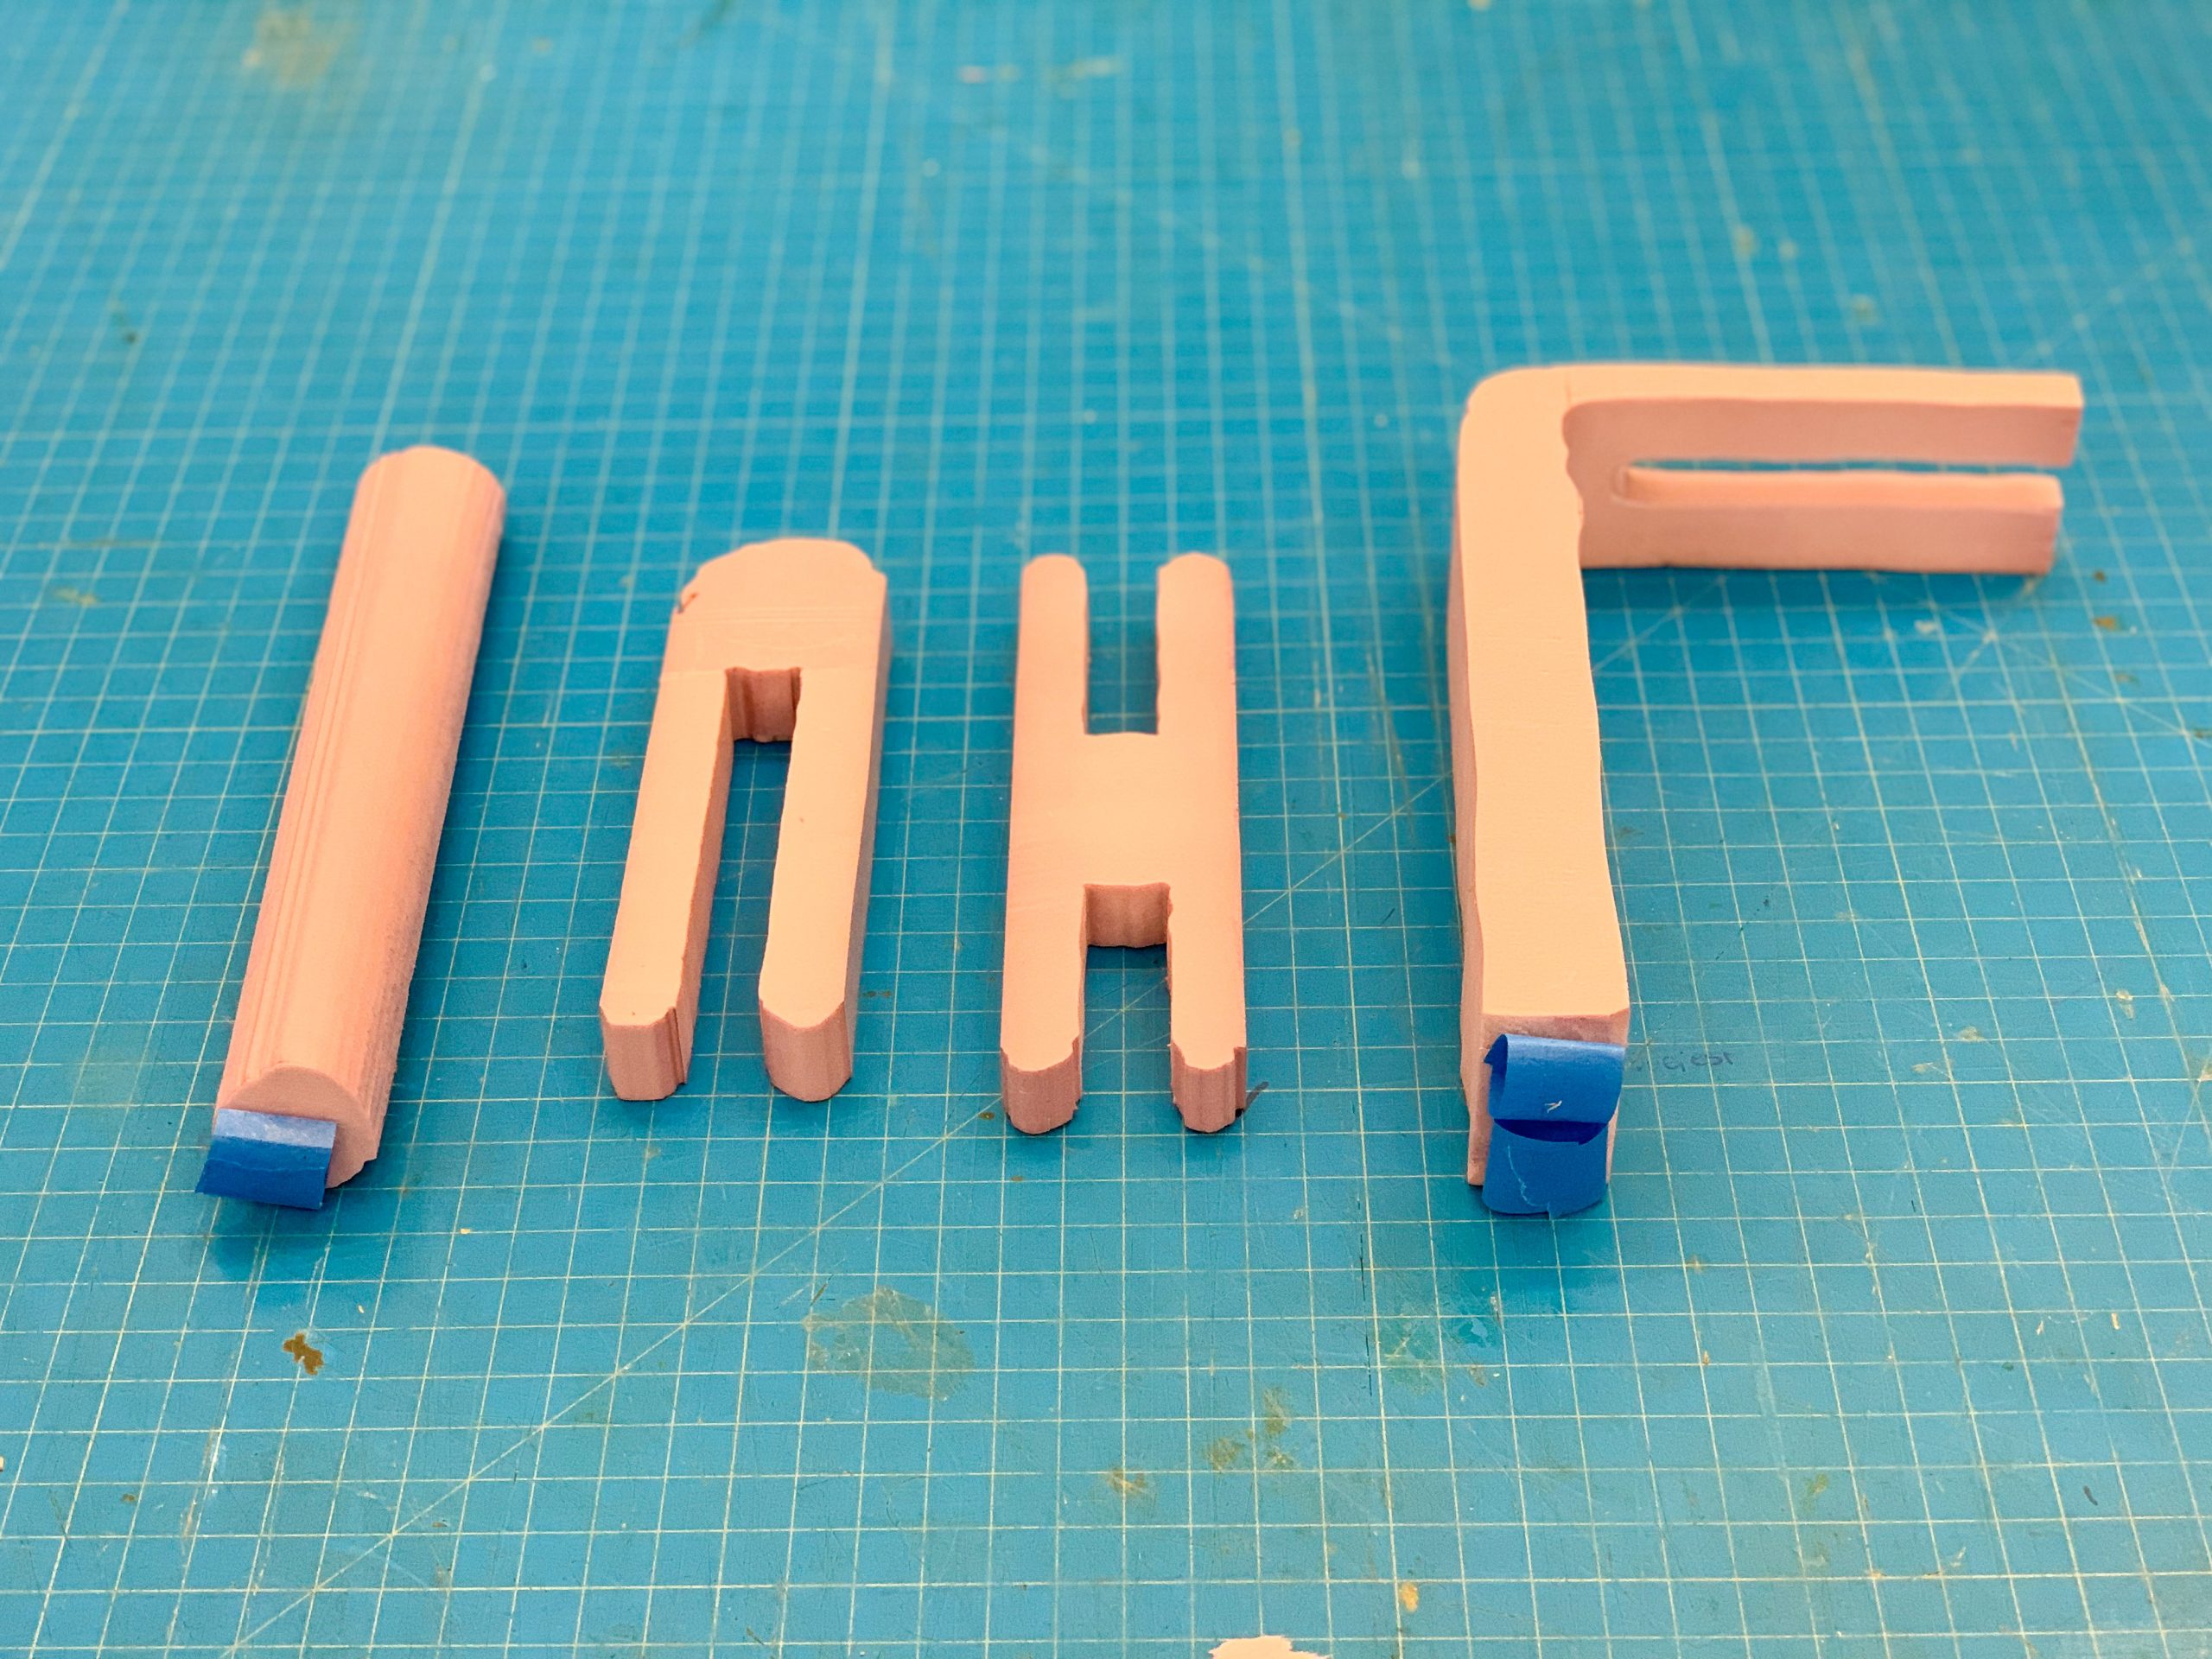
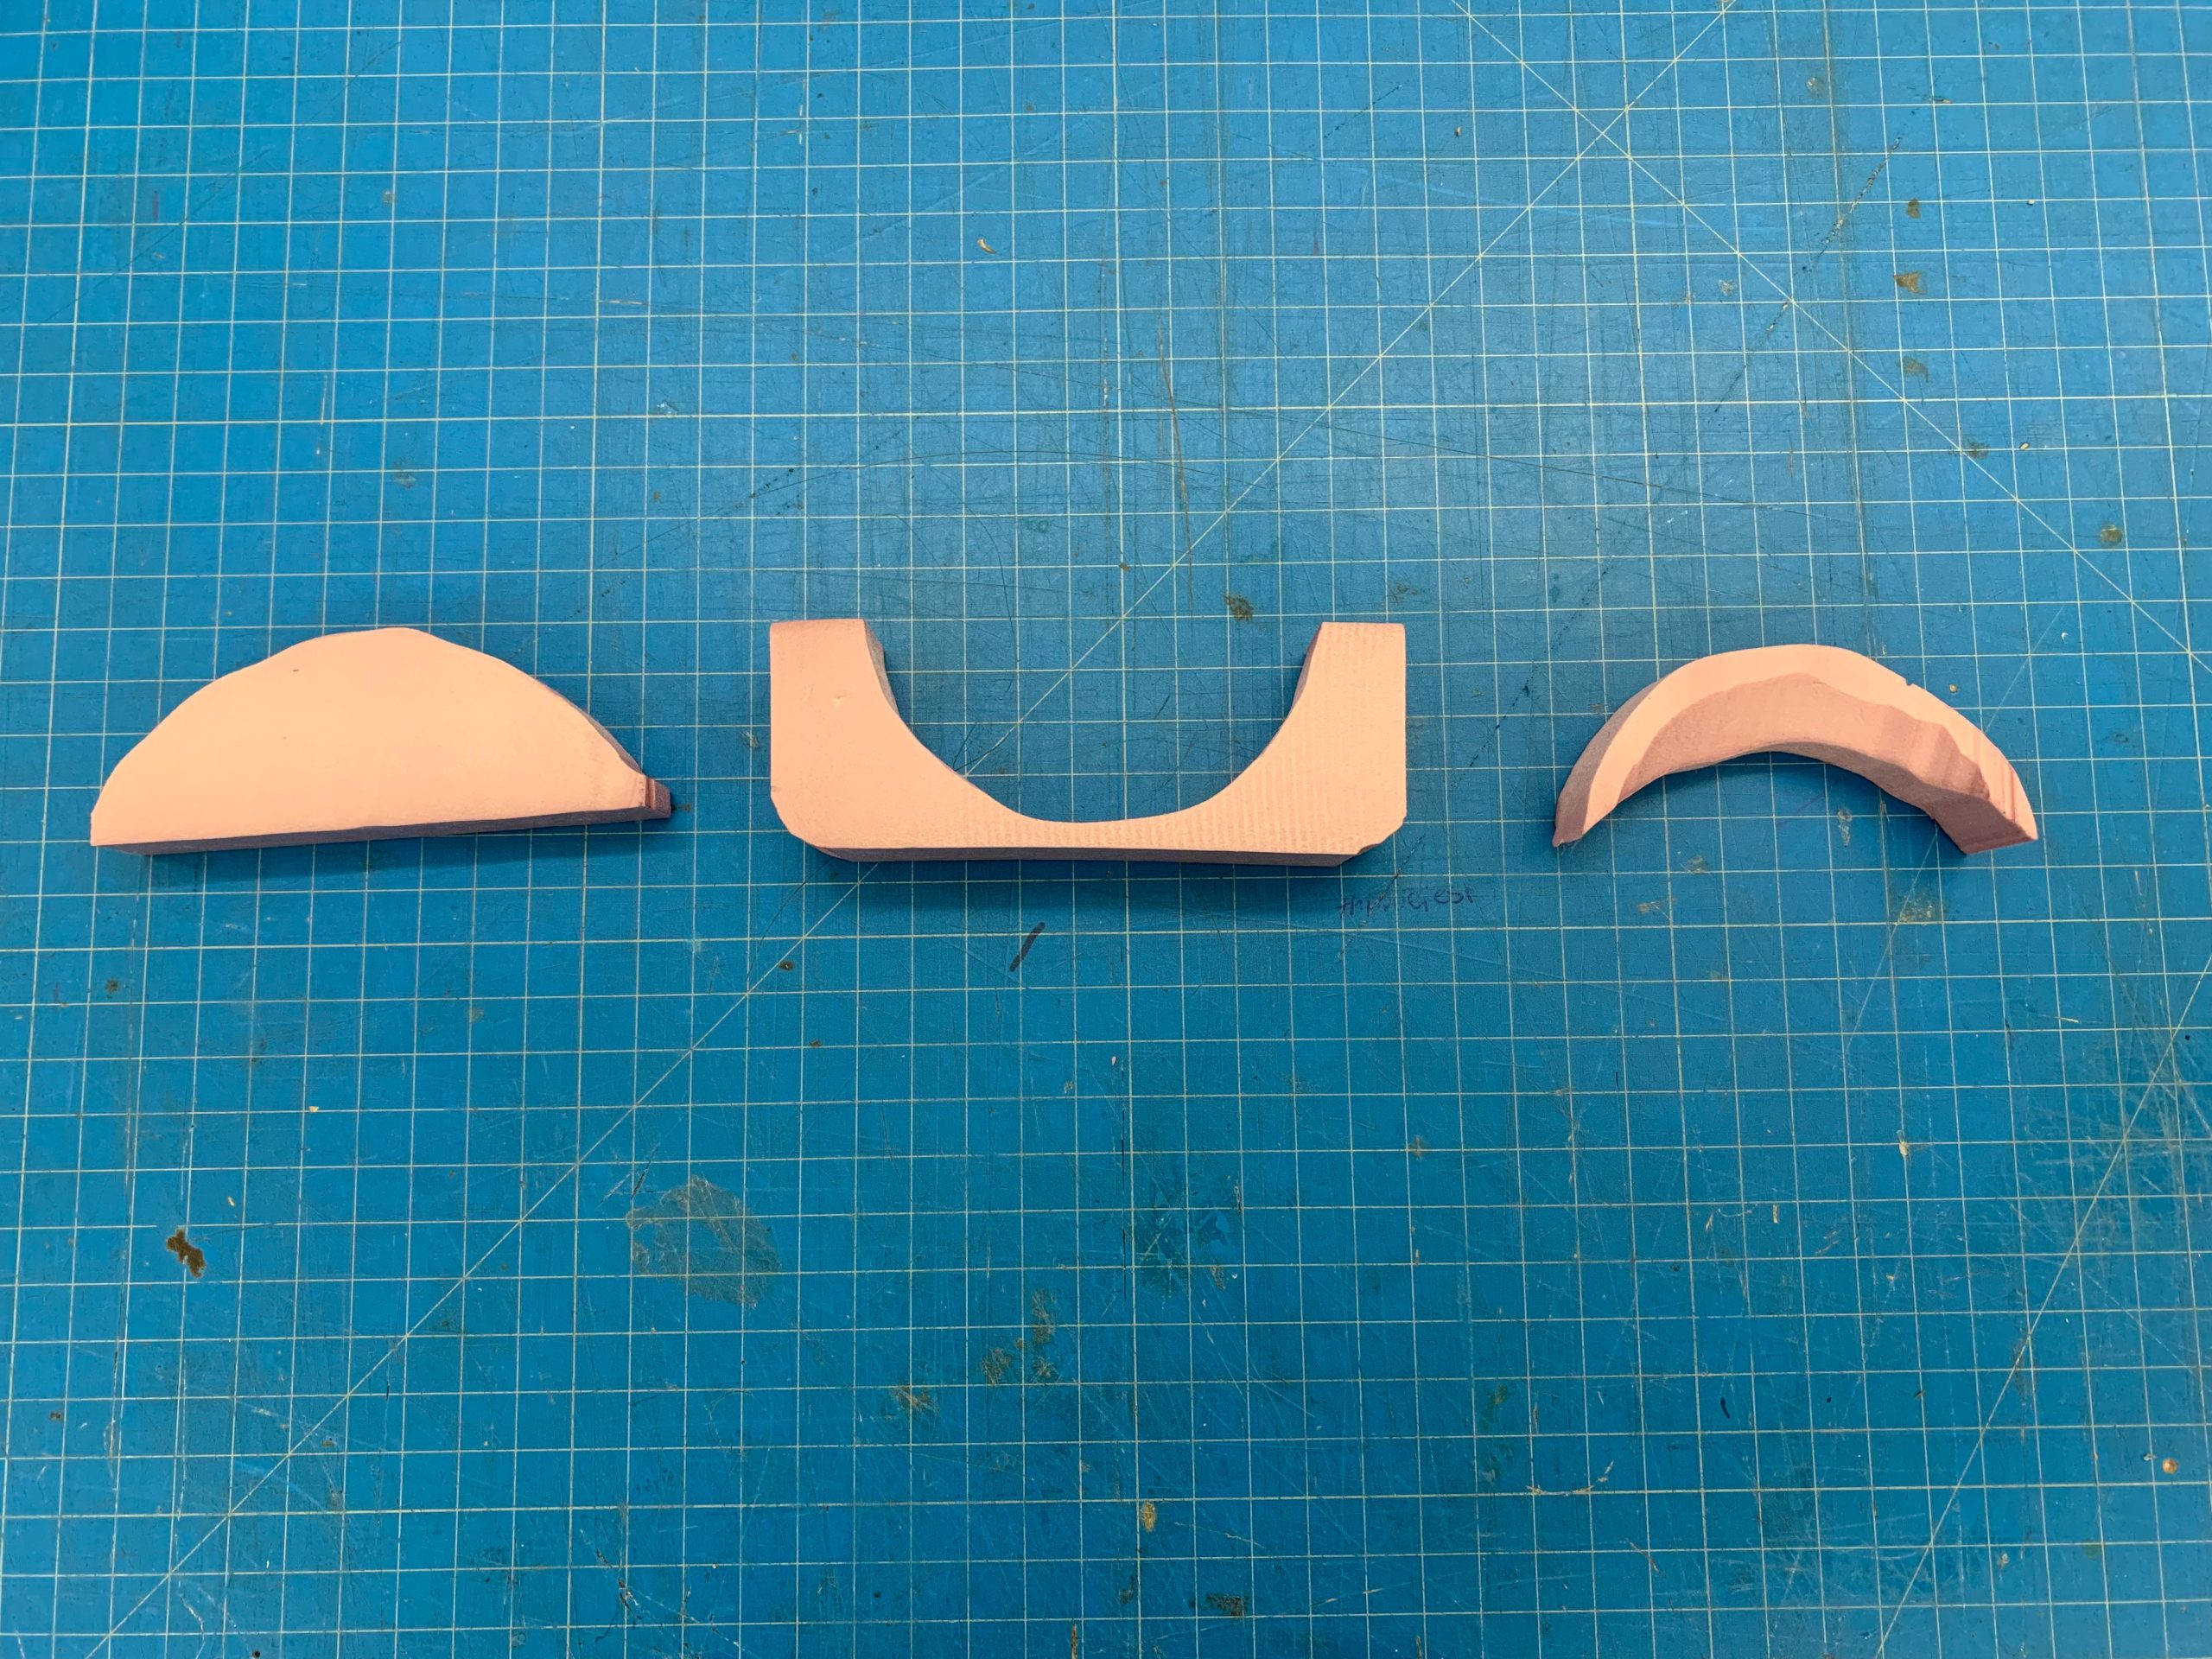
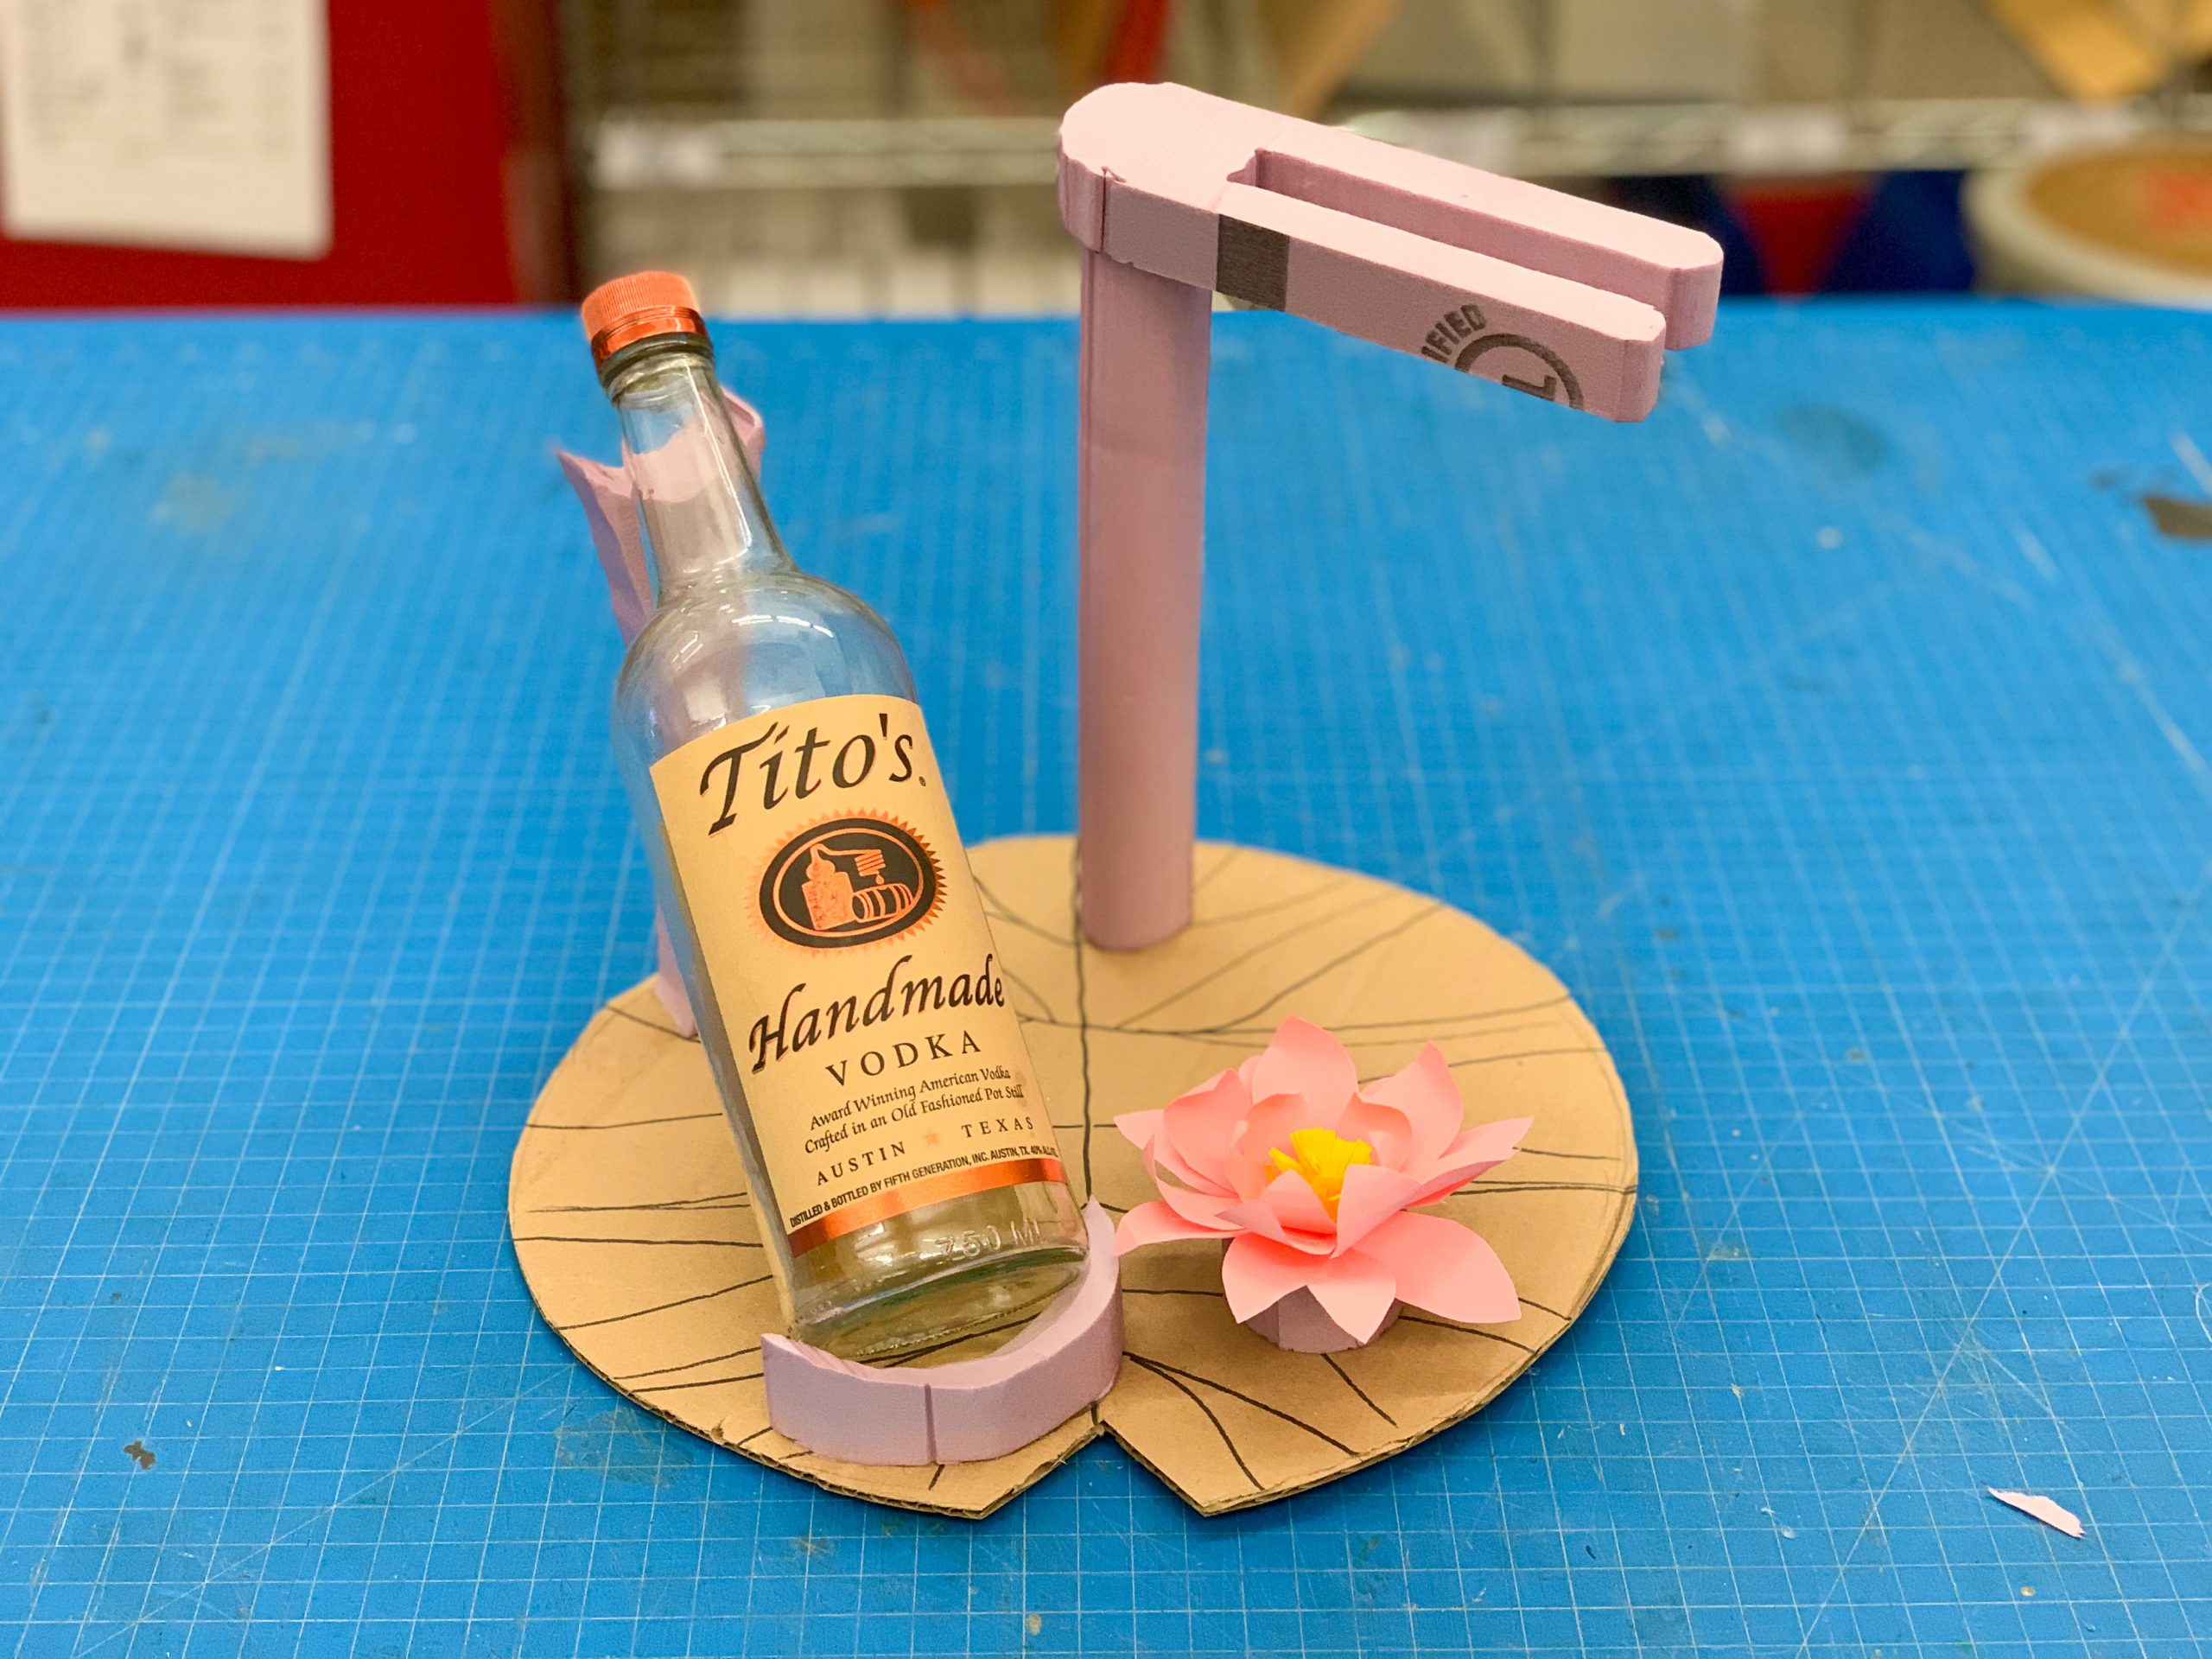
I was lucky enough to have an empty vodka bottle from one of my friends, which was very helpful in figuring out the appropriate dimensions and shapes that I wanted. I aimed for simpler geometric shapes that retained an elegant feel. Below are my rapid prototypes using foam, card stock, and cardboard.
MANUFACTURING
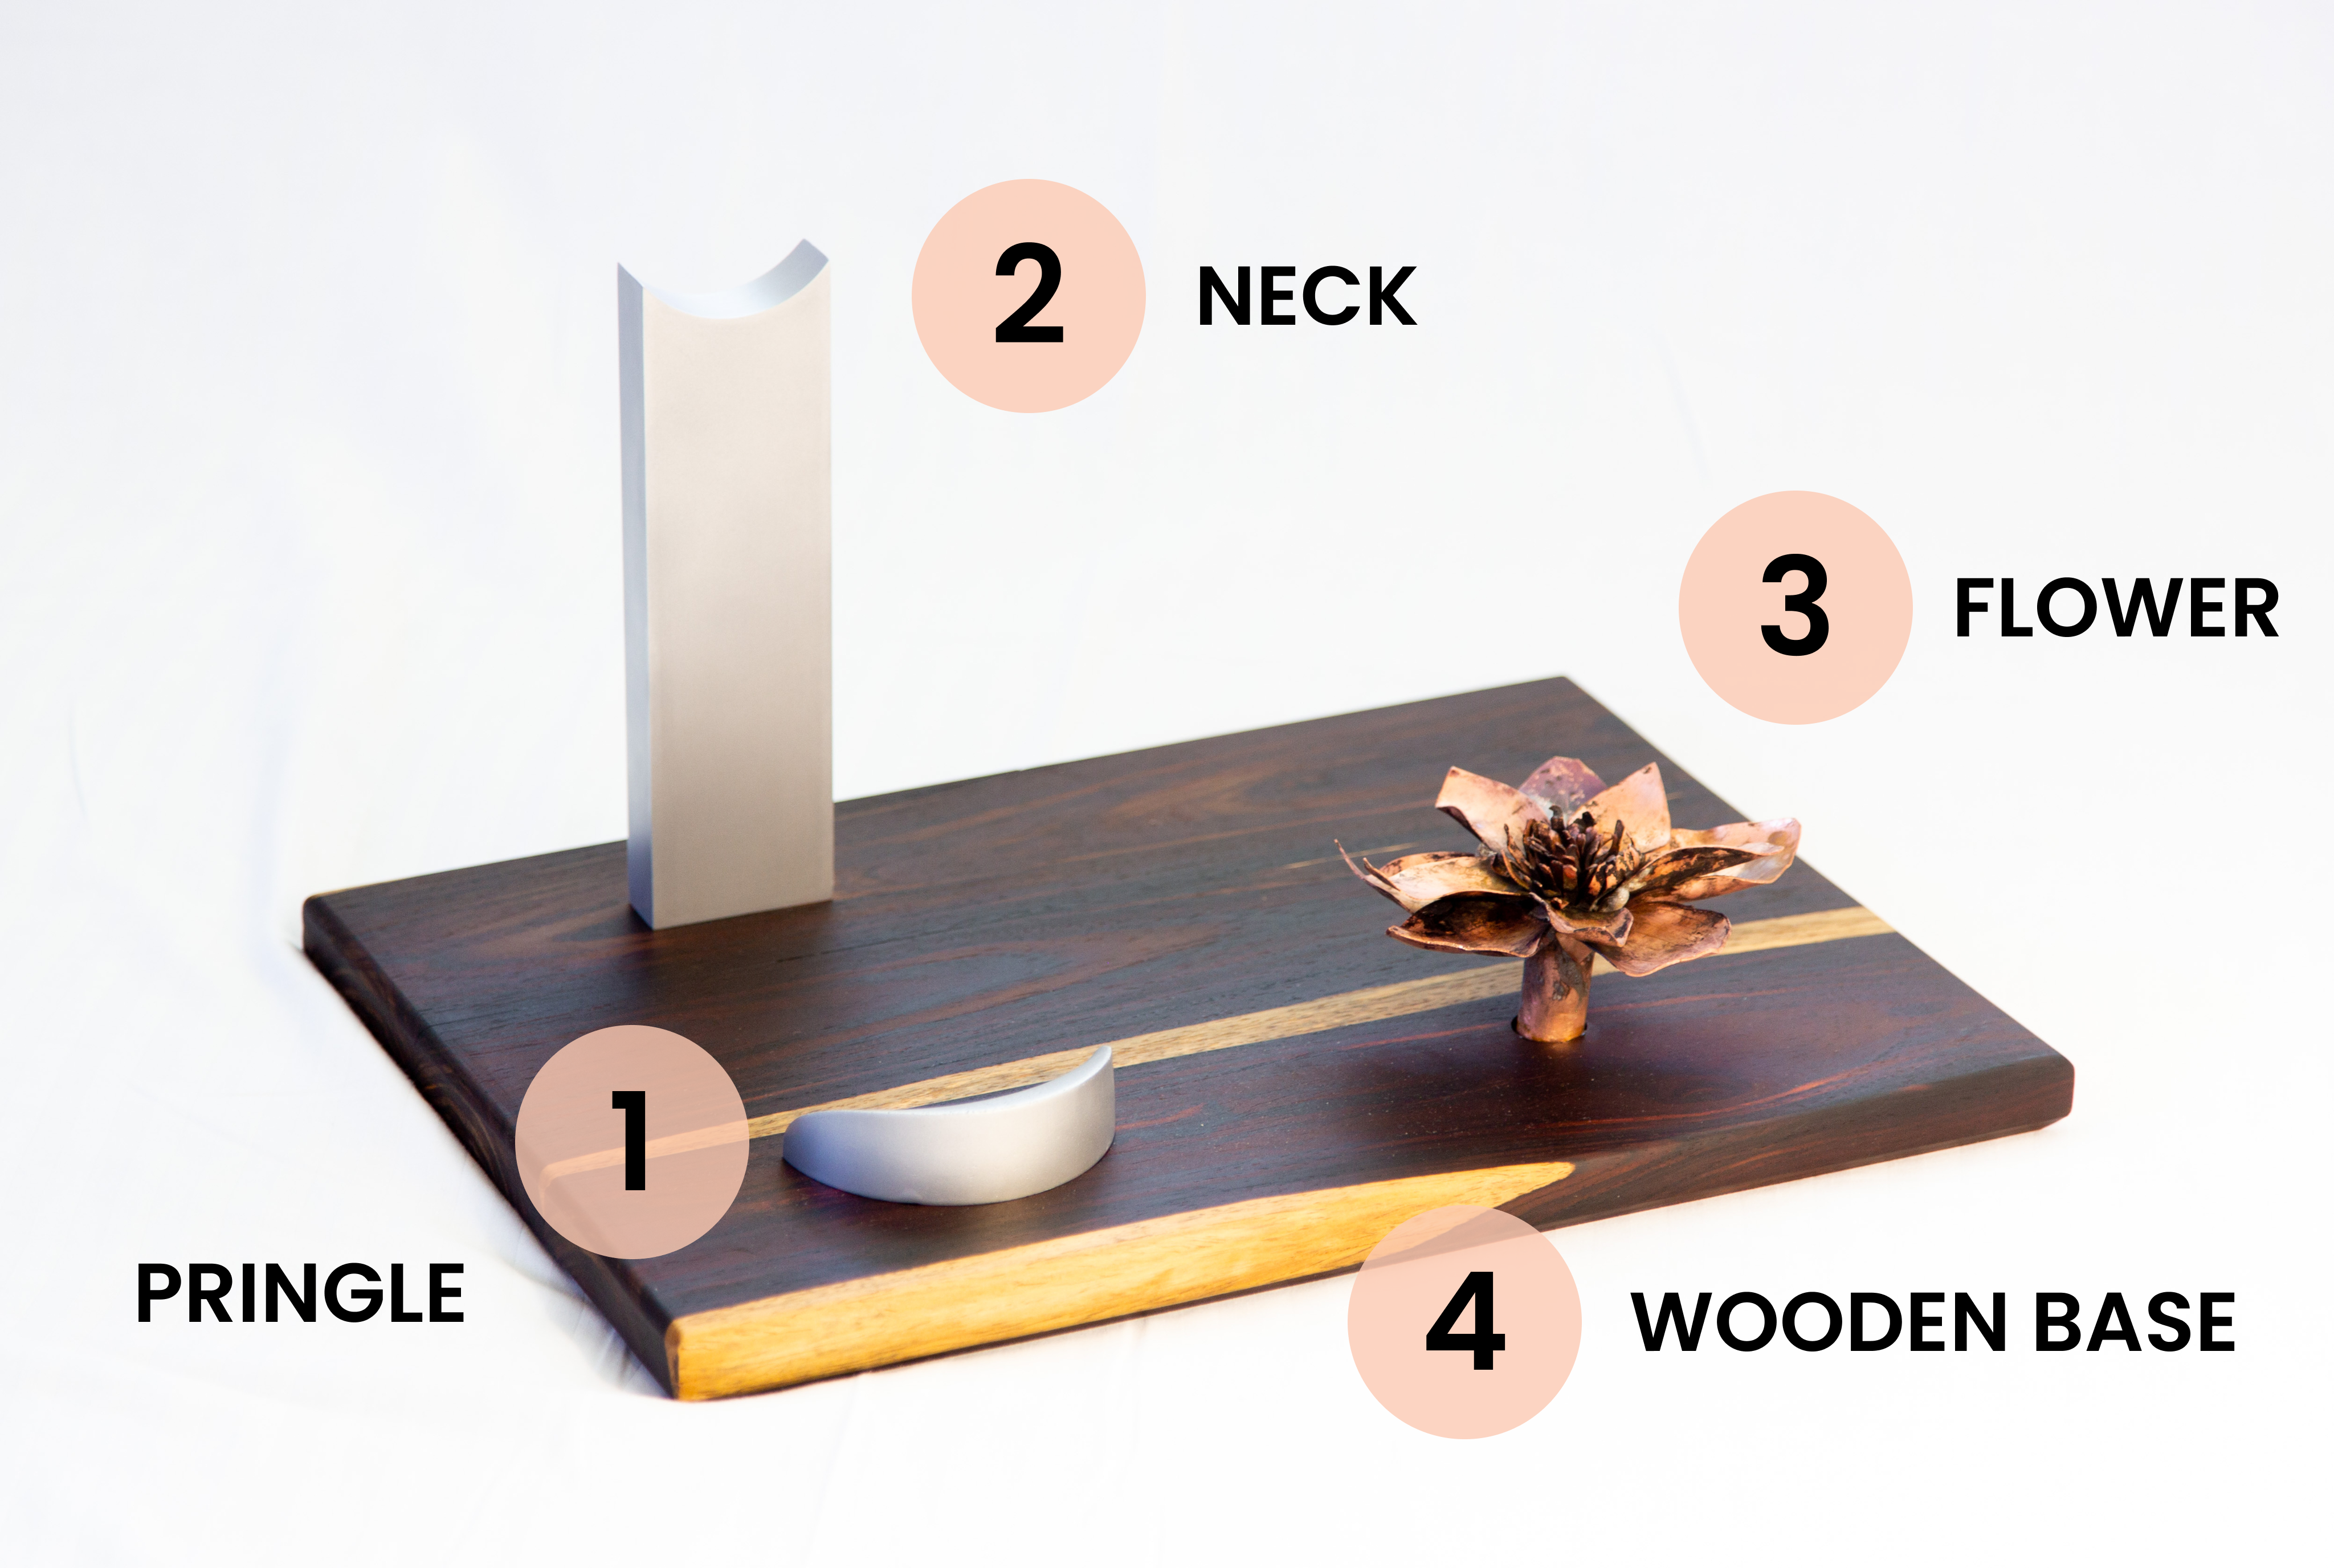
Now onto manufacturing: the most arduous (and most rewarding) phase. I’ll walk you through the different manufacturing processes that I used to create each part:
- Pringle (holds the bottom of the wine bottle)
- Neck (supports the neck of the wine bottle)
- Flower (purely for aesthetic purposes)
- Cocobolo wood (a base to support the bottle and wine glasses)
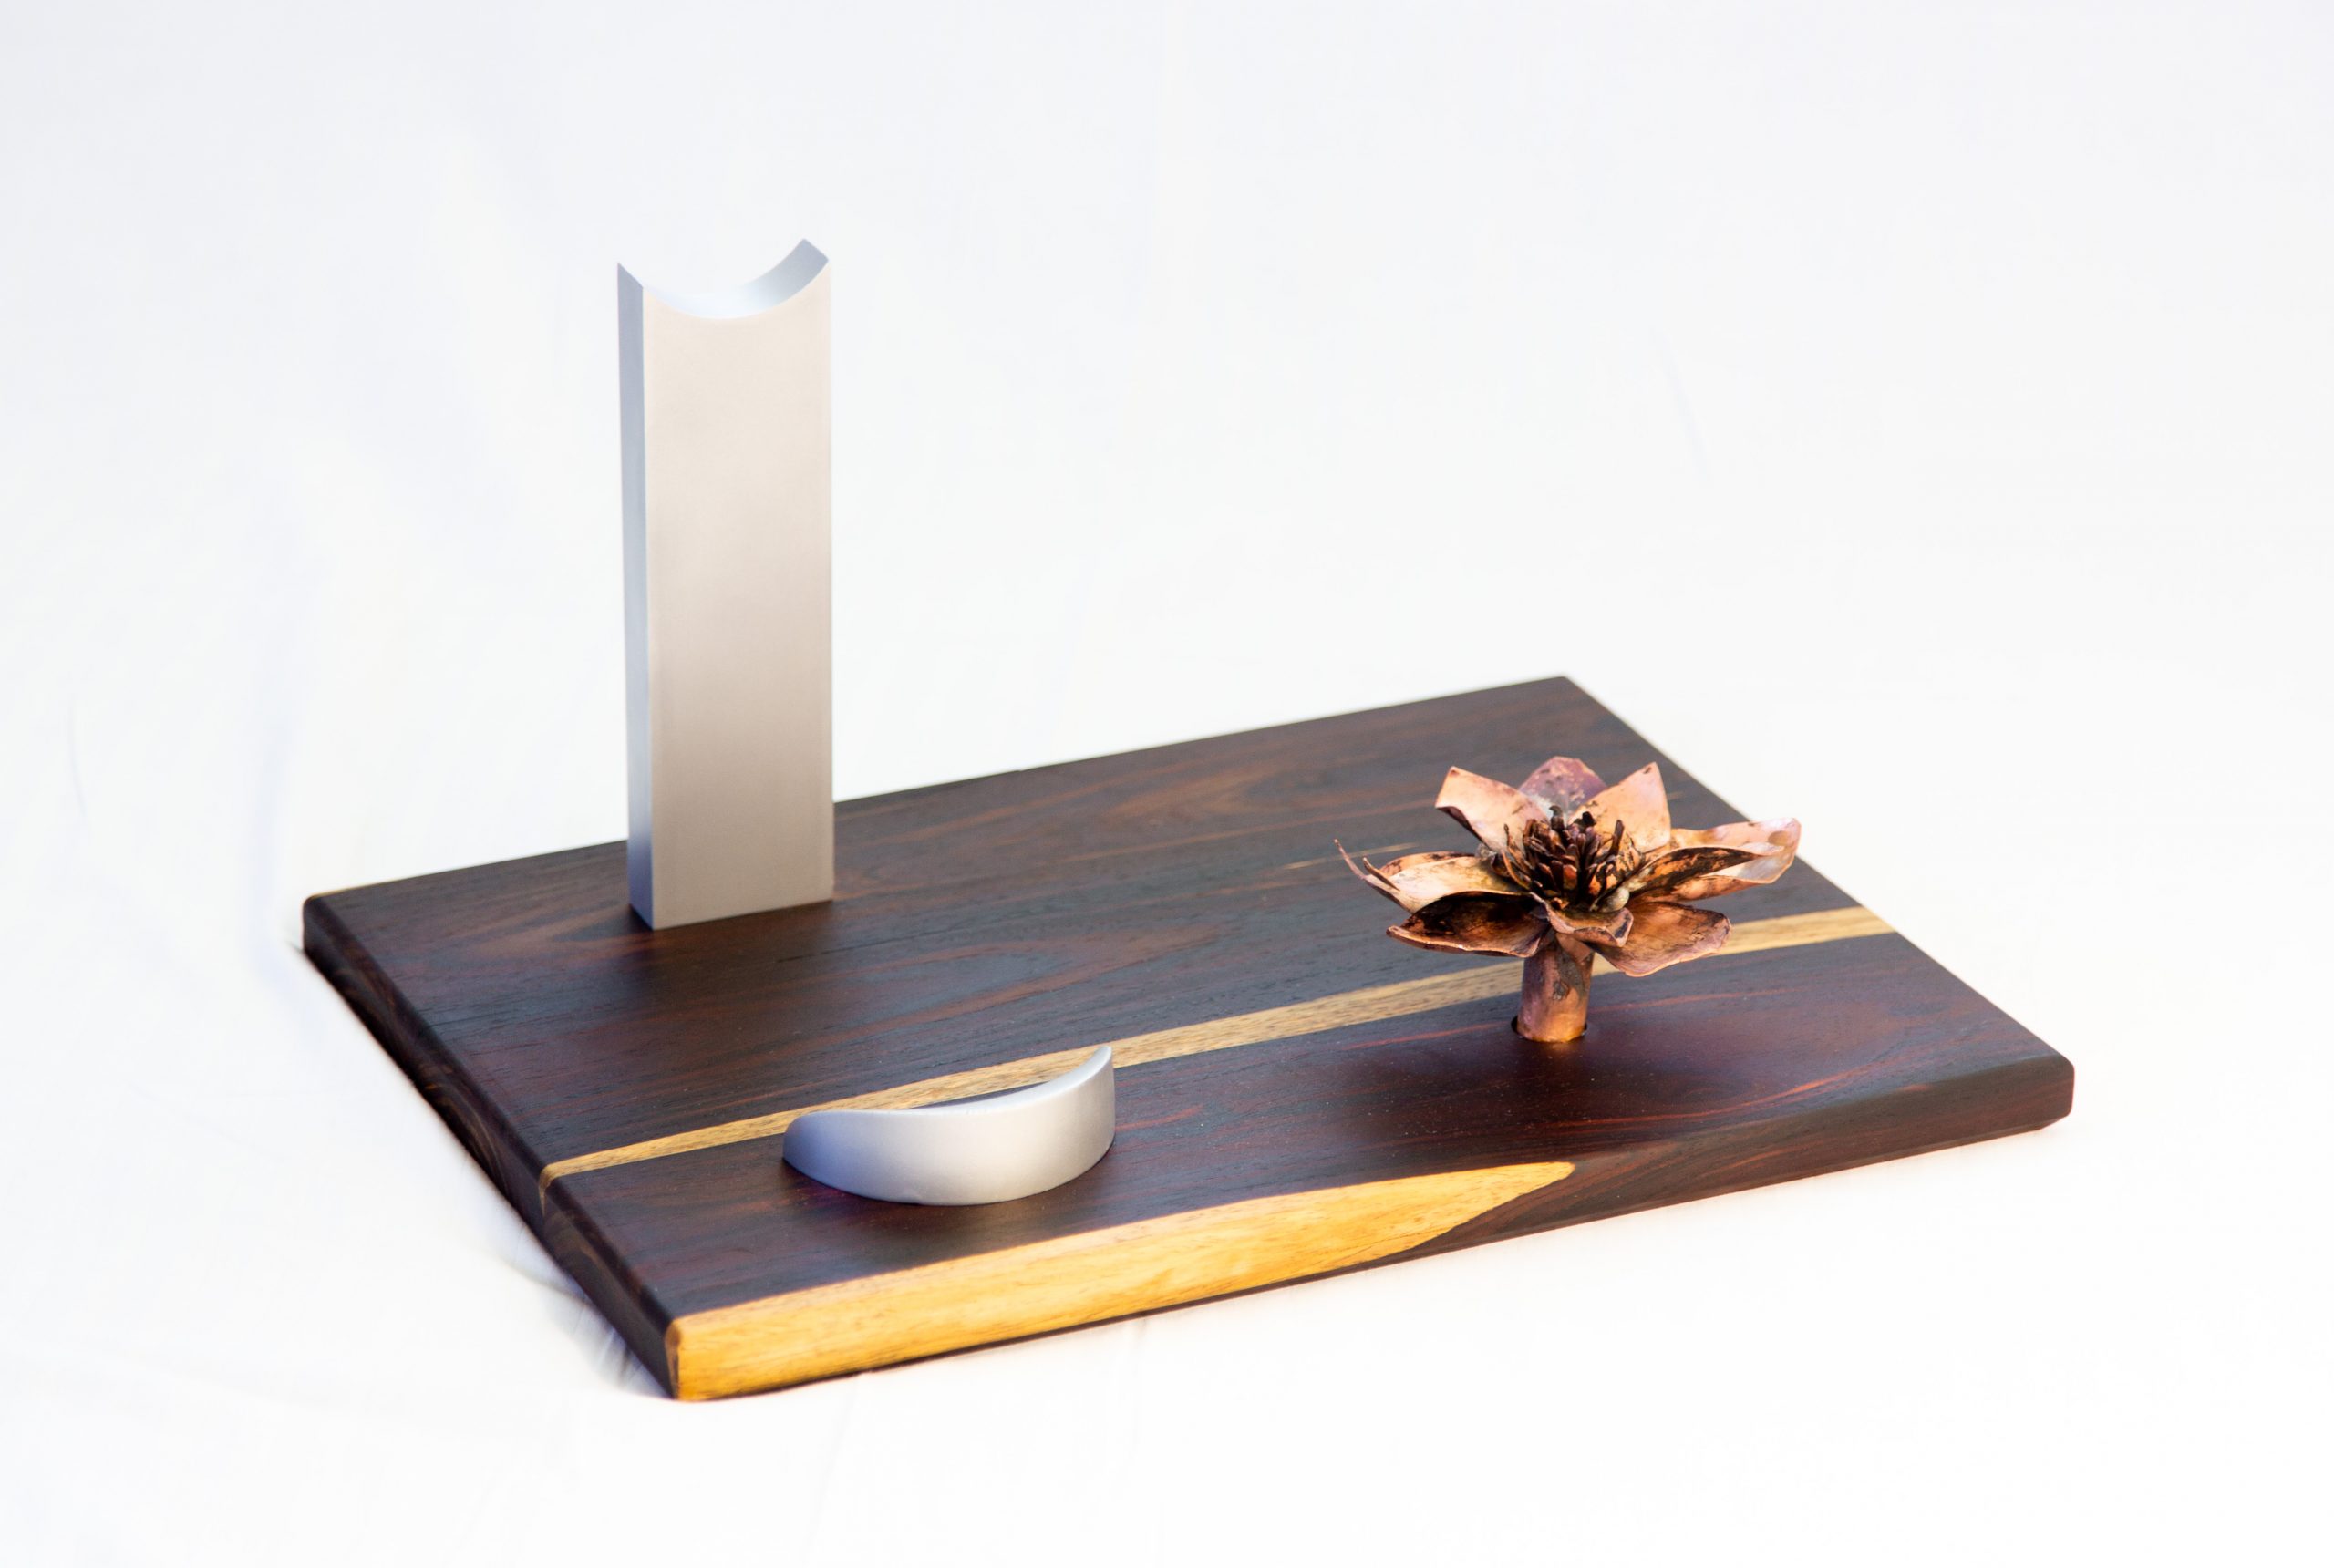
They are labeled in the image below.
PATTERN MAKING AND SAND CASTING ("PRINGLE")
Runner with two gates
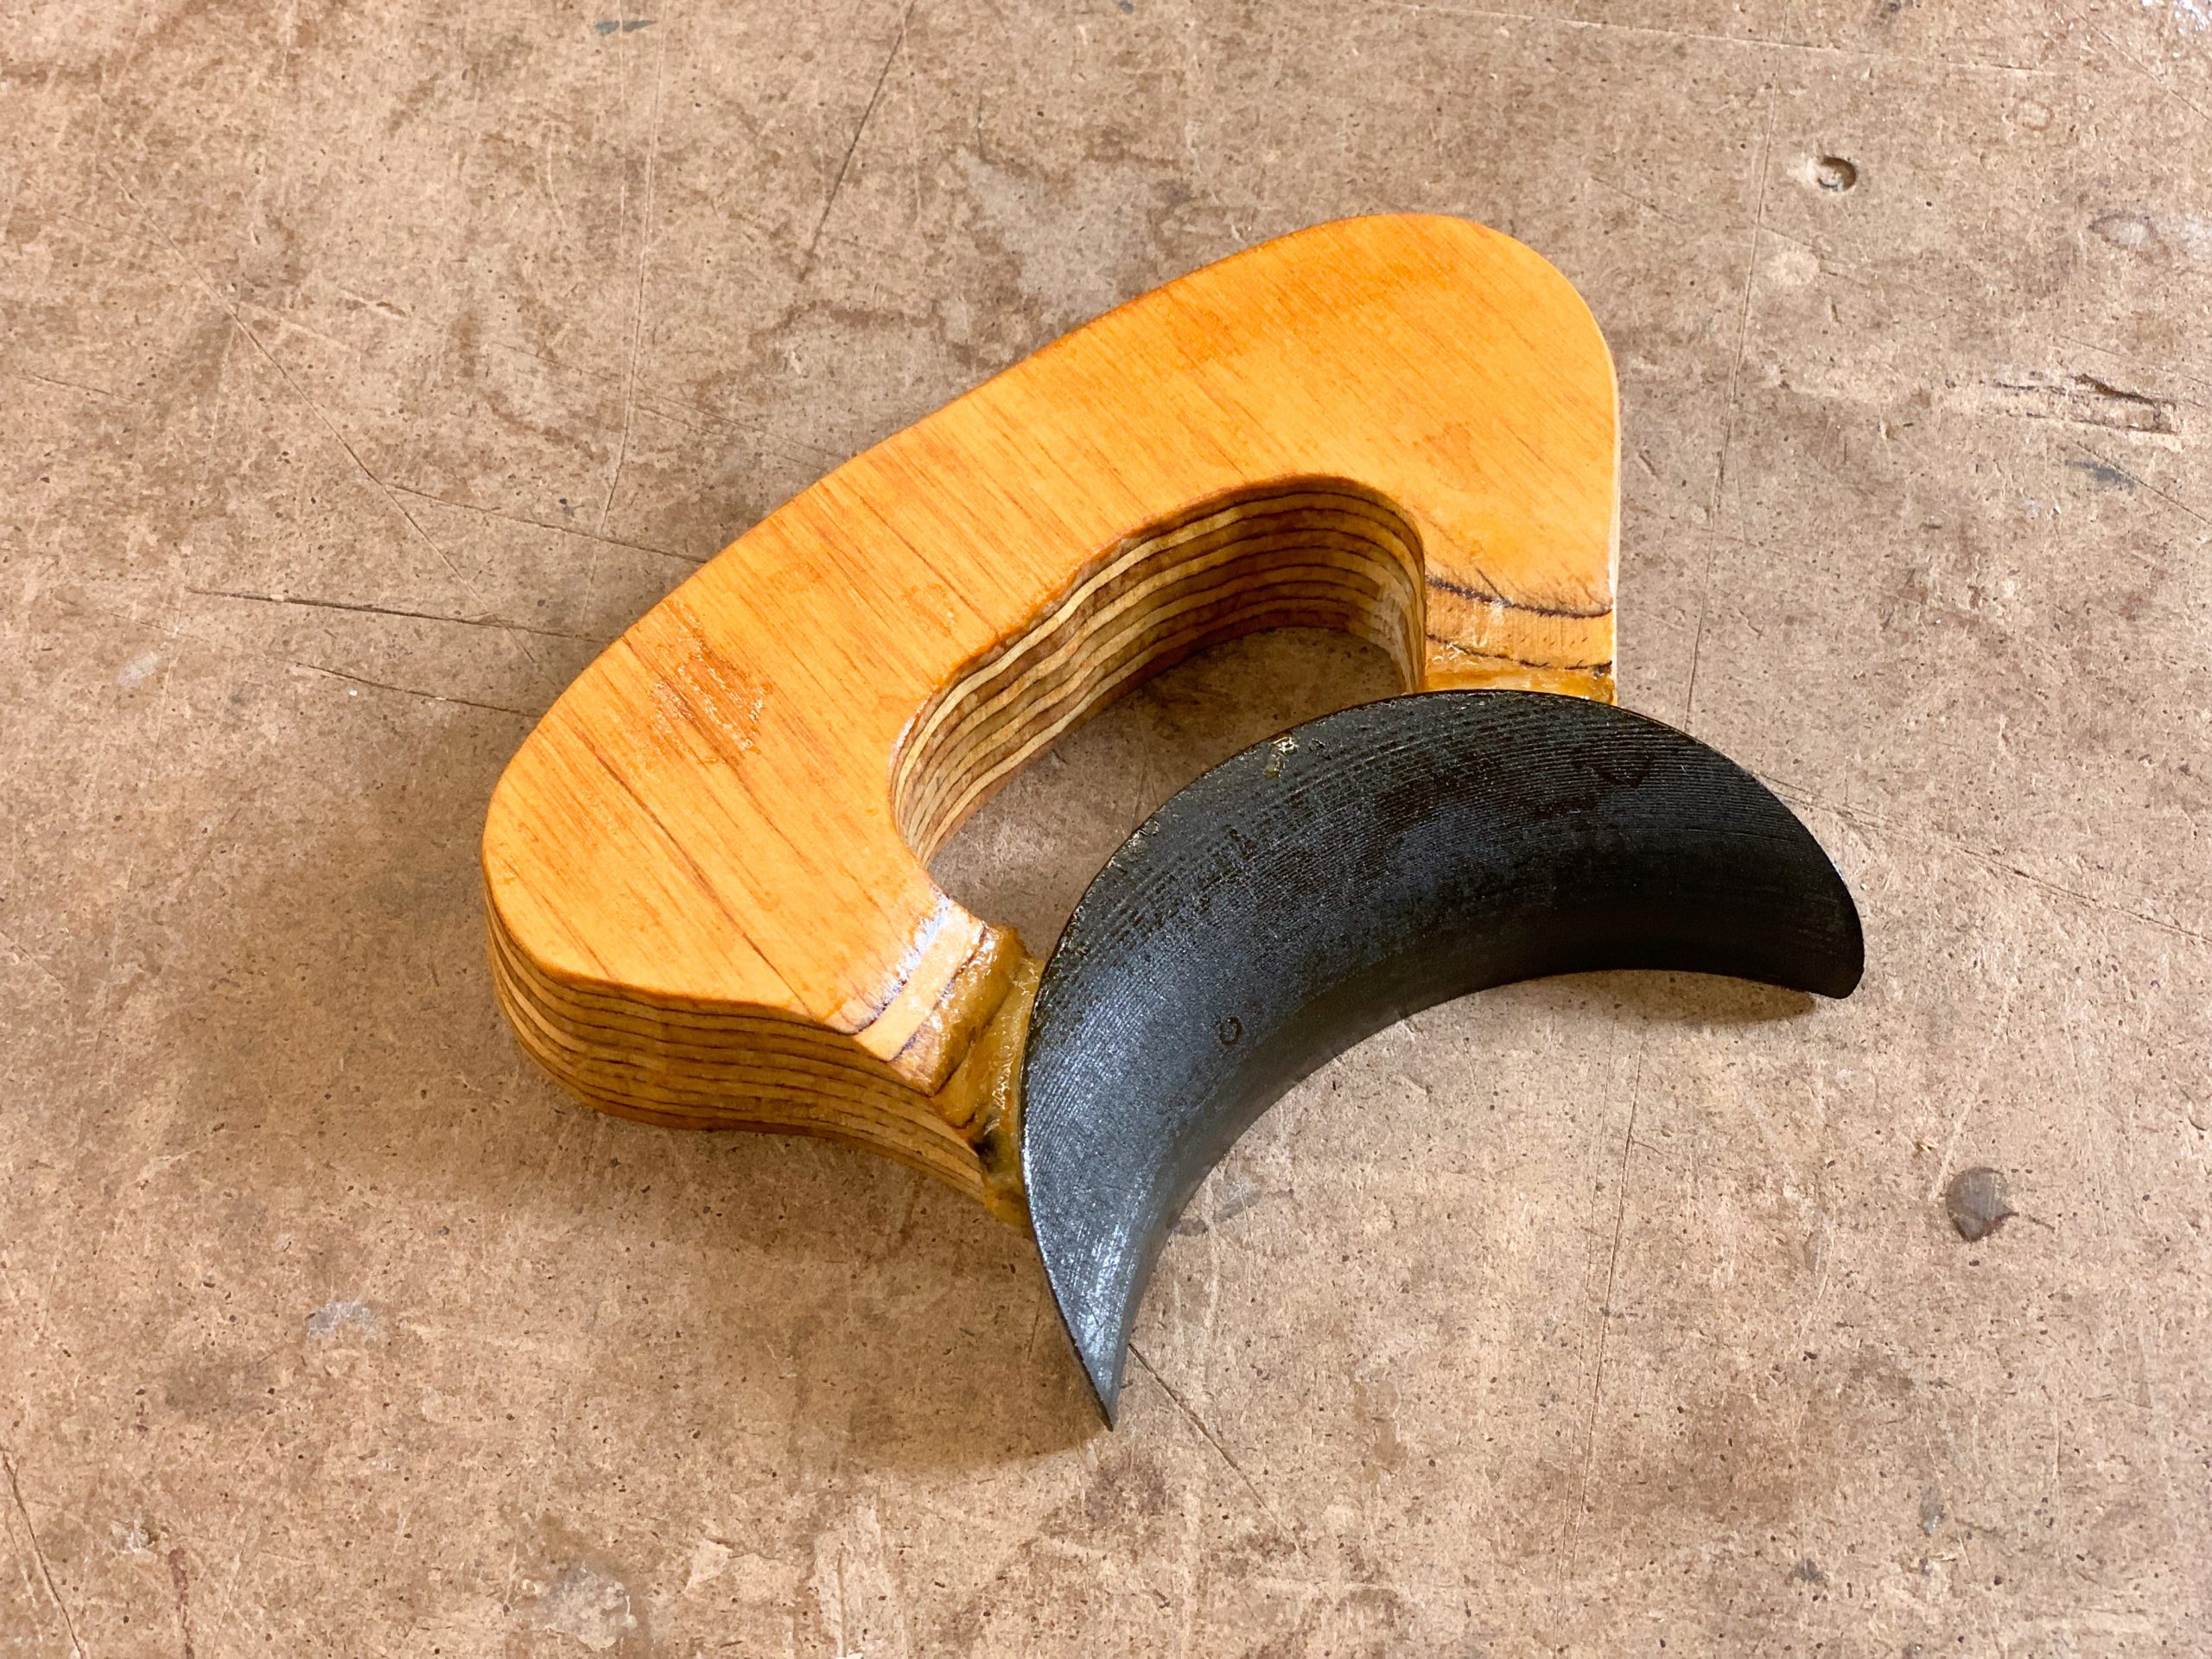
Completed loose pattern
In all honesty, I had expected sand casting to be relatively straightforward. After all, the “pringle” was a small part with a rather simple geometry: what could possibly go wrong? Apparently, everything. The first time I rammed up, I realized that my 3D printed pattern was drafted the wrong way. The second time, my part would not pull cleanly from the packed sand. Each time I rammed up, I tweaked my process: I increased the draft on my gate and runner, I added more parting compound, I removed one of the gates, etc. until finally, on the sixth try, I was able to achieve a clean pour.
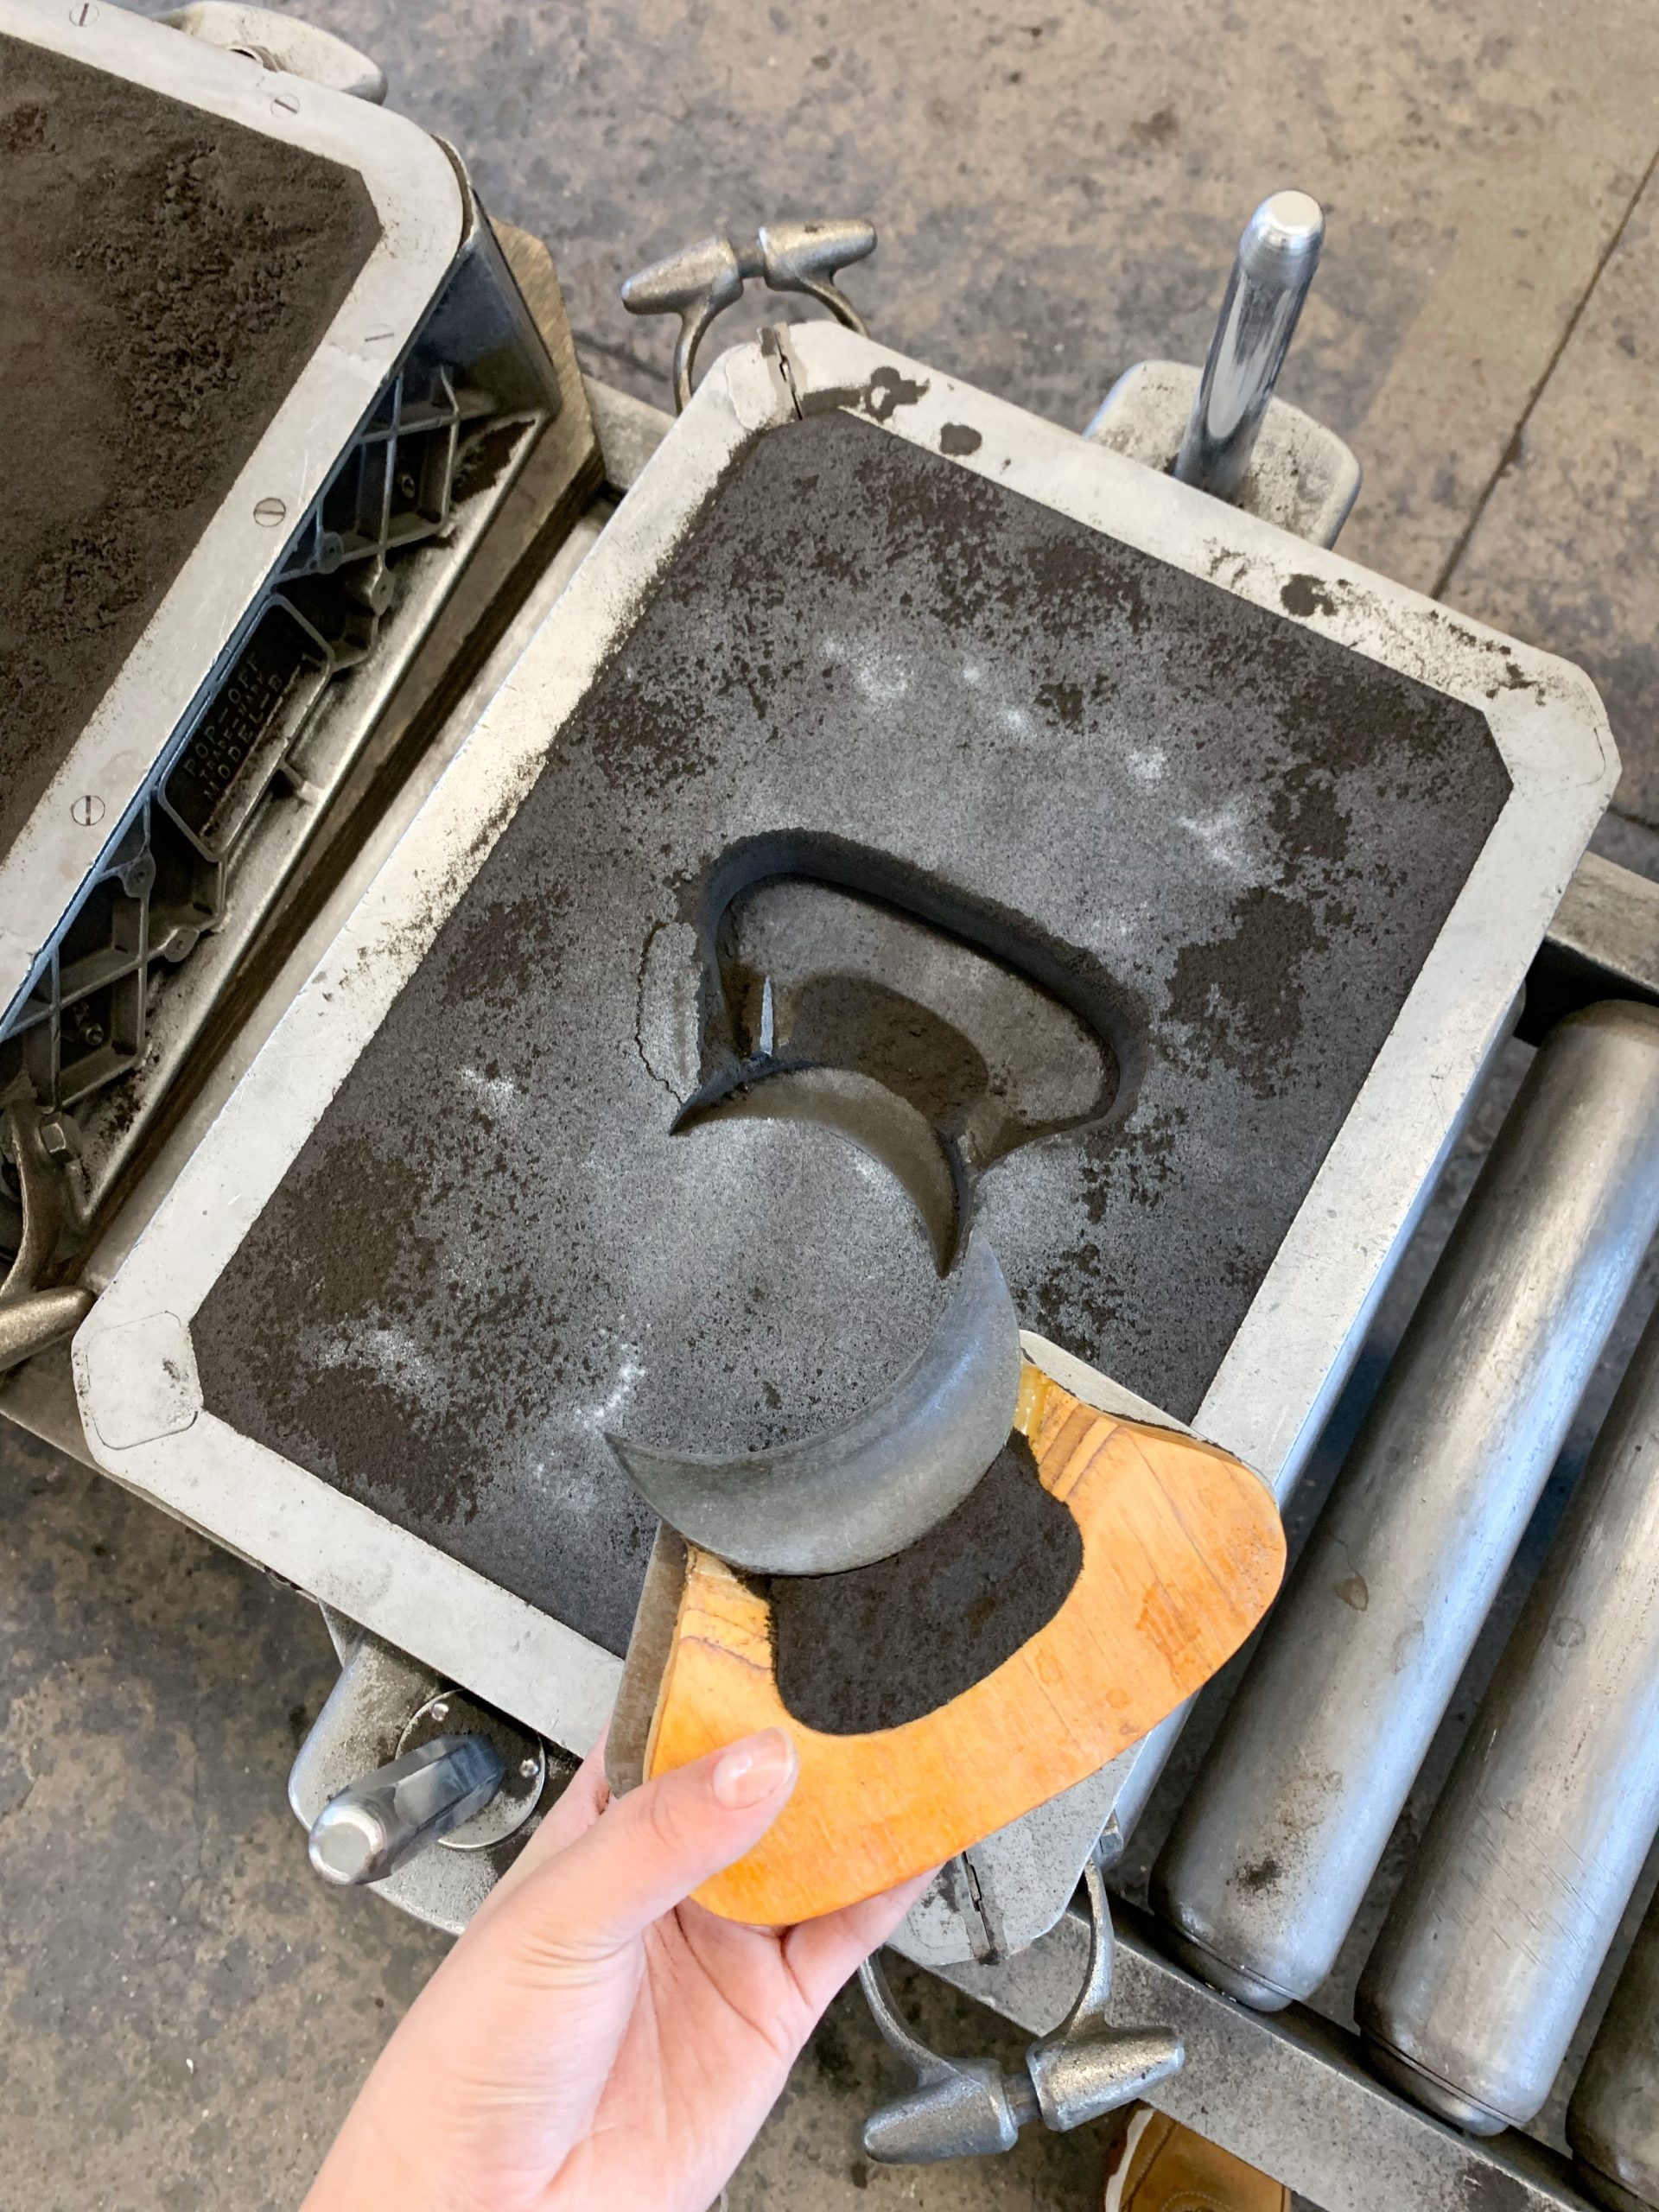
Part is difficult to pour
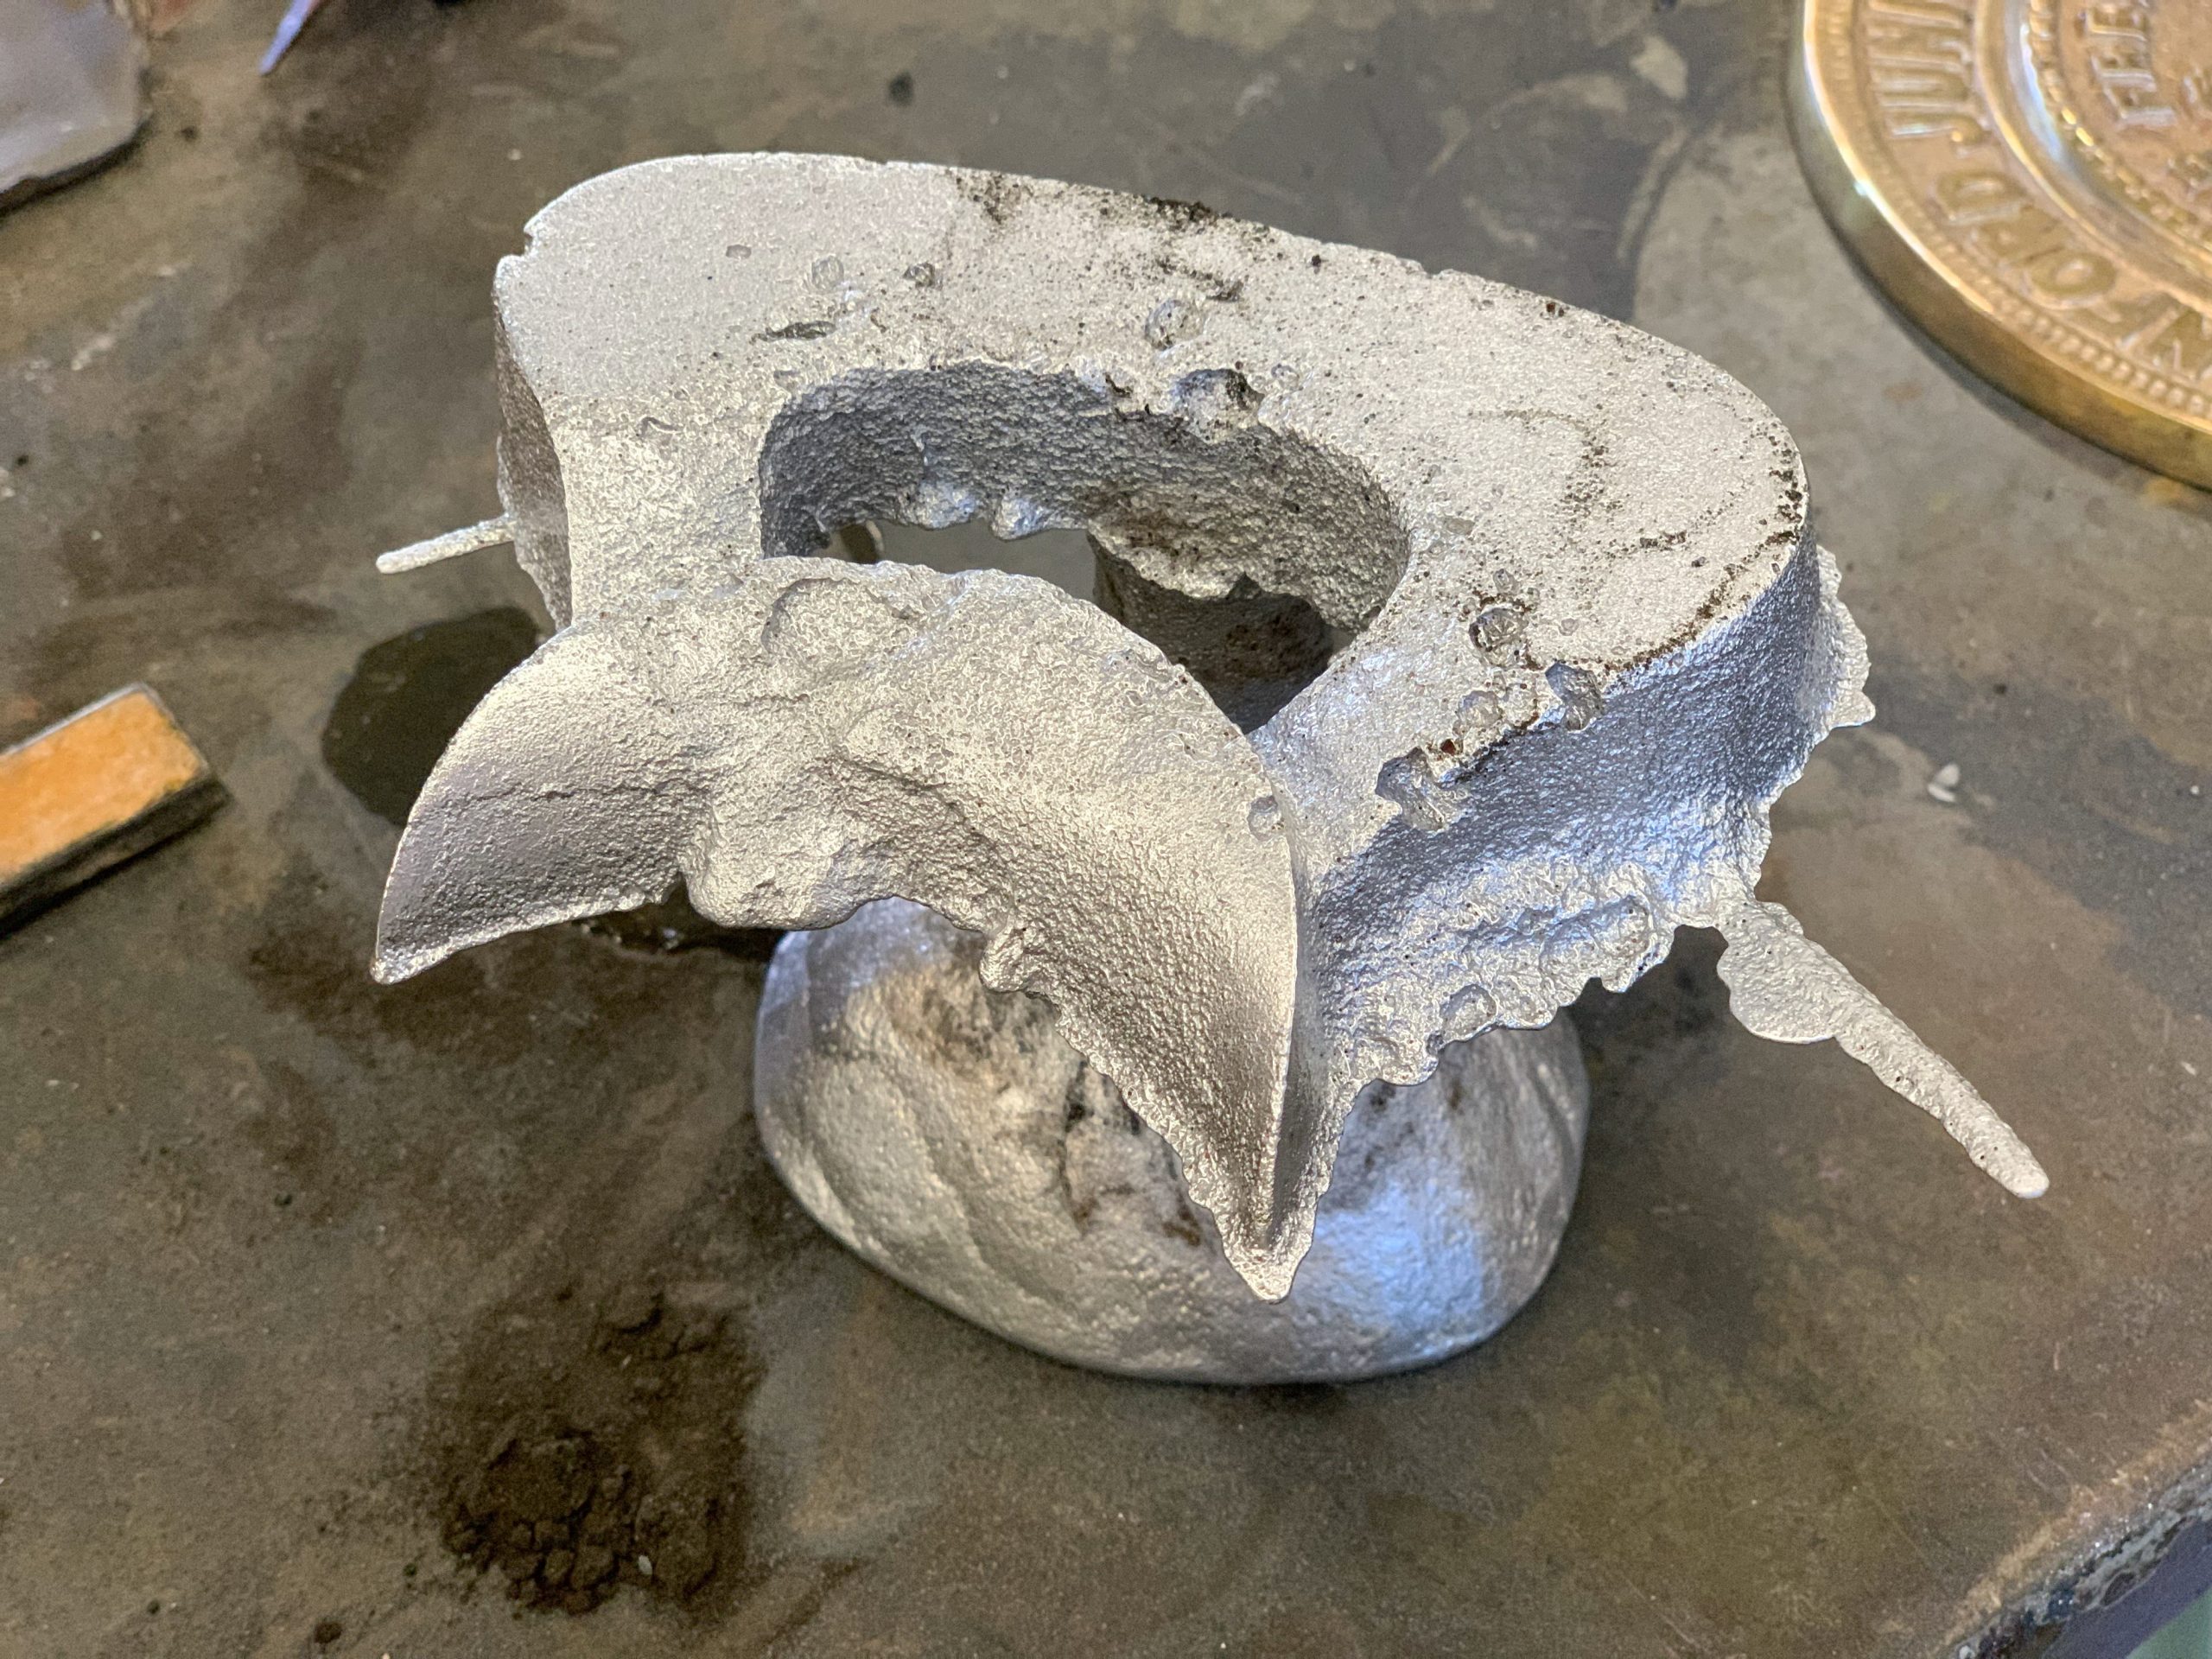
First pour: unsuccessful
What I found funny about this dilemma was that each CA I asked had a different theory on what was going wrong. It took piecing together all of these clues to finally get a successful cast part. In the end, it appeared that removing one of the gates, increasing the draft angle to 10º, putting a lot of parting compound, and doing lighter kitty paws yielded the most success.
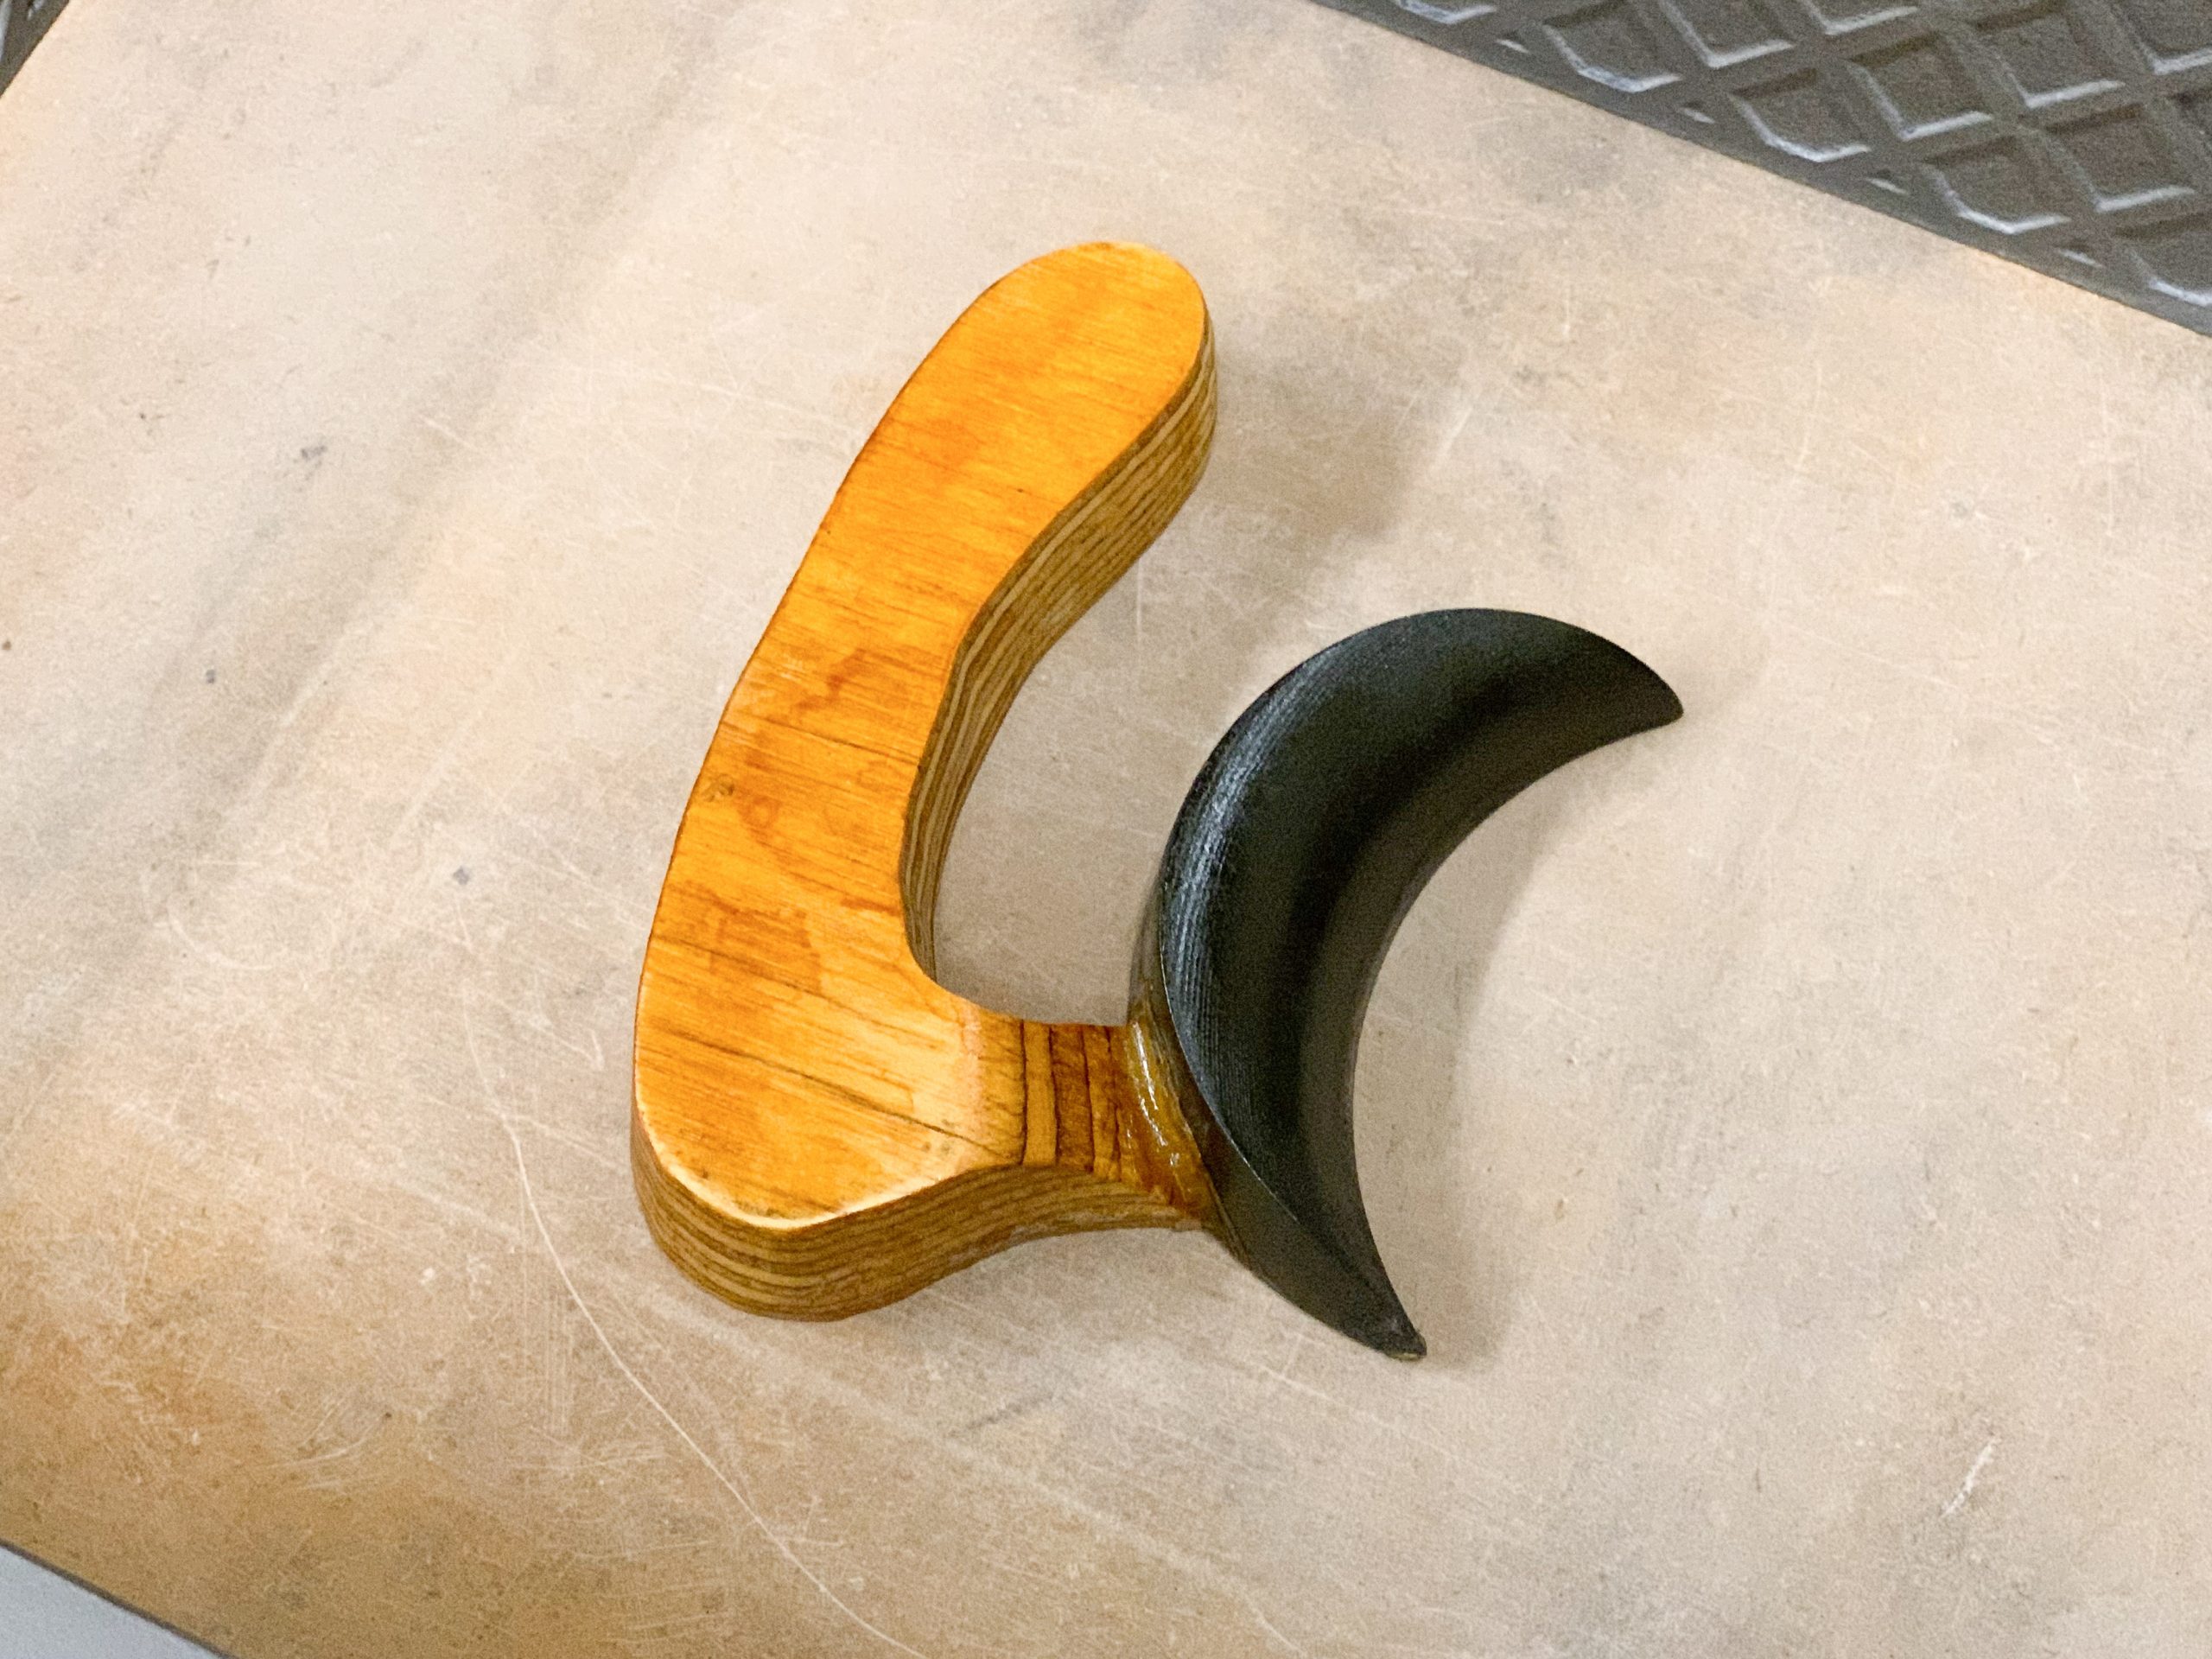
Runner with only one gate
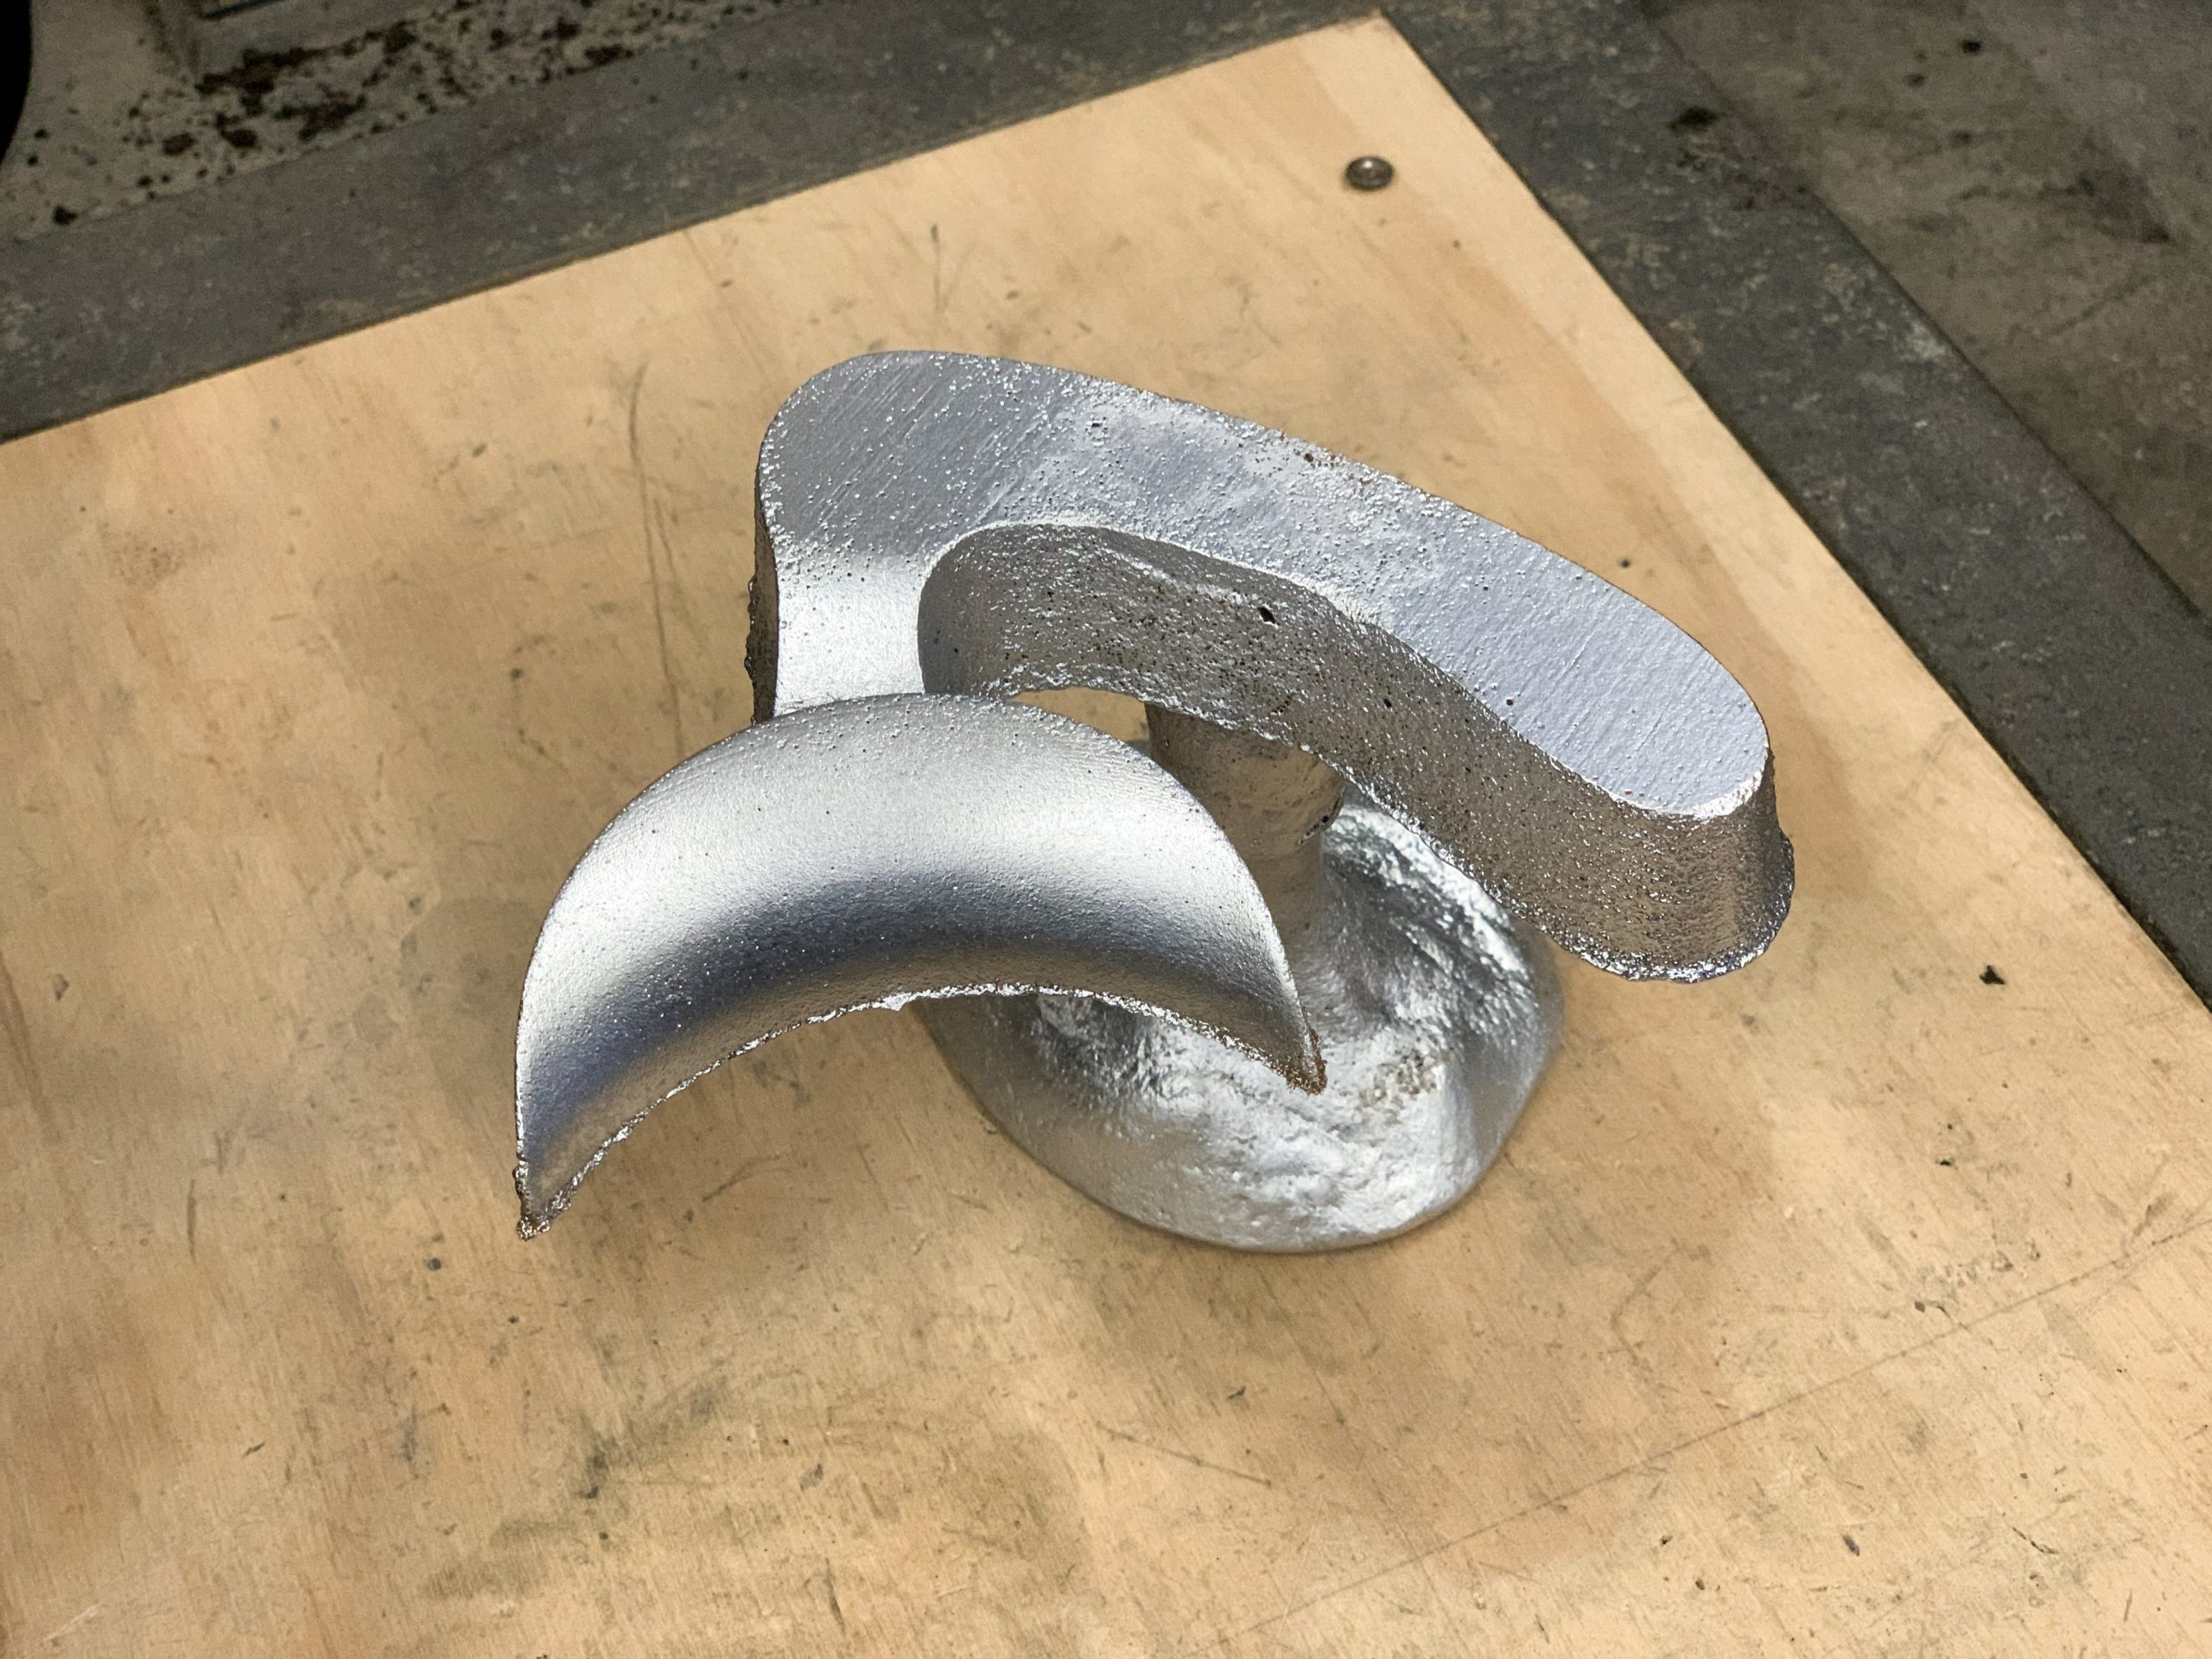
Second pour: successful
Happy pringle!
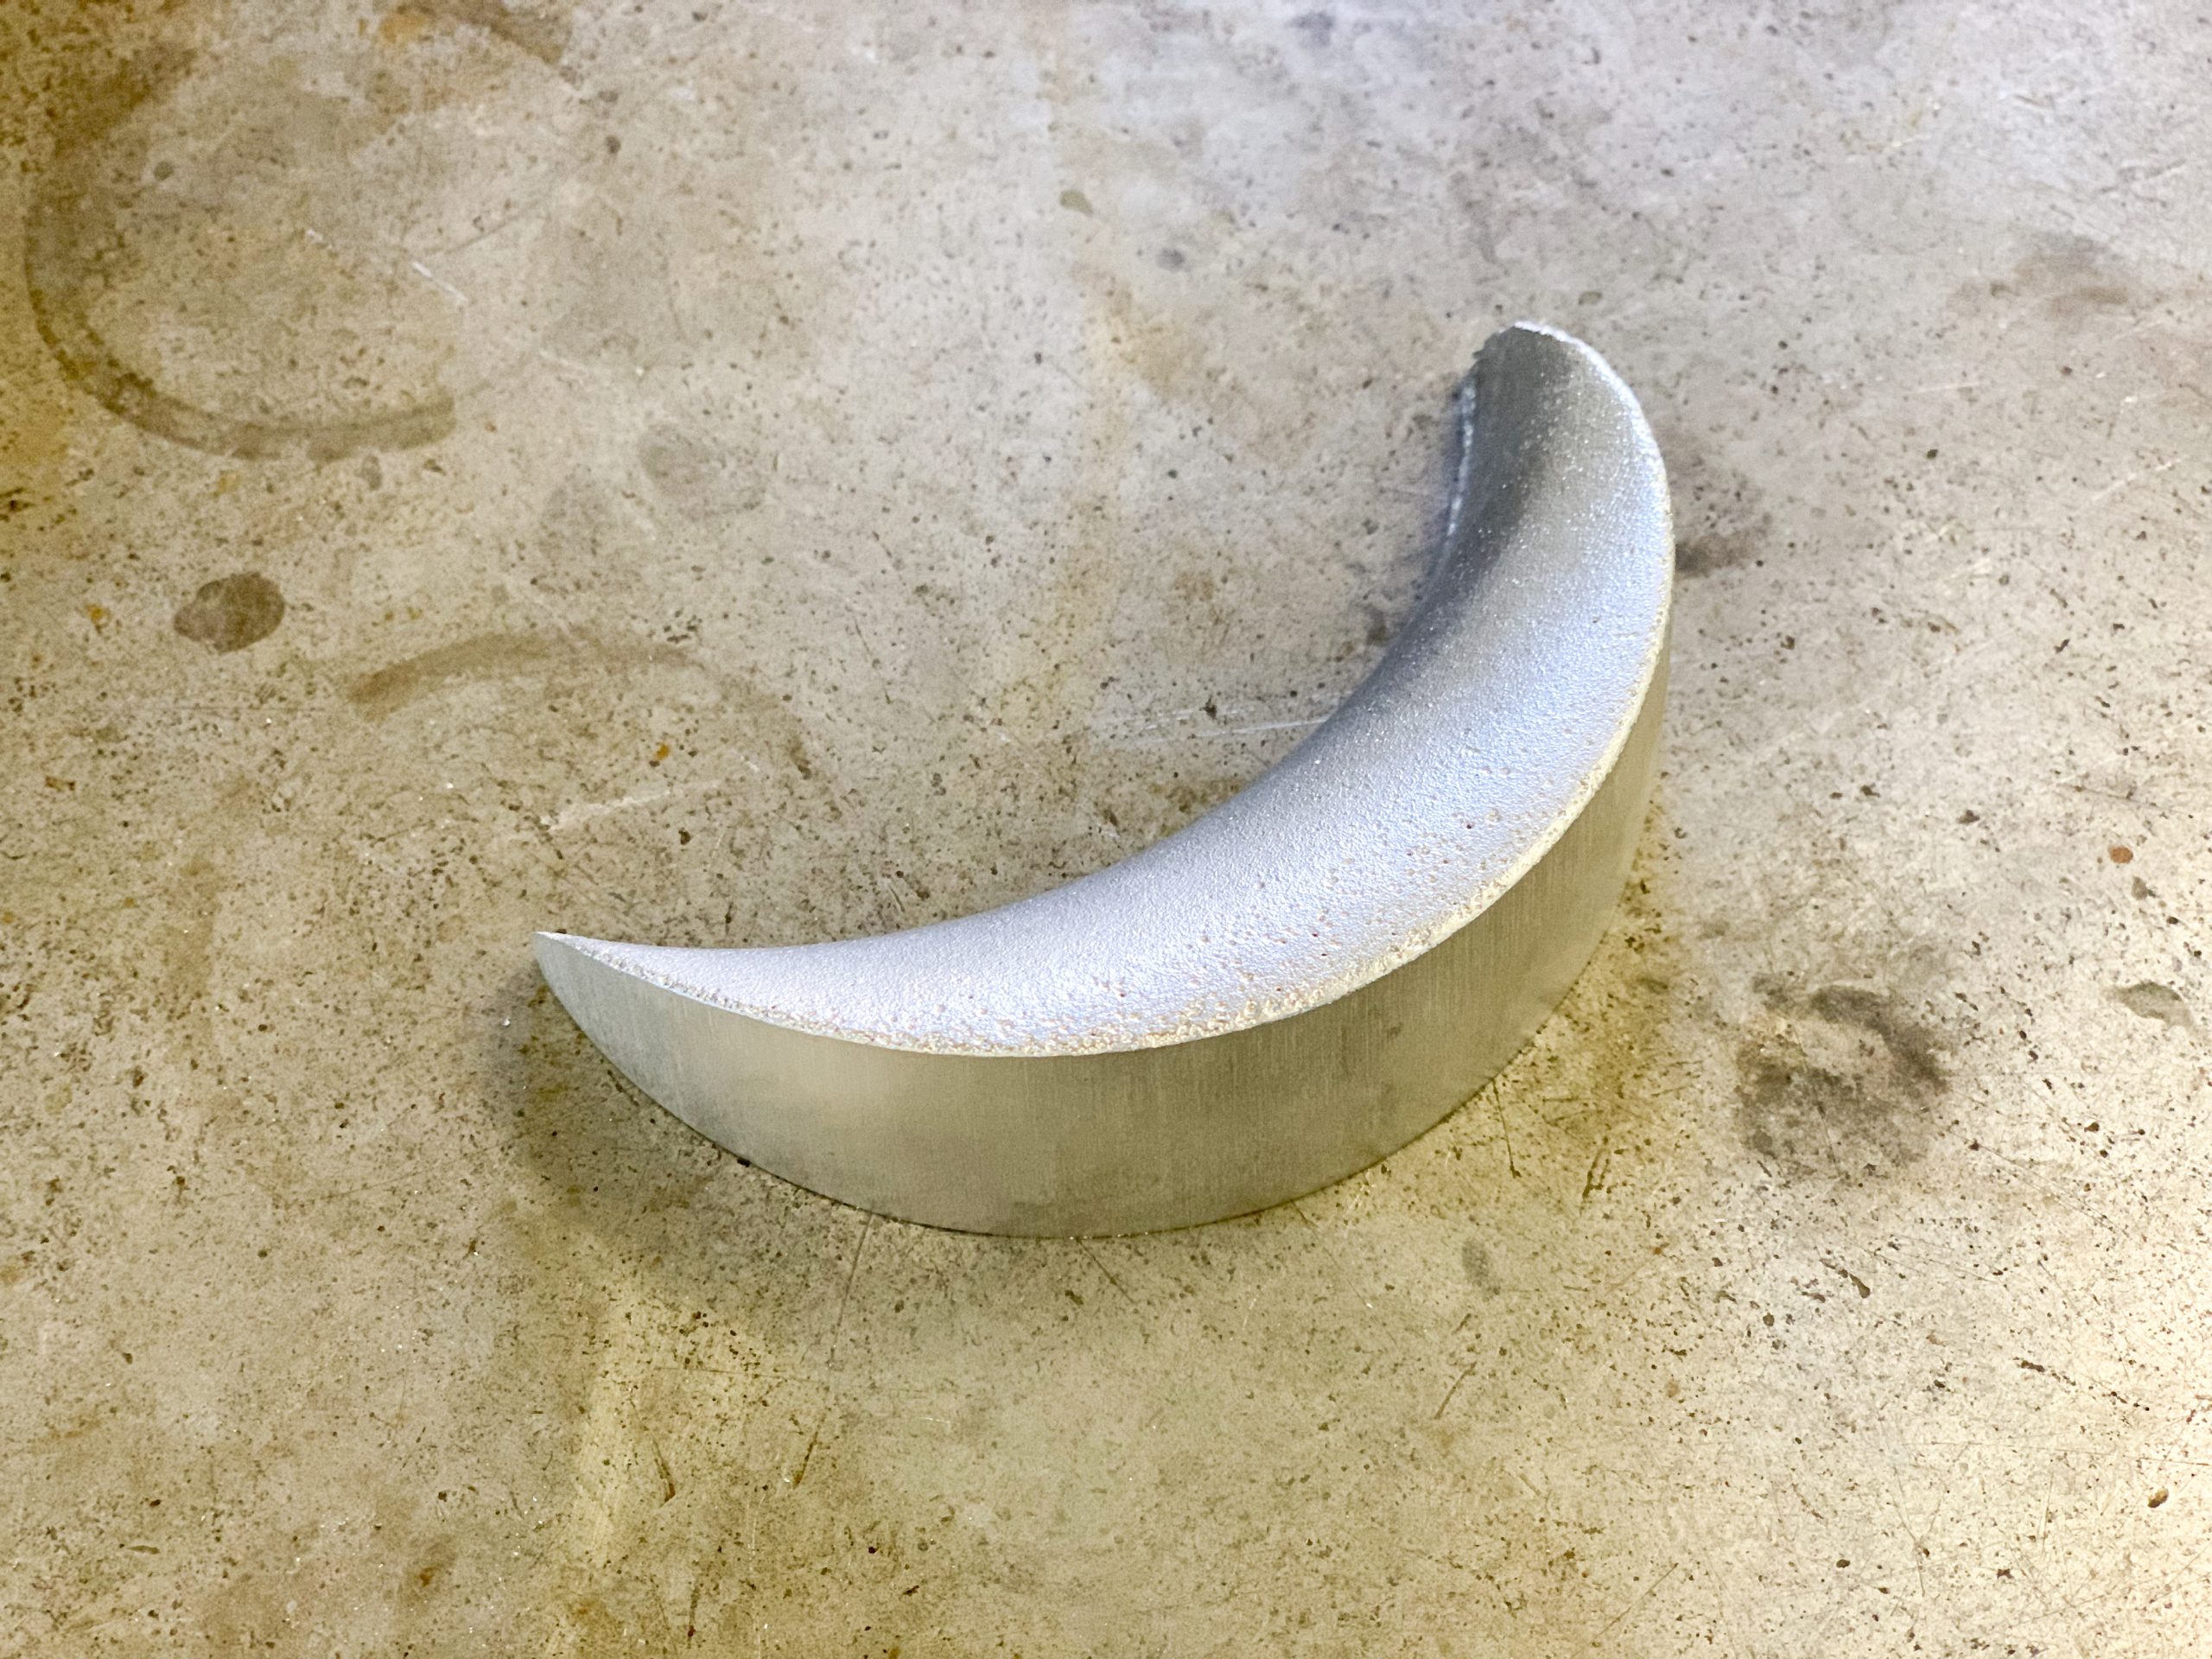
Hacksawed and sanded
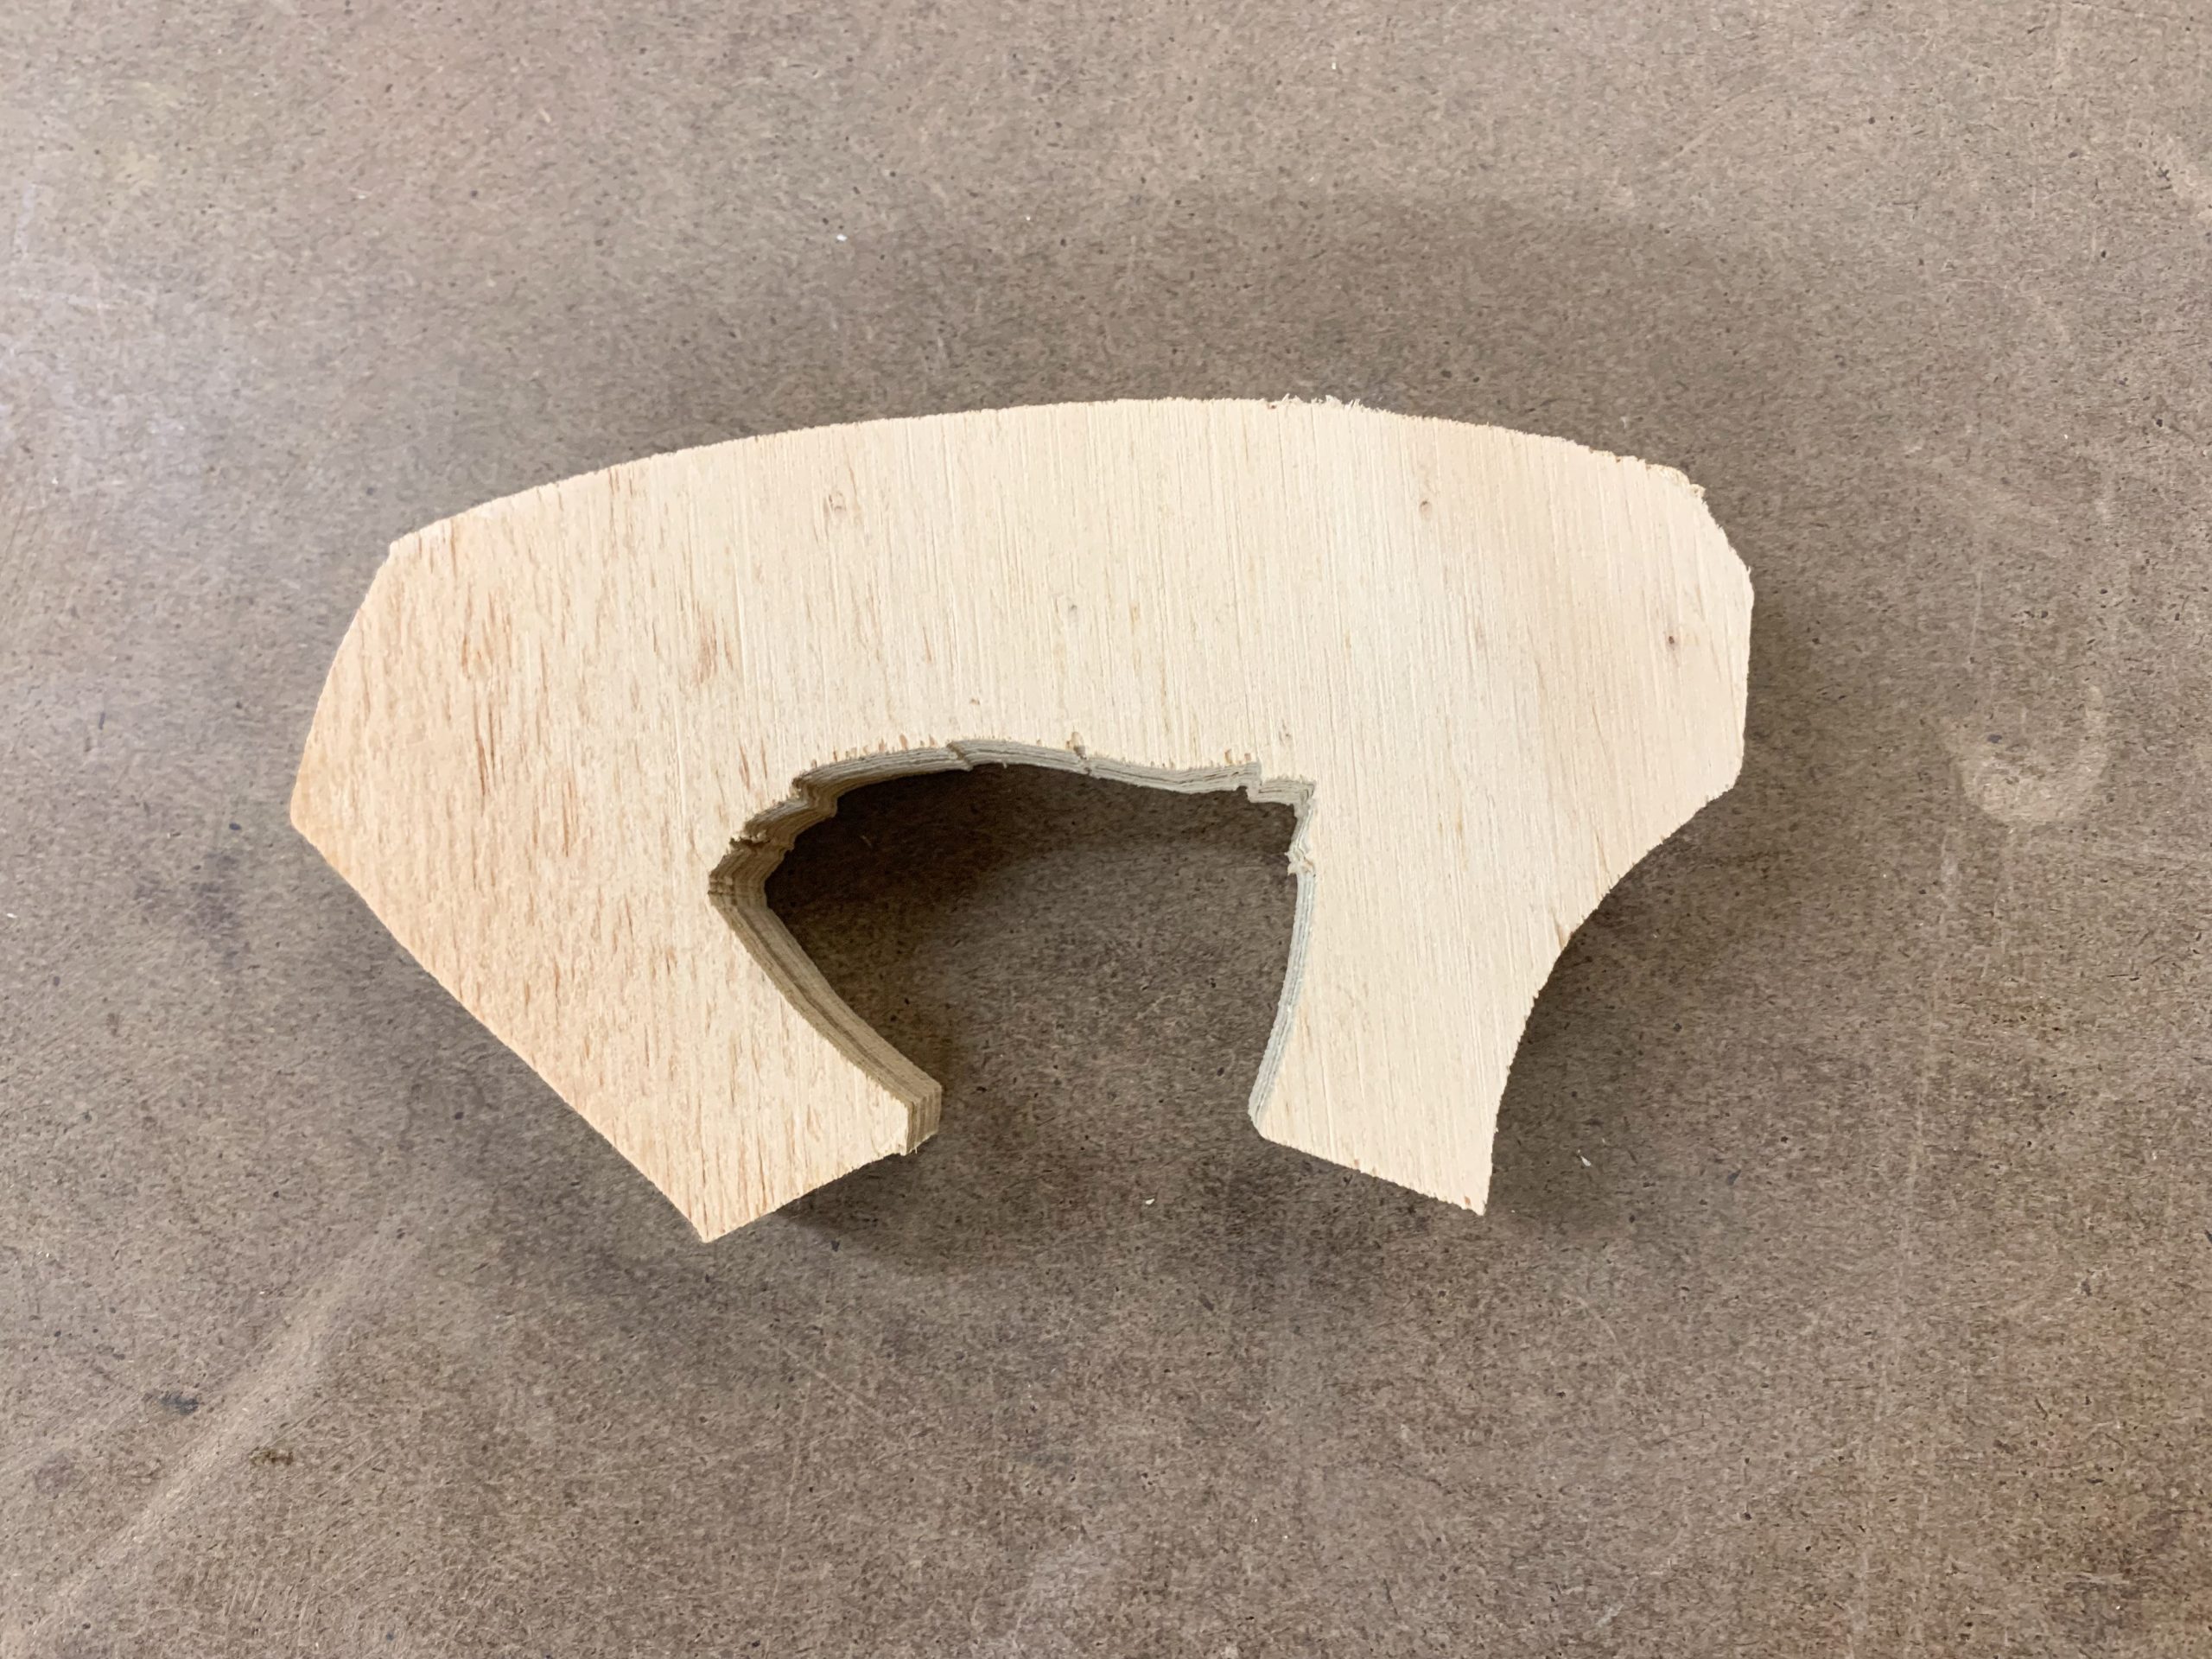
Once I completed my sand cast part, I ran into the issue of drilling holes. Due to its organic shape, it was difficult to secure to the mill. I tried various types of fixtures to no avail, including attempting to carve a negative out of scrap modulan. With limited options left, I chose to 3D print a negative instead, which worked wonders! Afterward, I reprimanded myself for not taking Andy’s lecture about fixtures more seriously.
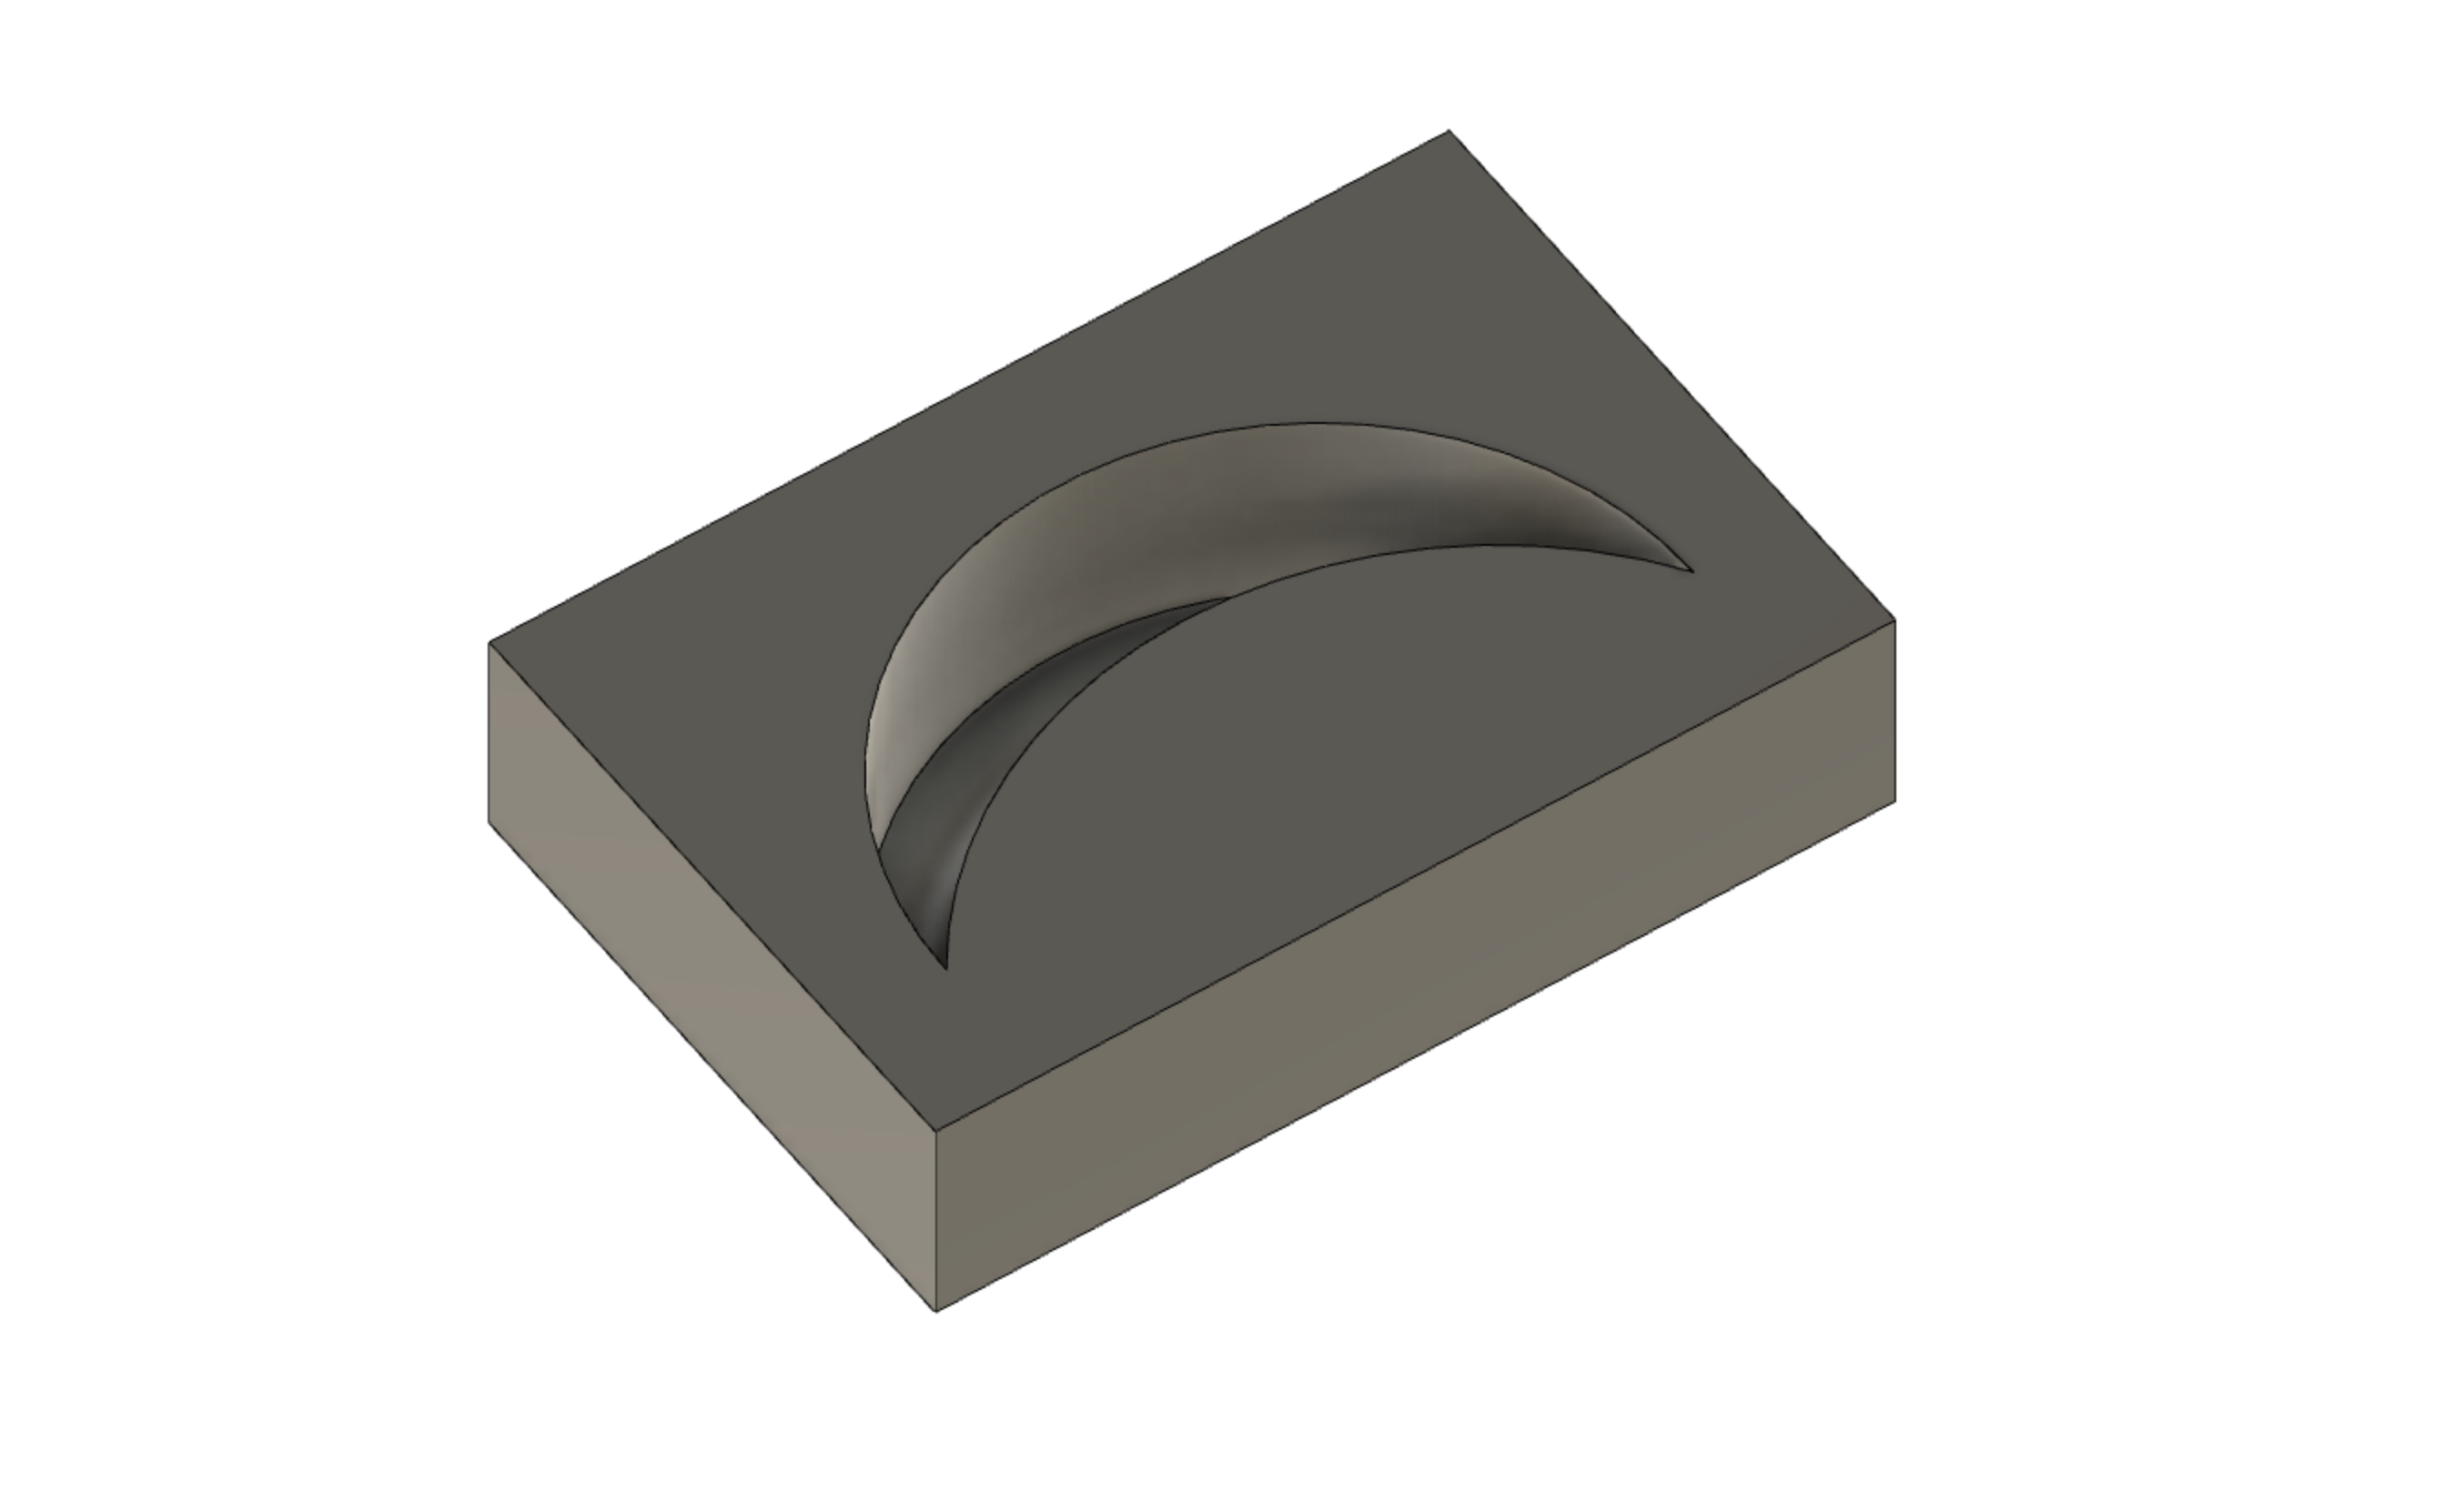
Negative of cast part
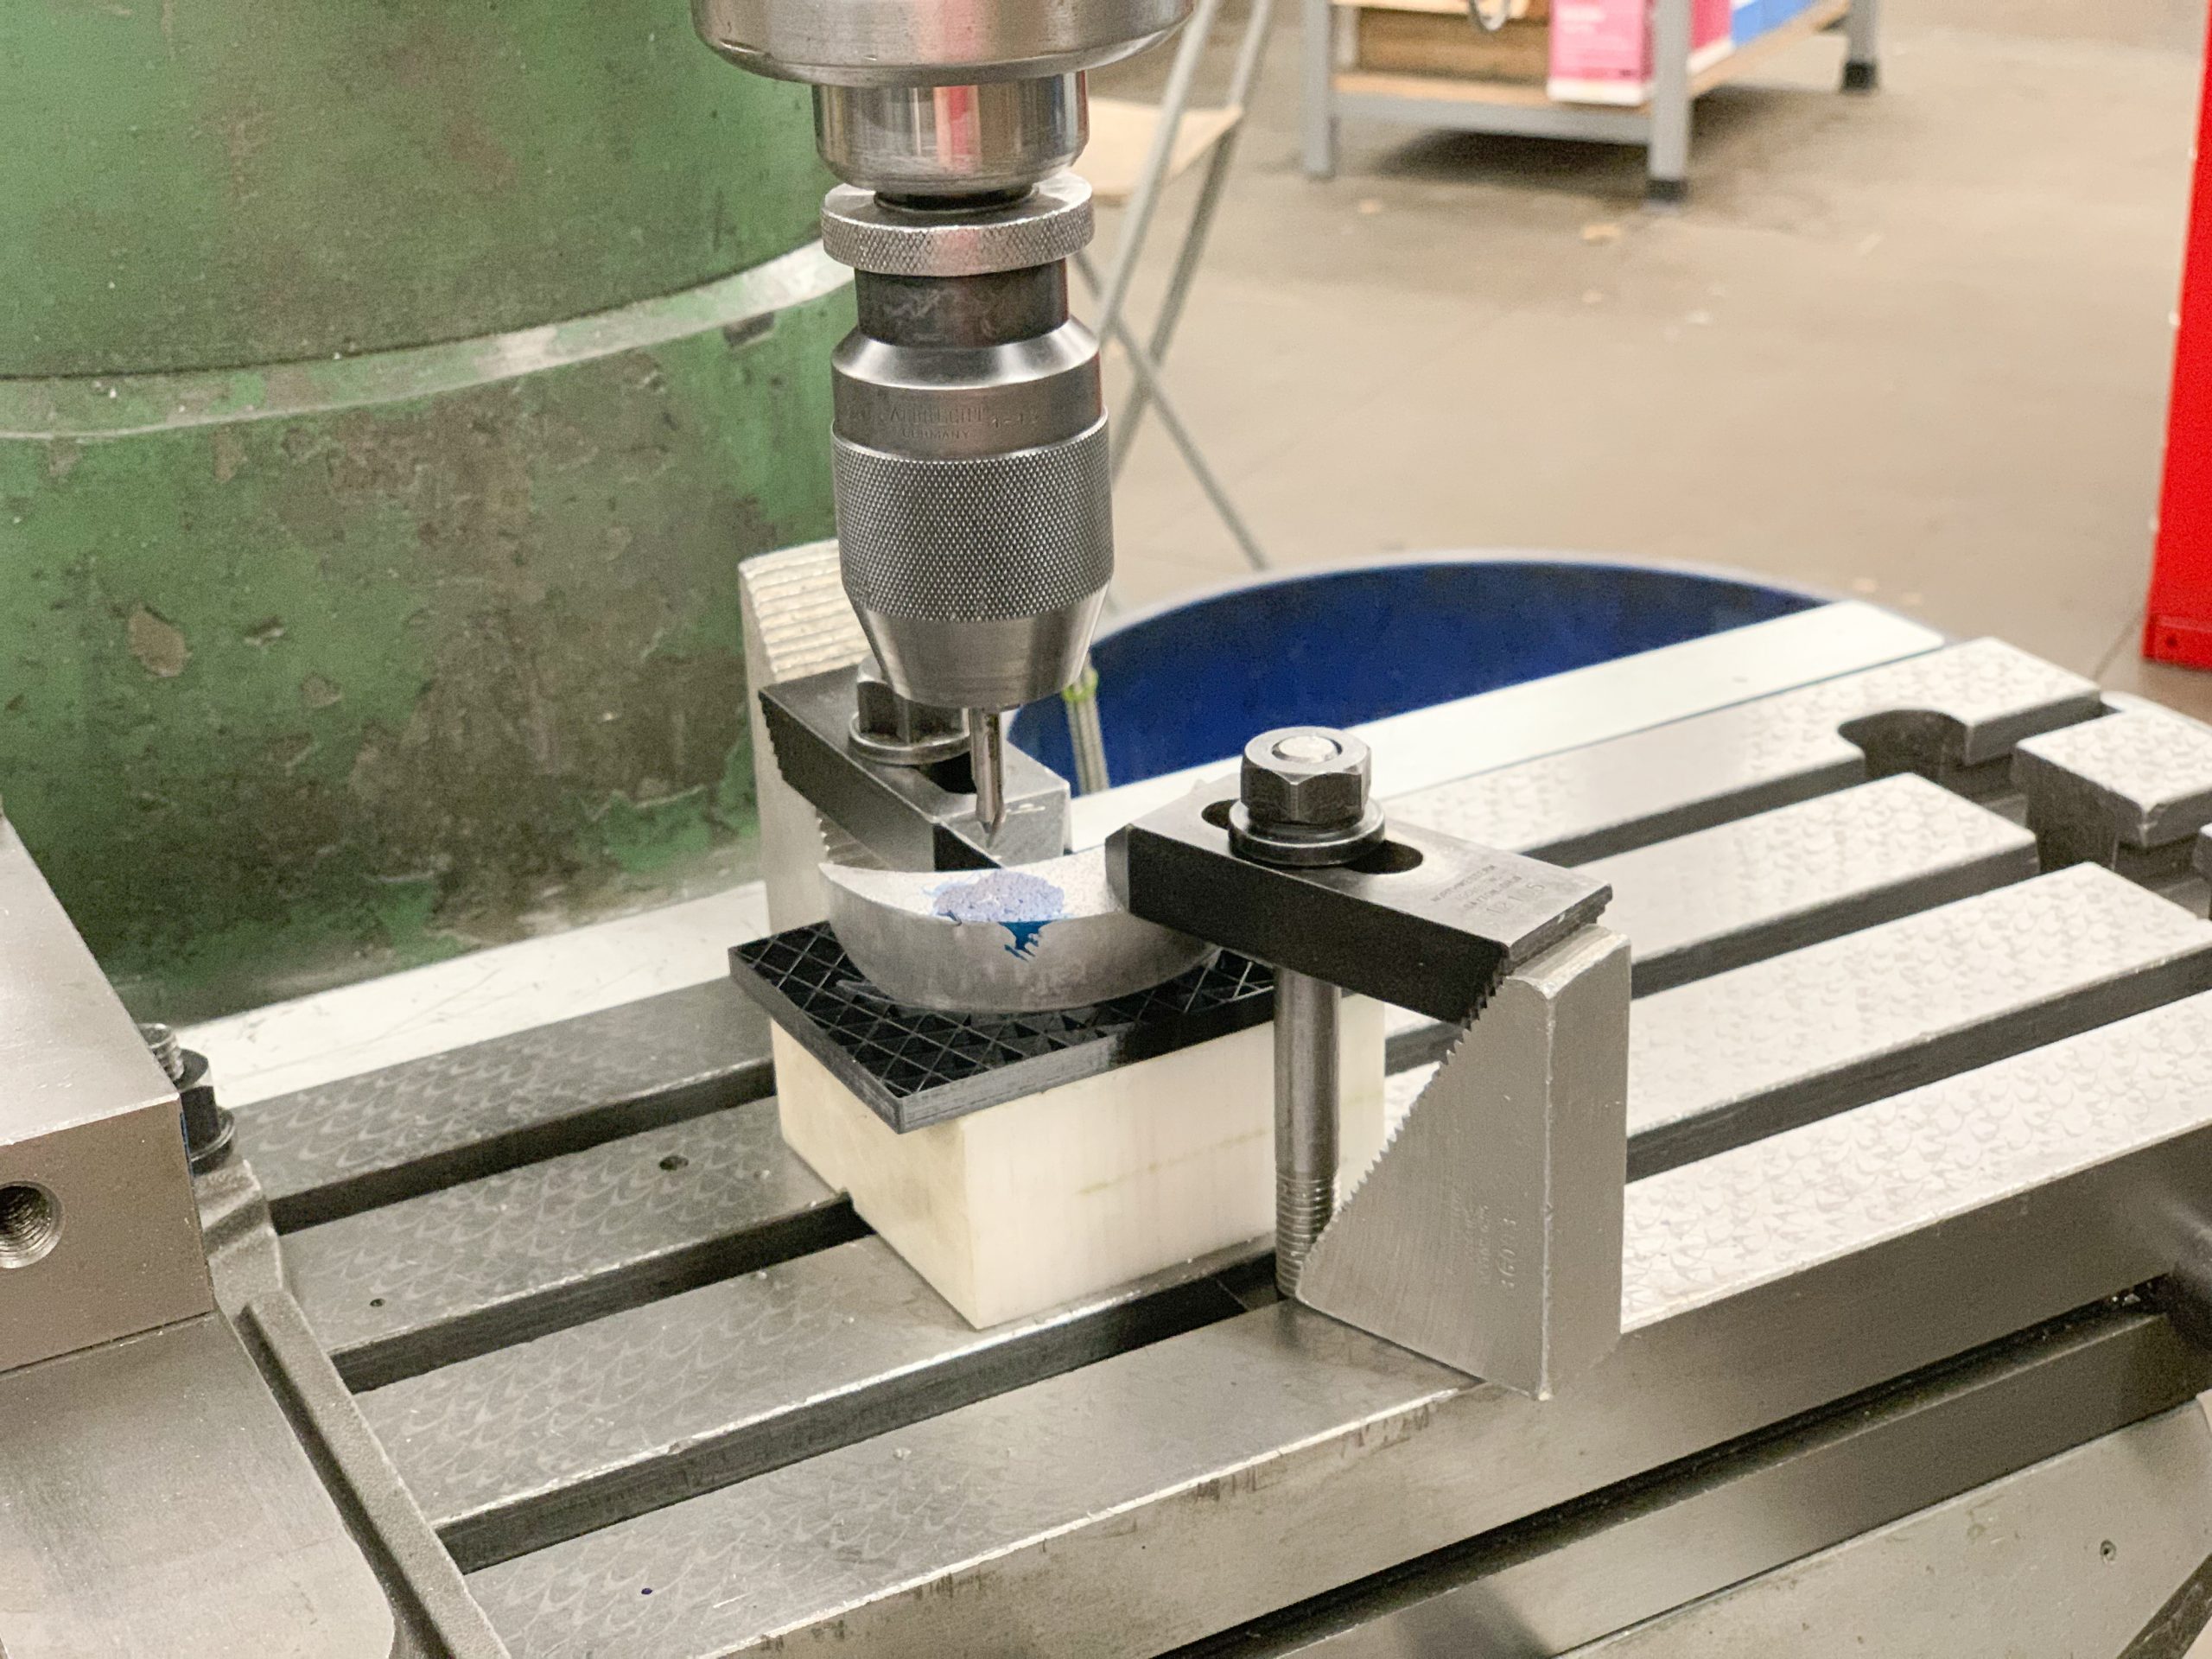
Secured to mill with step blocks and clamps
MACHINING ("NECK")
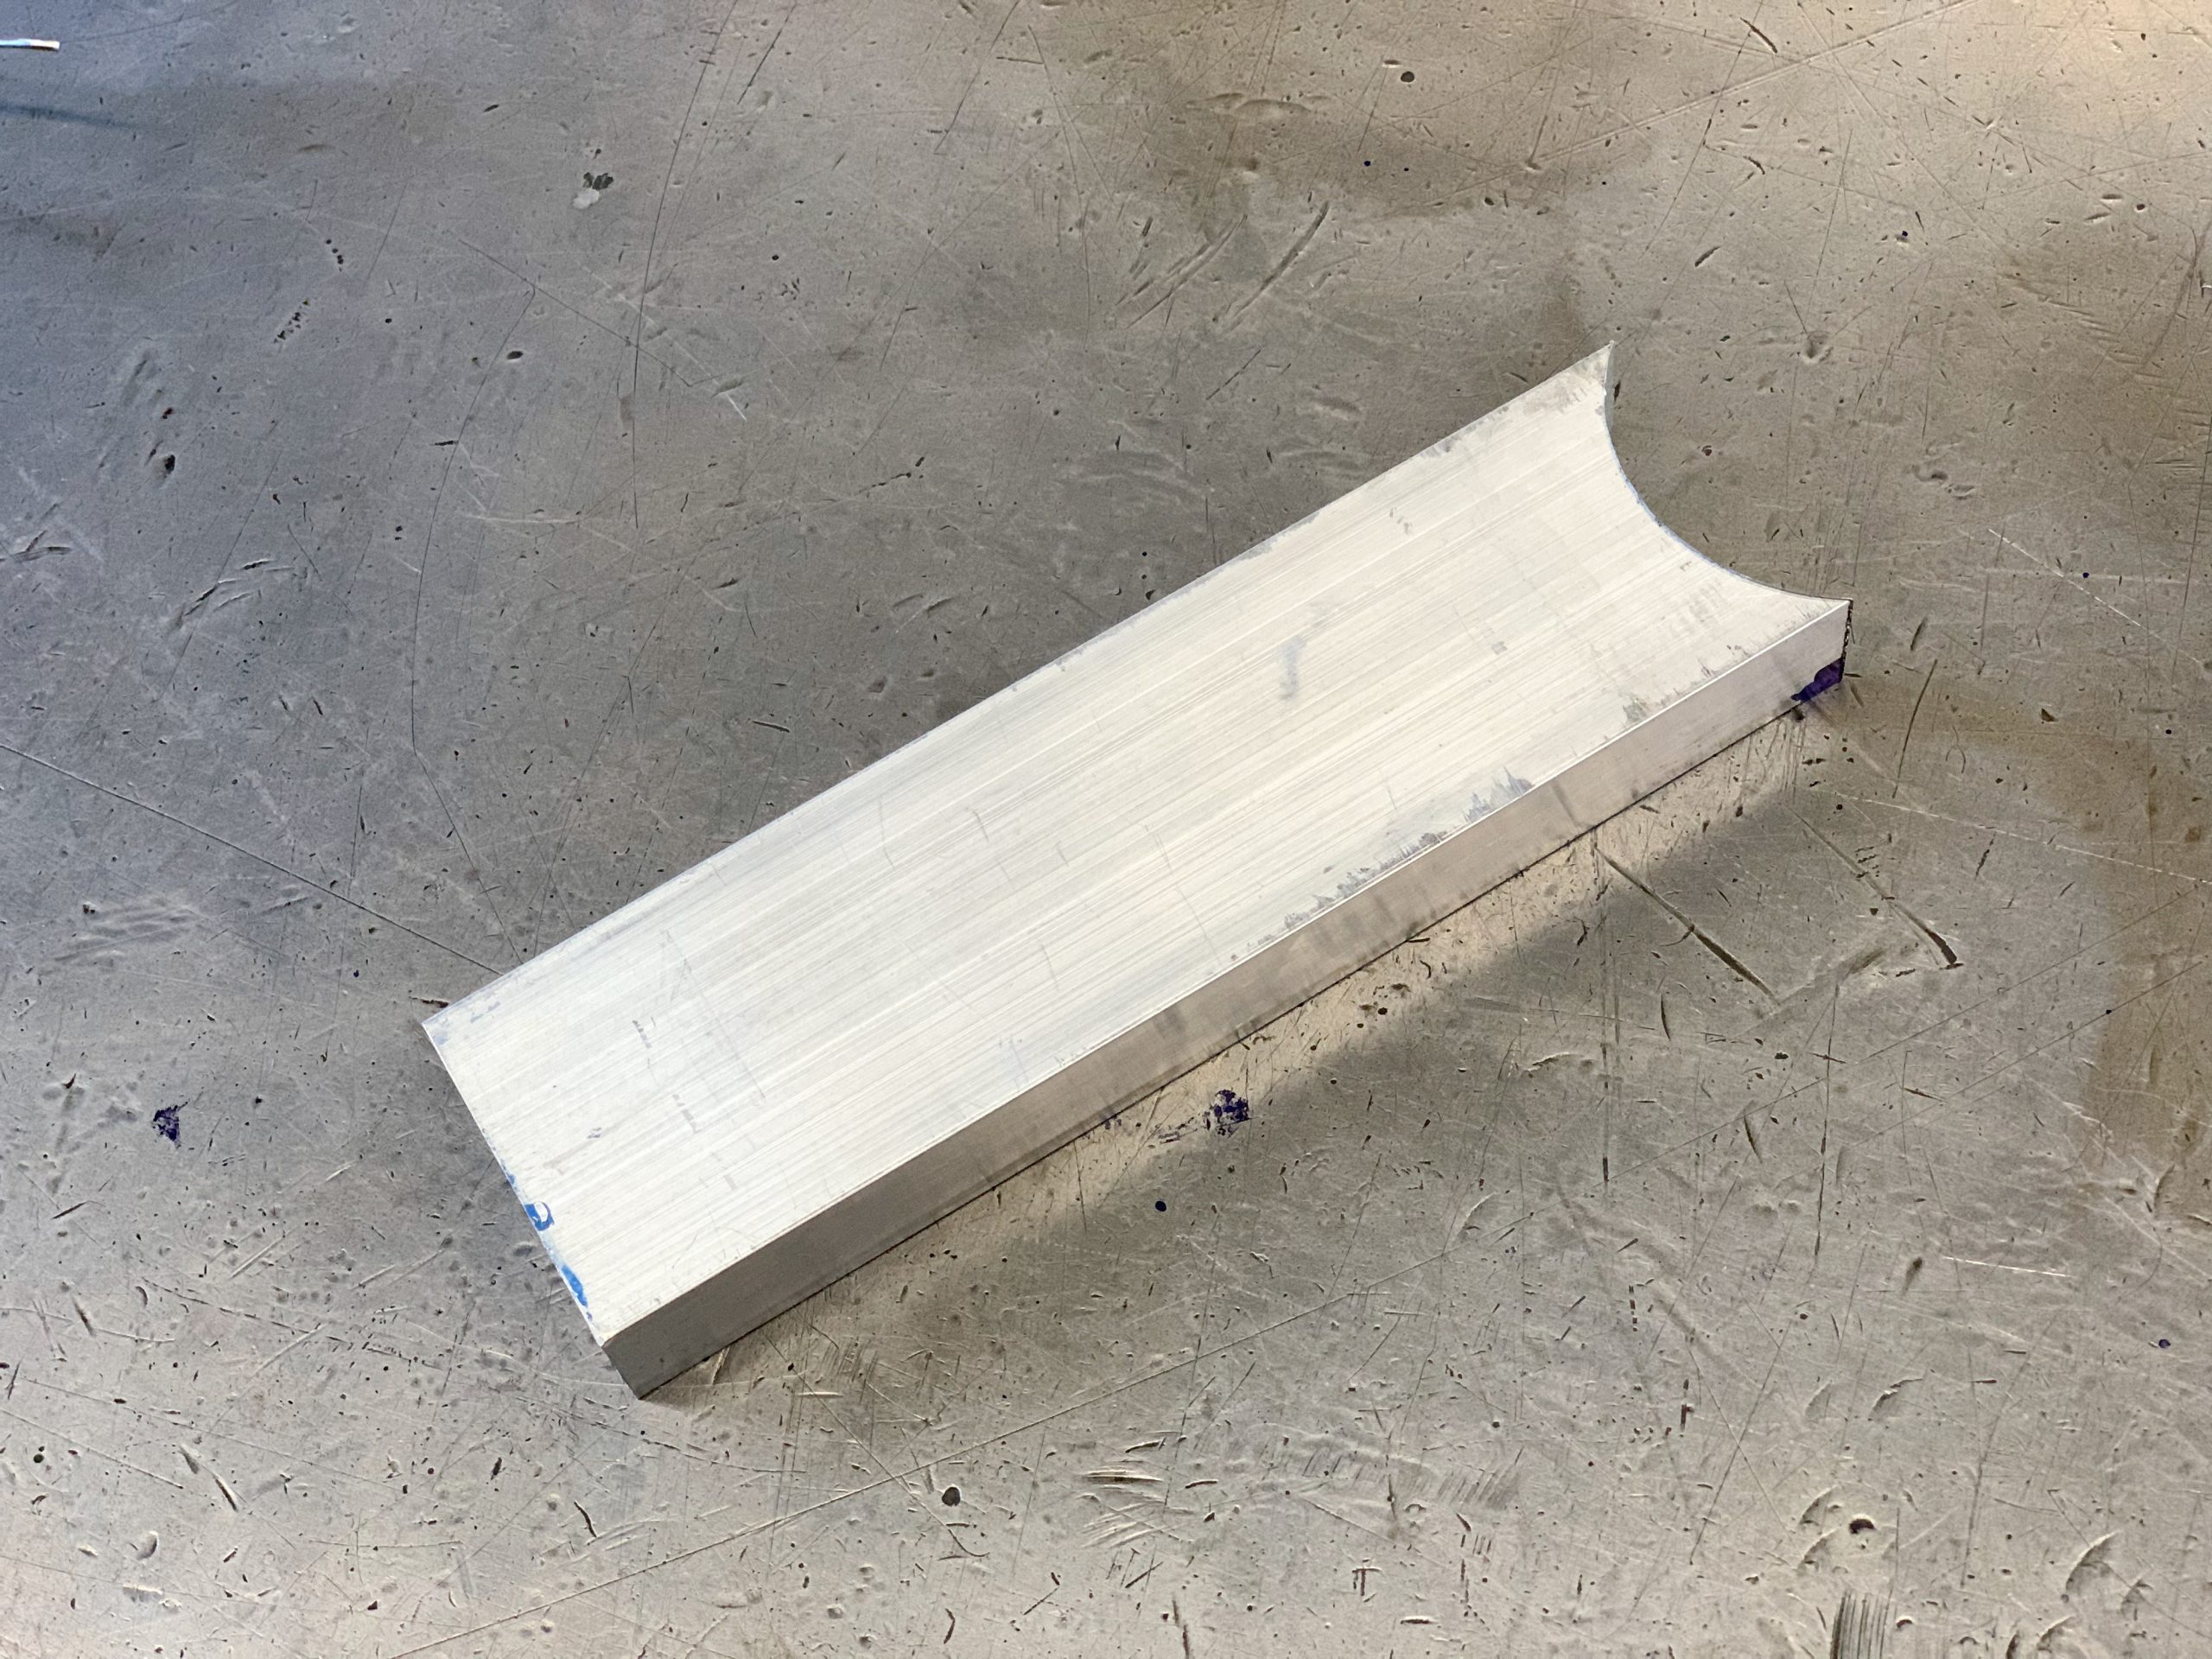
Machining the “neck” was perhaps the most straightforward of all the manufacturing processes. I started off with a solid block of aluminum (multipurpose 6061 aluminum, 3/4″ thick x 2″ wide). Then, I used a 1.25” boring bar to mill the radius on the top of the part. Finally, I drilled two holes on the bottom and tapped threads to complete the part.
ANNEALING, FORMING, AND SOLDERING (FLOWER)
Now, the decision to keep the copper flower was a stubborn one on my part. Every CA that I talked to begged me to simplify my project and cautioned me against trying out annealing, forming, and soldering, which were all manufacturing processes that had not been covered in class. But alas, it was too late. By this point, I had been watching YouTube videos of people making sheet metal flowers all quarter, so I was determined to craft a successful sheet metal flower for my project. Although it was quite the challenge, I am truly proud of myself for achieving my goal.
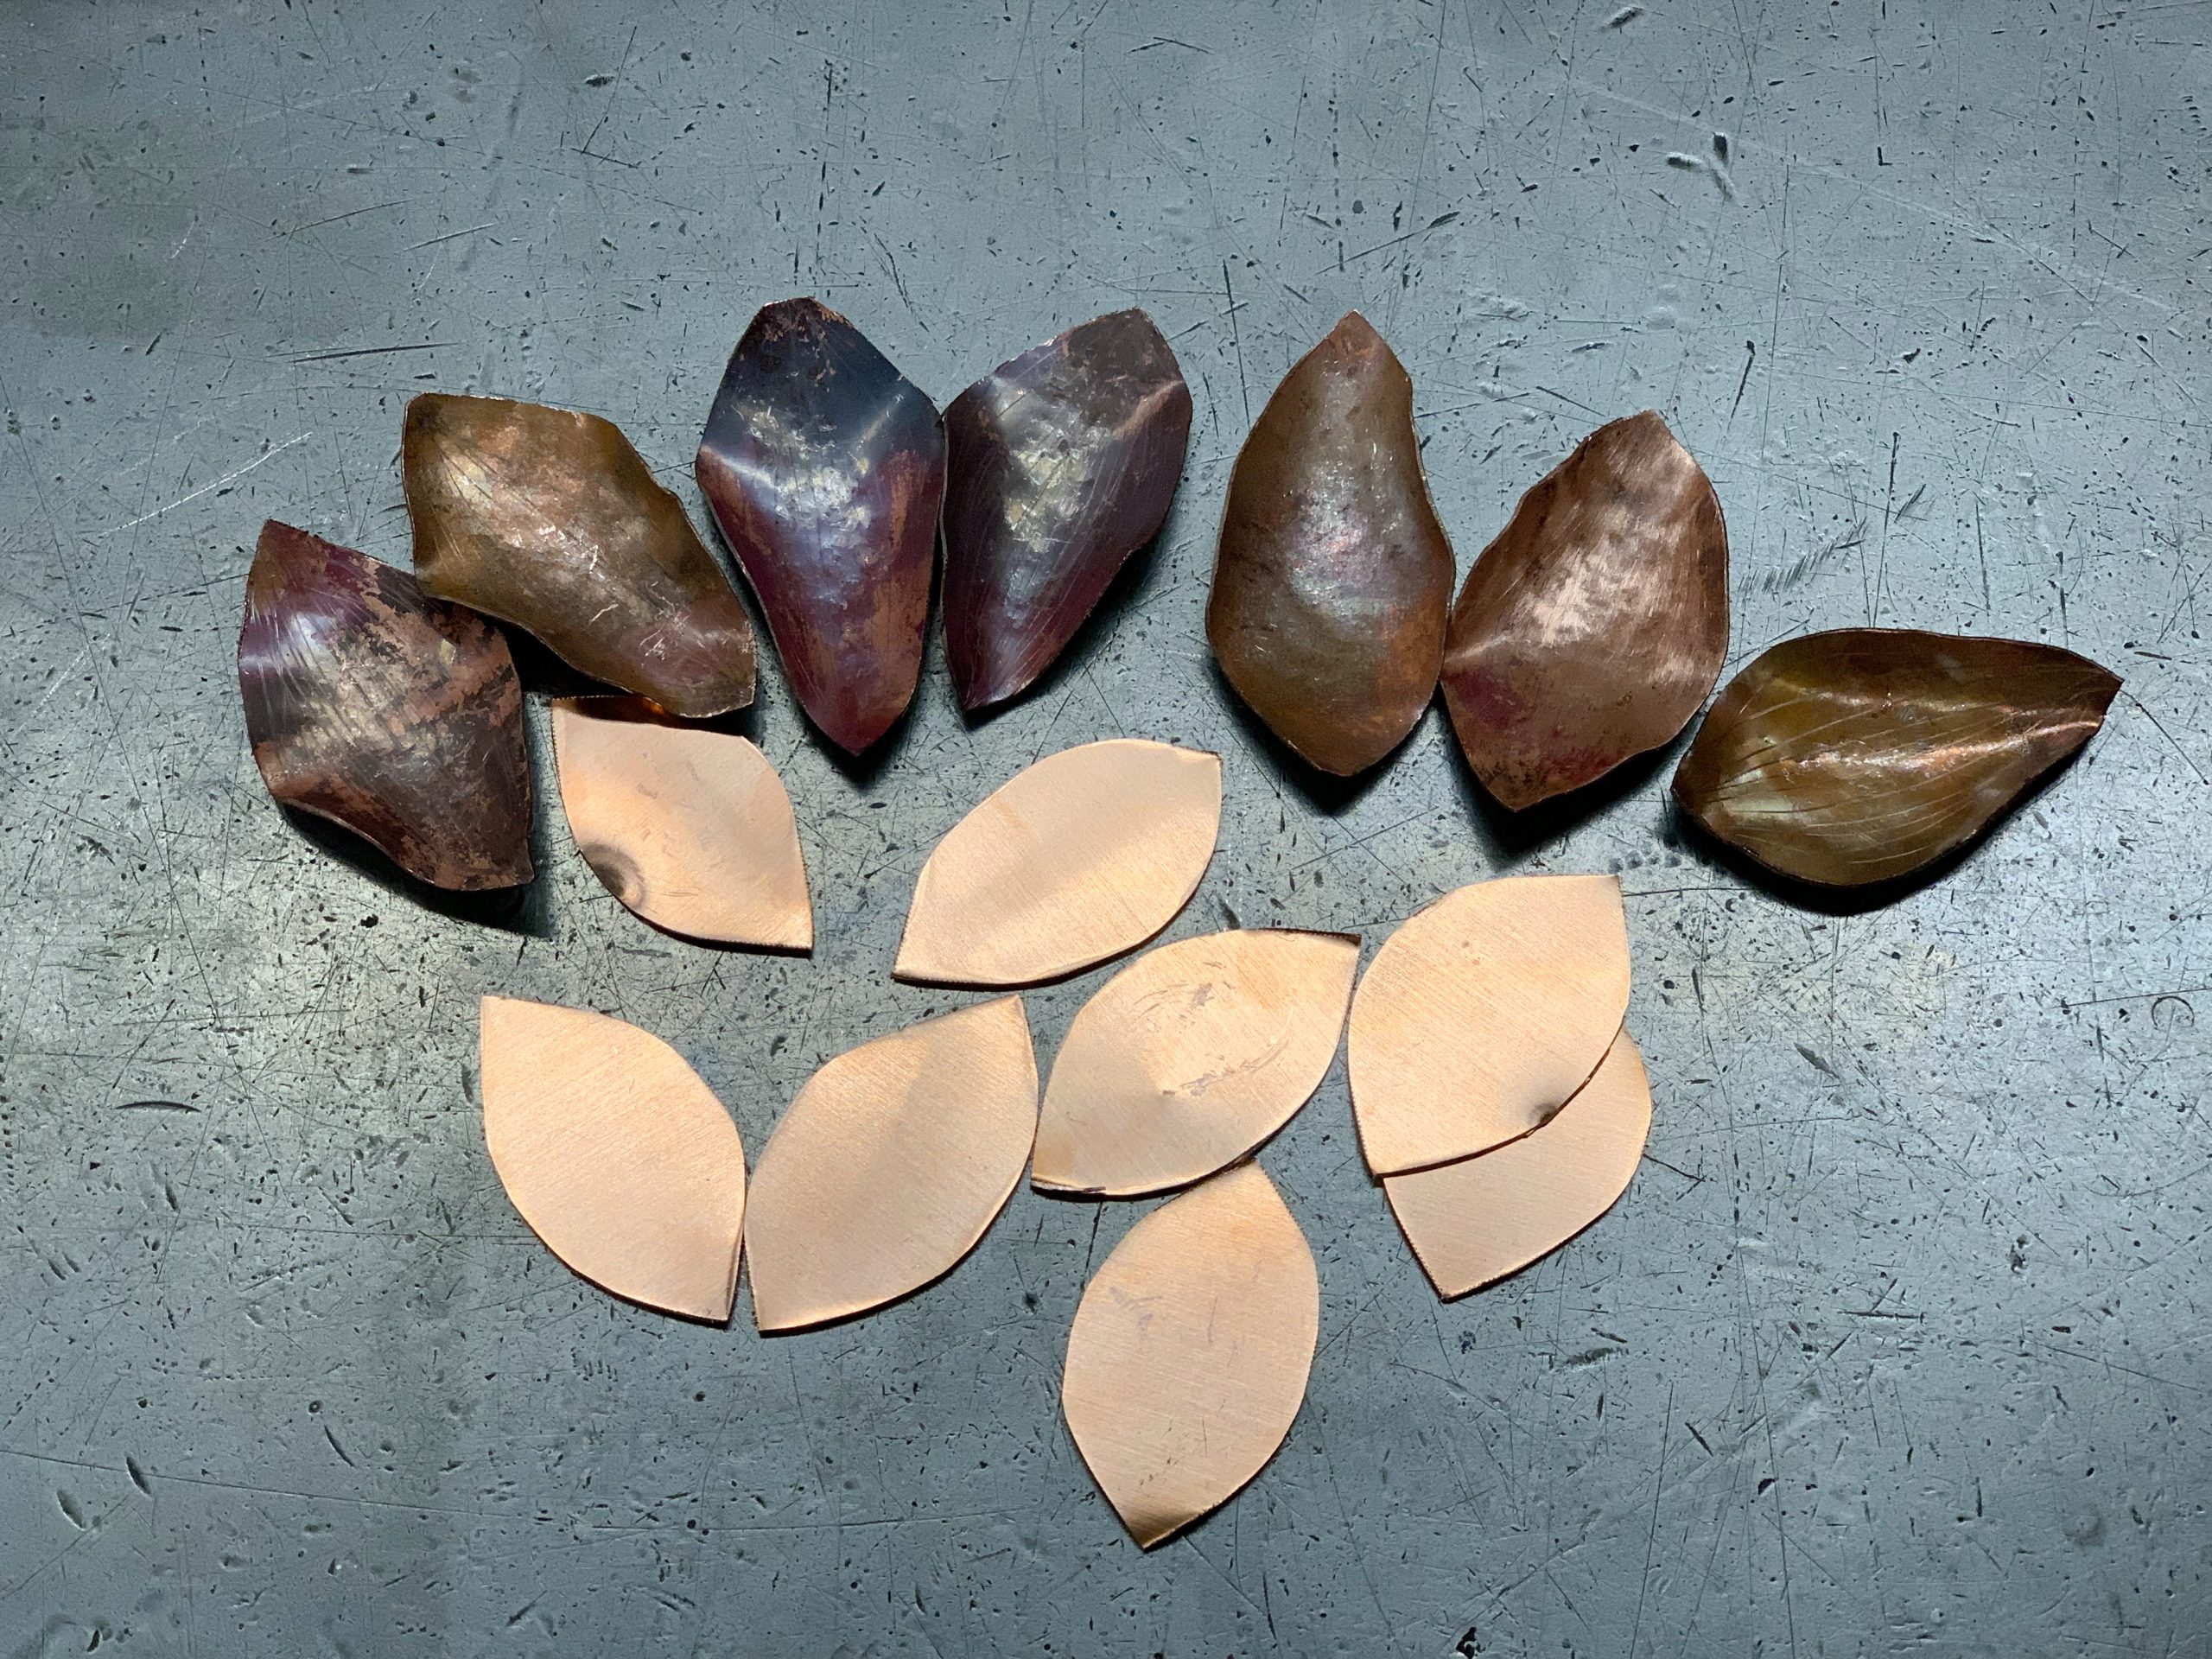
Petals (above: after annealing, below: before annealing)
Overall, I found the process of annealing and hammering the petals to be quite soothing. I enjoyed the delicate nature of the work, the ability to form the petals into precisely the shape that I wanted with a few taps of the hammer. I began by cutting up a 6” x 12” piece of 24 gauge/16 oz copper sheet metal into flower petal shapes. Next, I annealed the petals and hammered into a forming pillow to shape the petals into organic curves (this part took some practice, but good thing I made extra petals!)
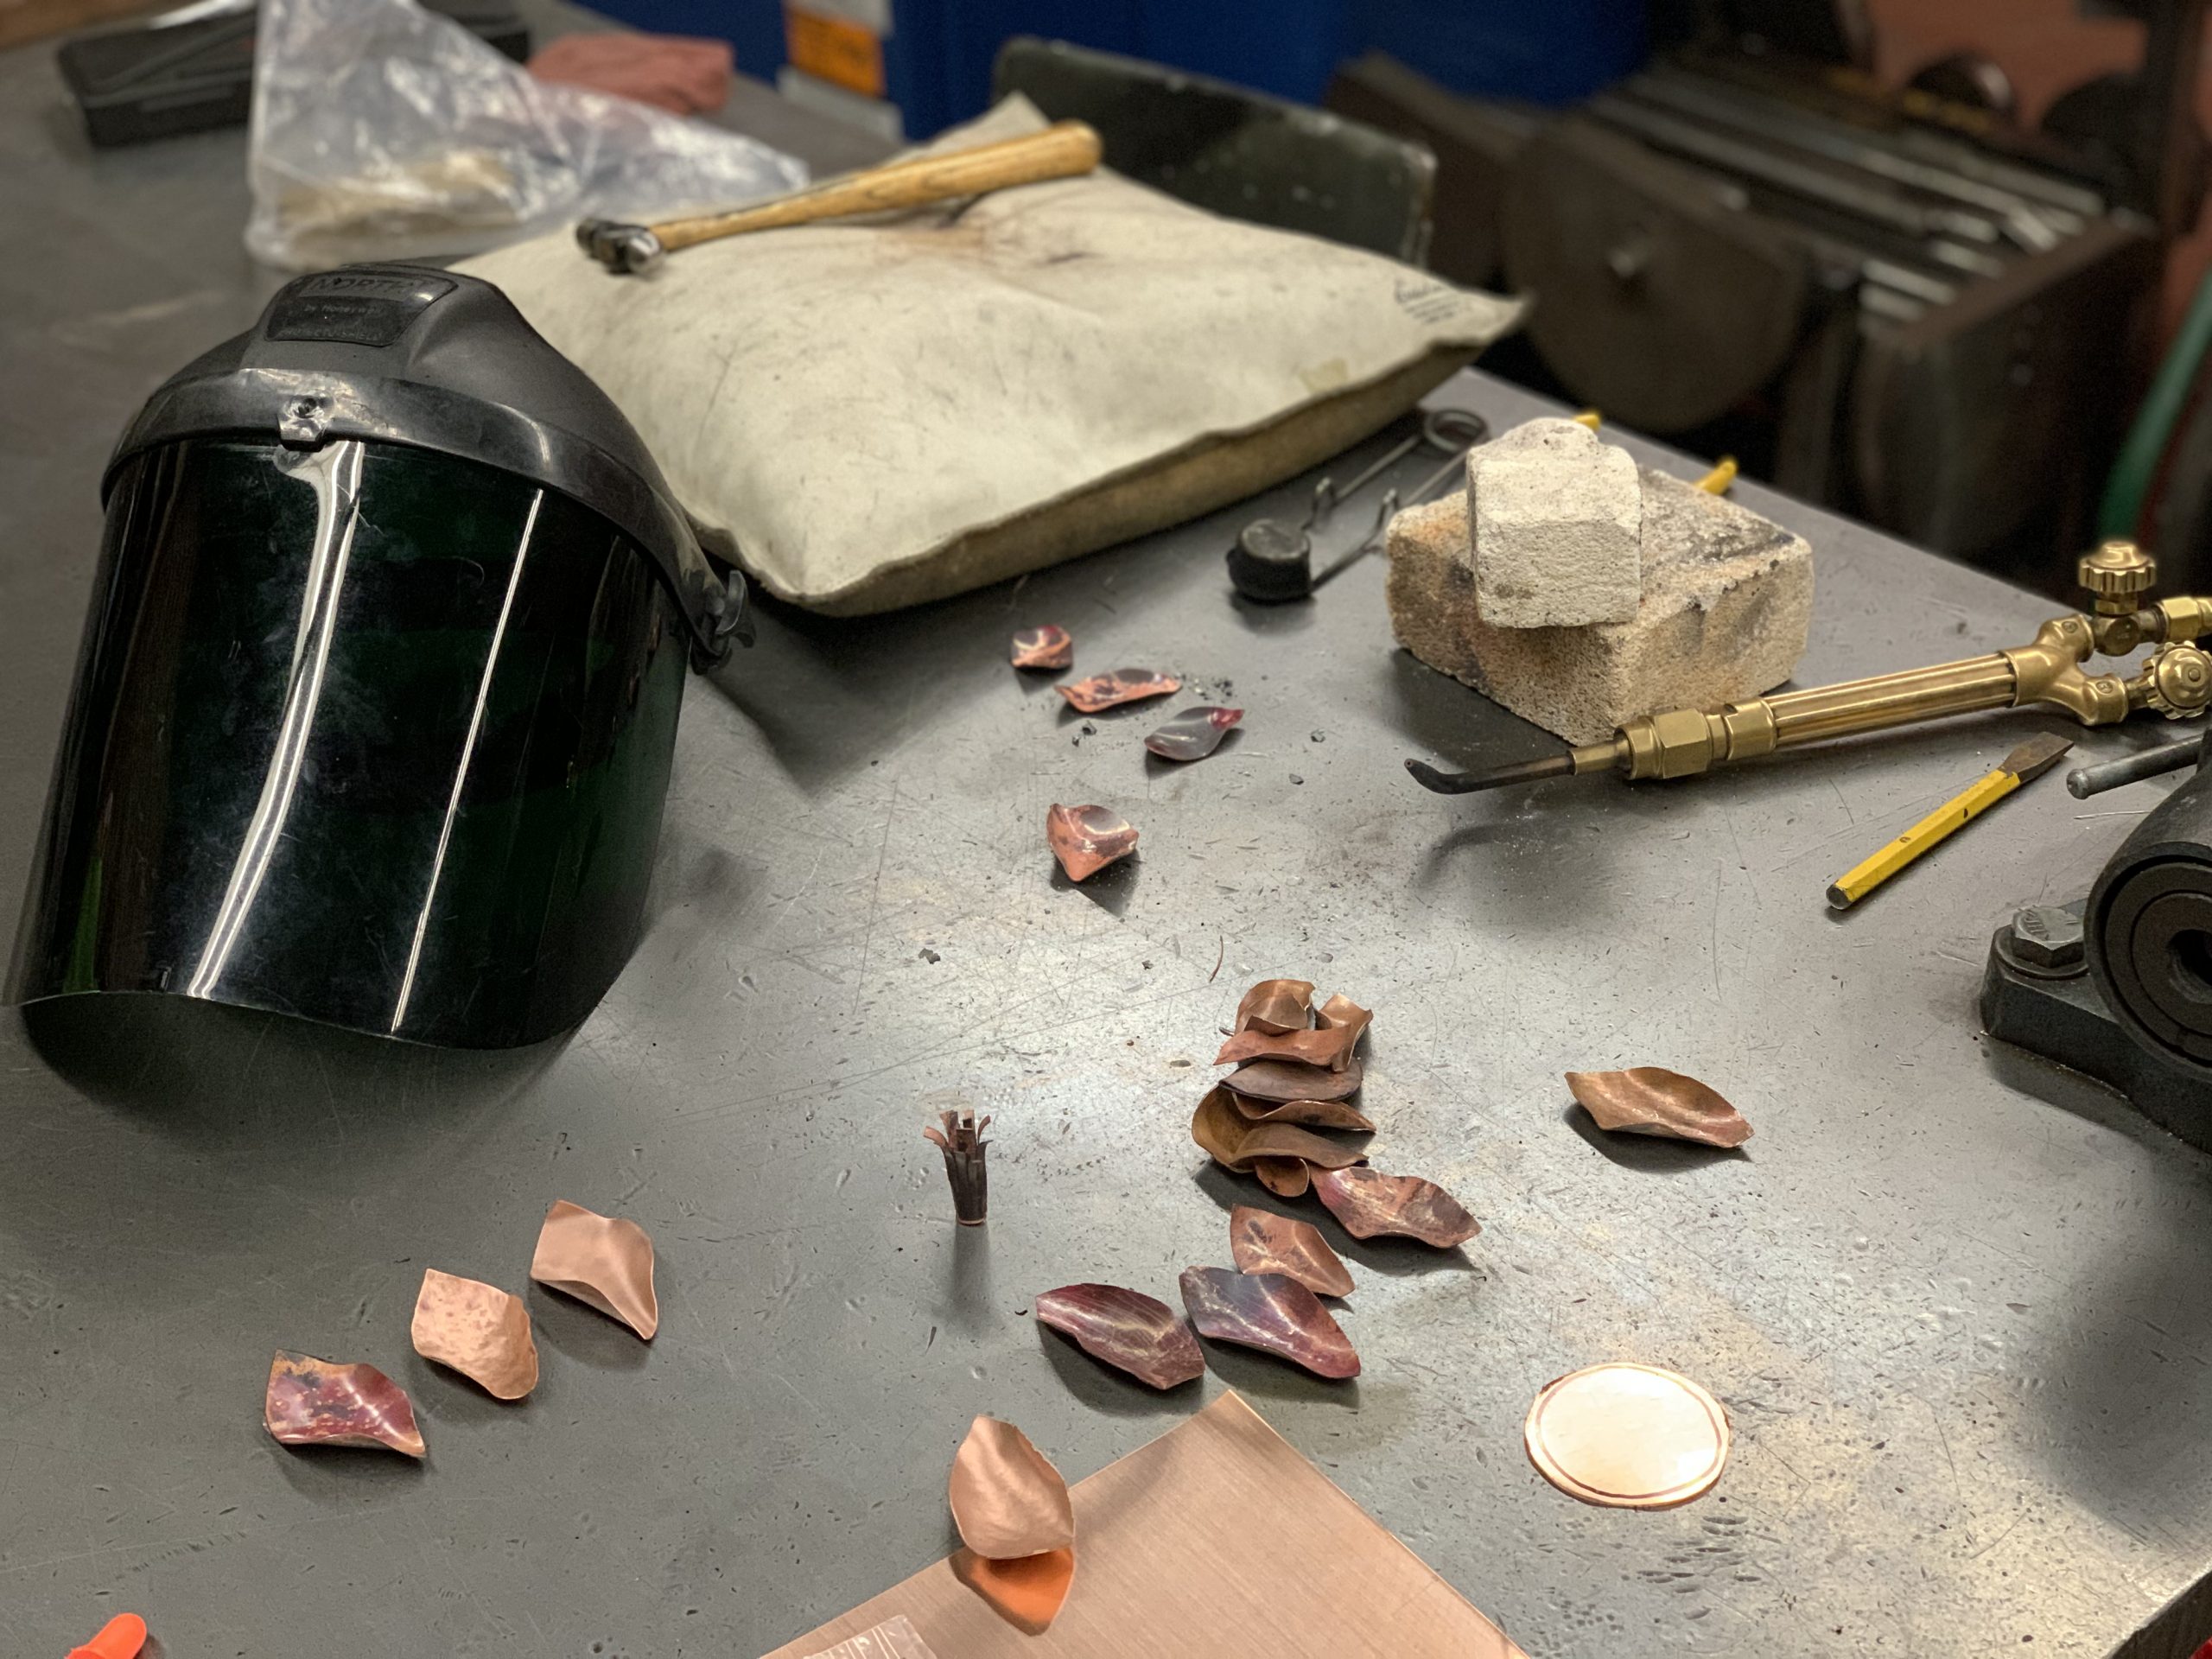
Work space and tools
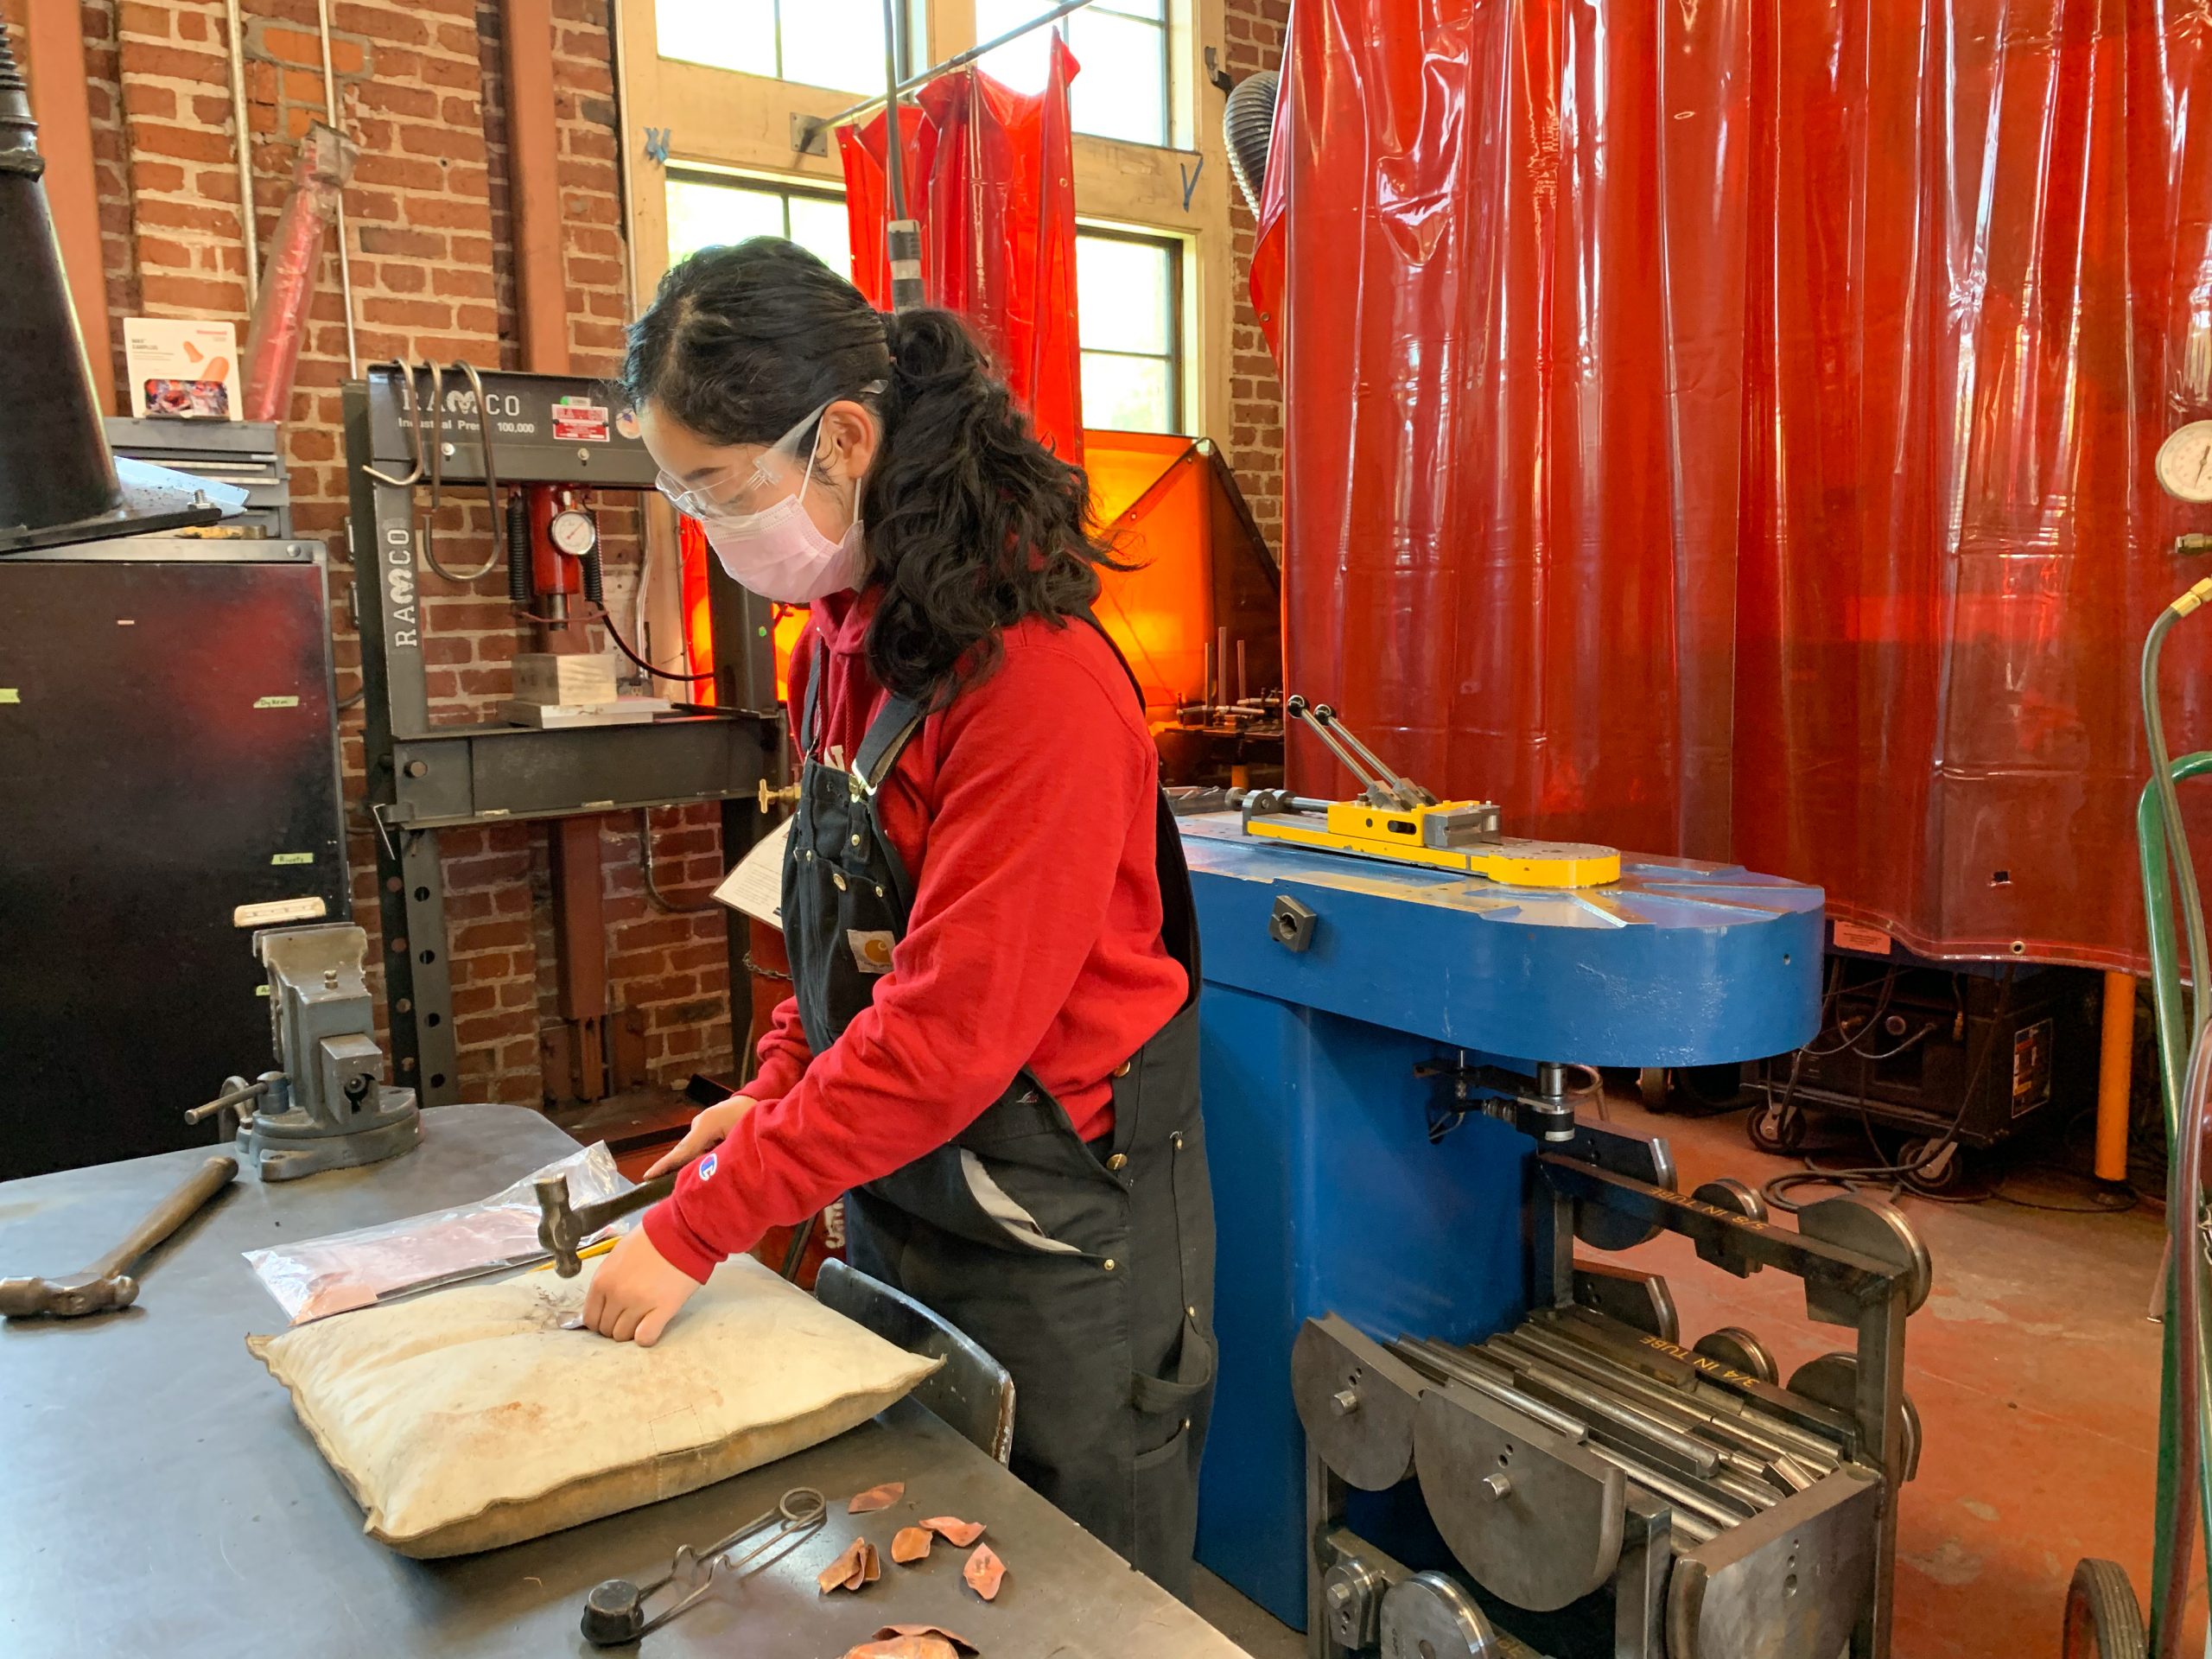
Hammering into pillow to form petals
For the core of my flower, I began by cutting slits into a rectangular piece of copper sheet metal. After annealing the entire sheet, I rolled the sheet and used tweezers to bend the metal prongs outwards into a flower-like shape.
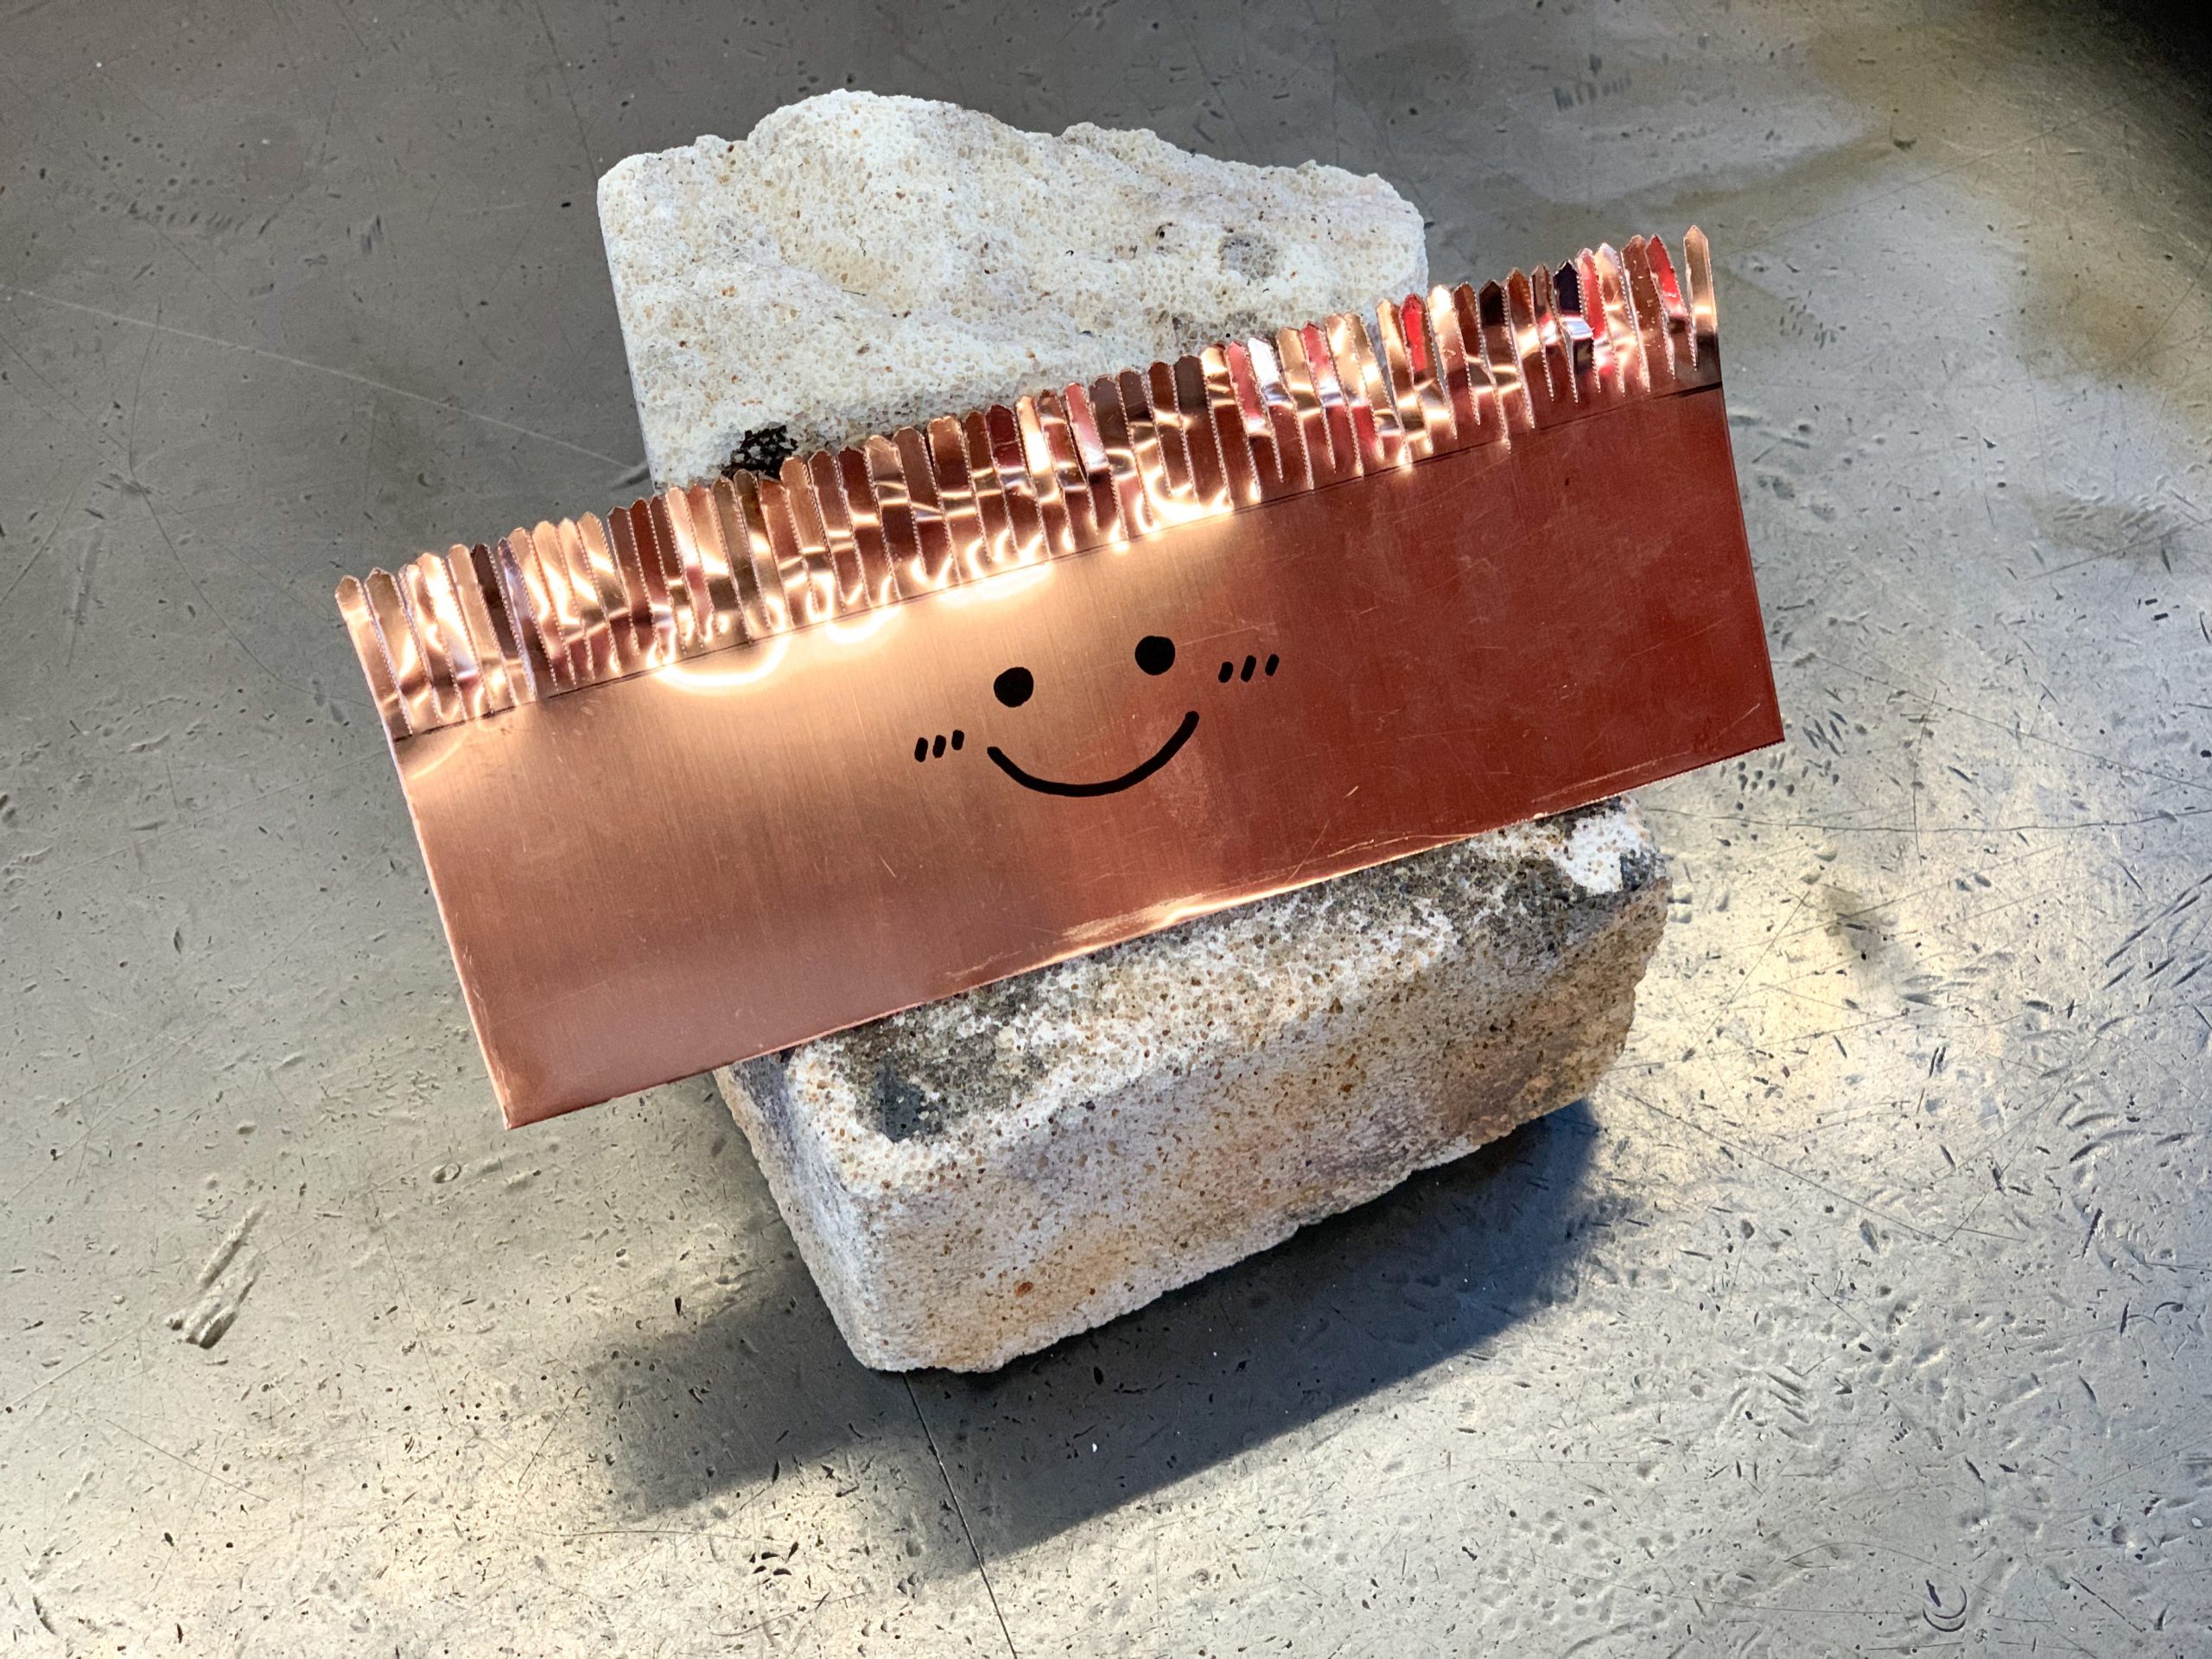
Copper sheet metal with slits cut
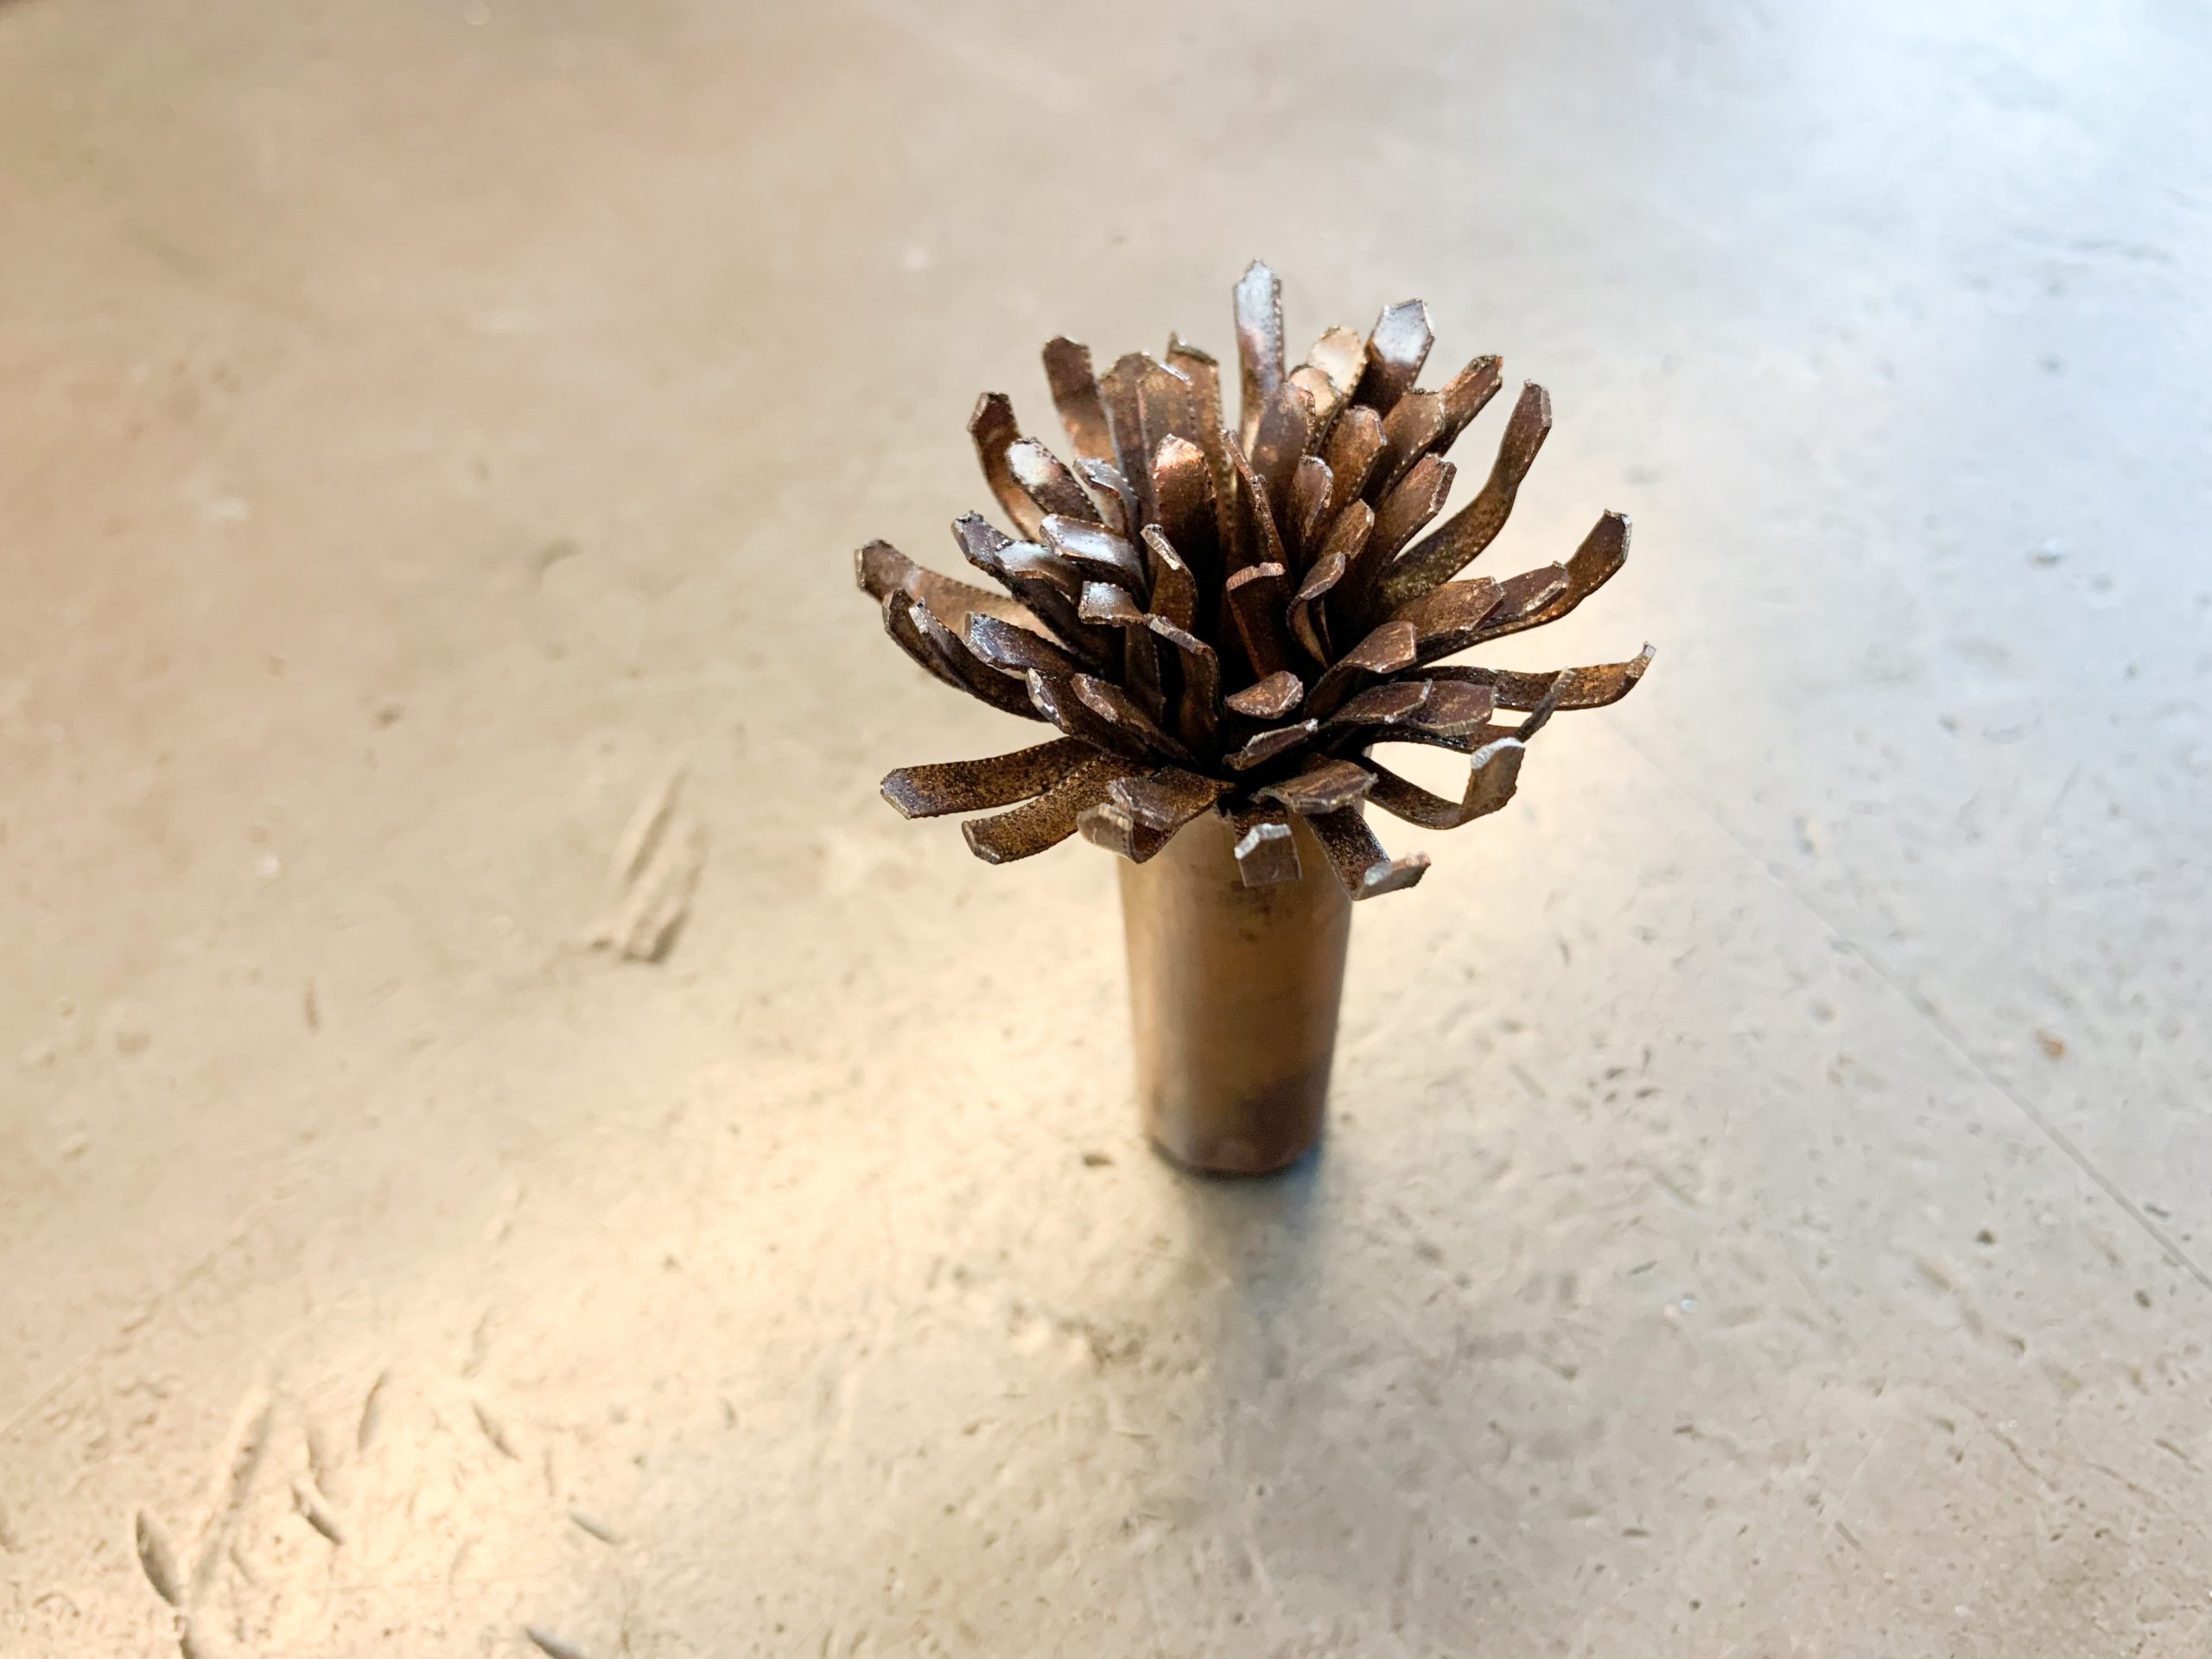
After annealing, rolling, and shaping
To assemble the entire flower, I decided to solder instead of braze (due to considerations of the material being used and the appropriate temperature). It took some thinking to figure out how to fixture each part while soldering, but I eventually developed a system in which I positioned the core upside down and laid each layer of petals on top.
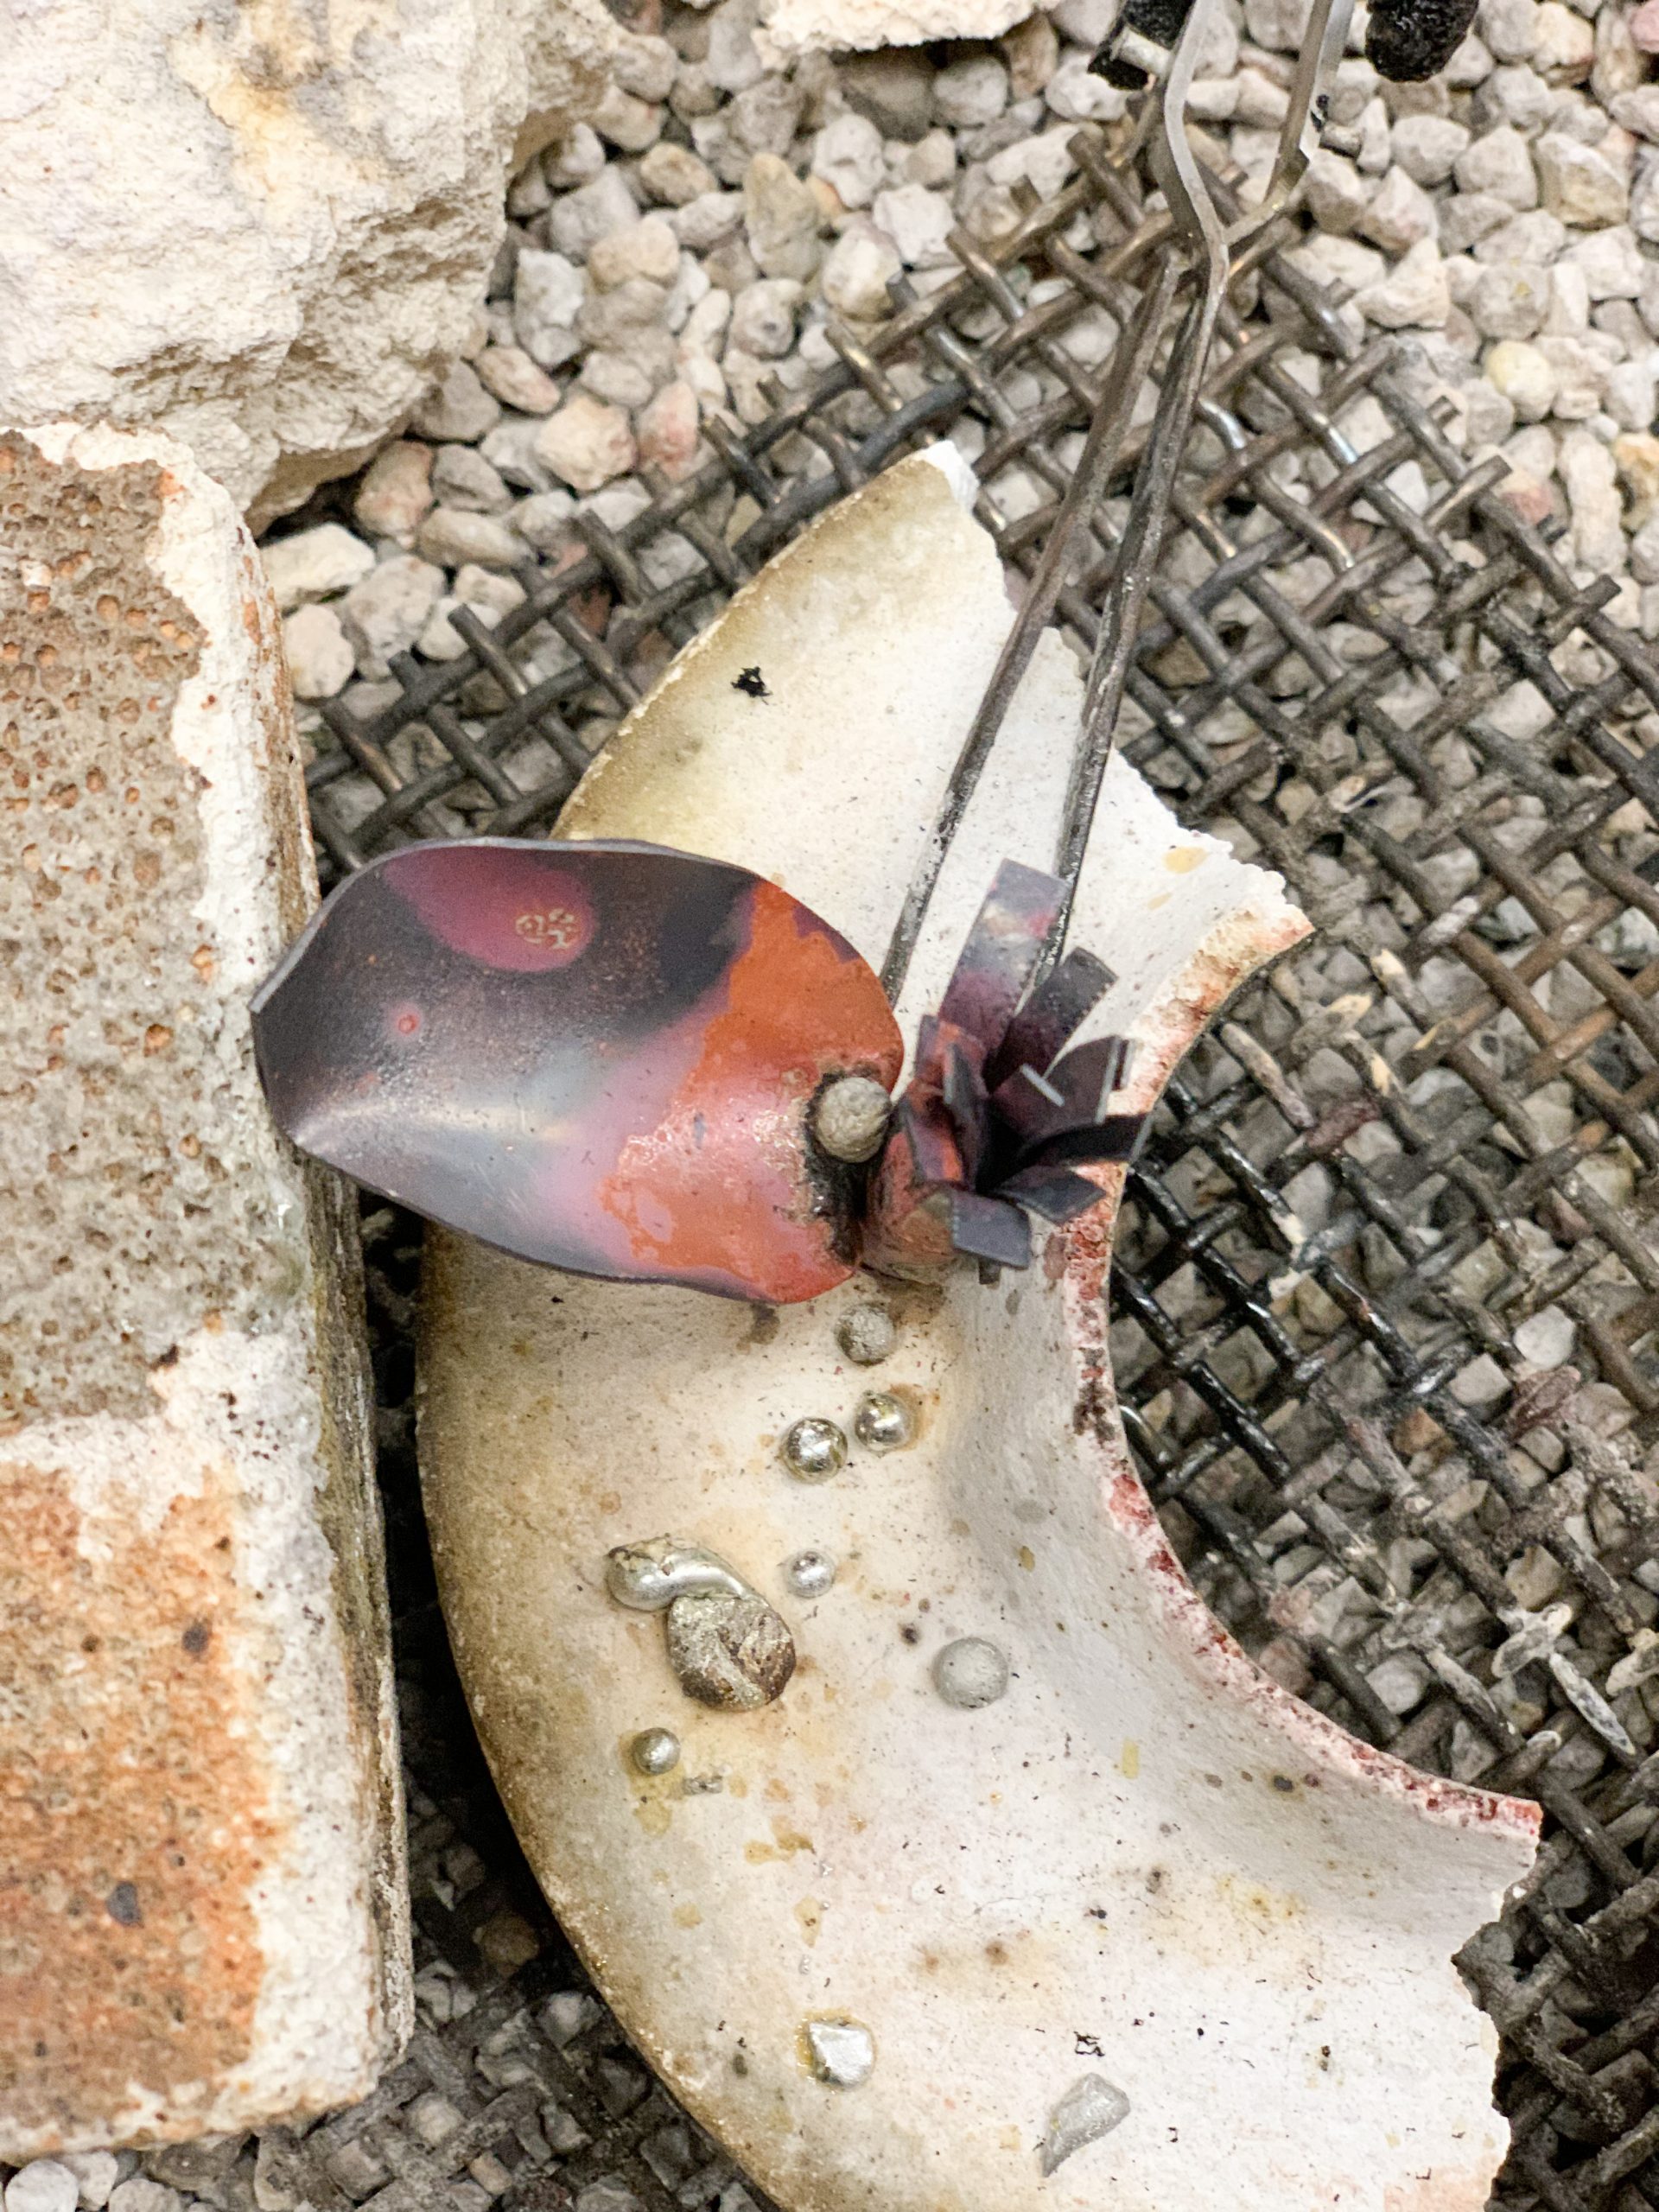
Attempting to fixture with tweezers
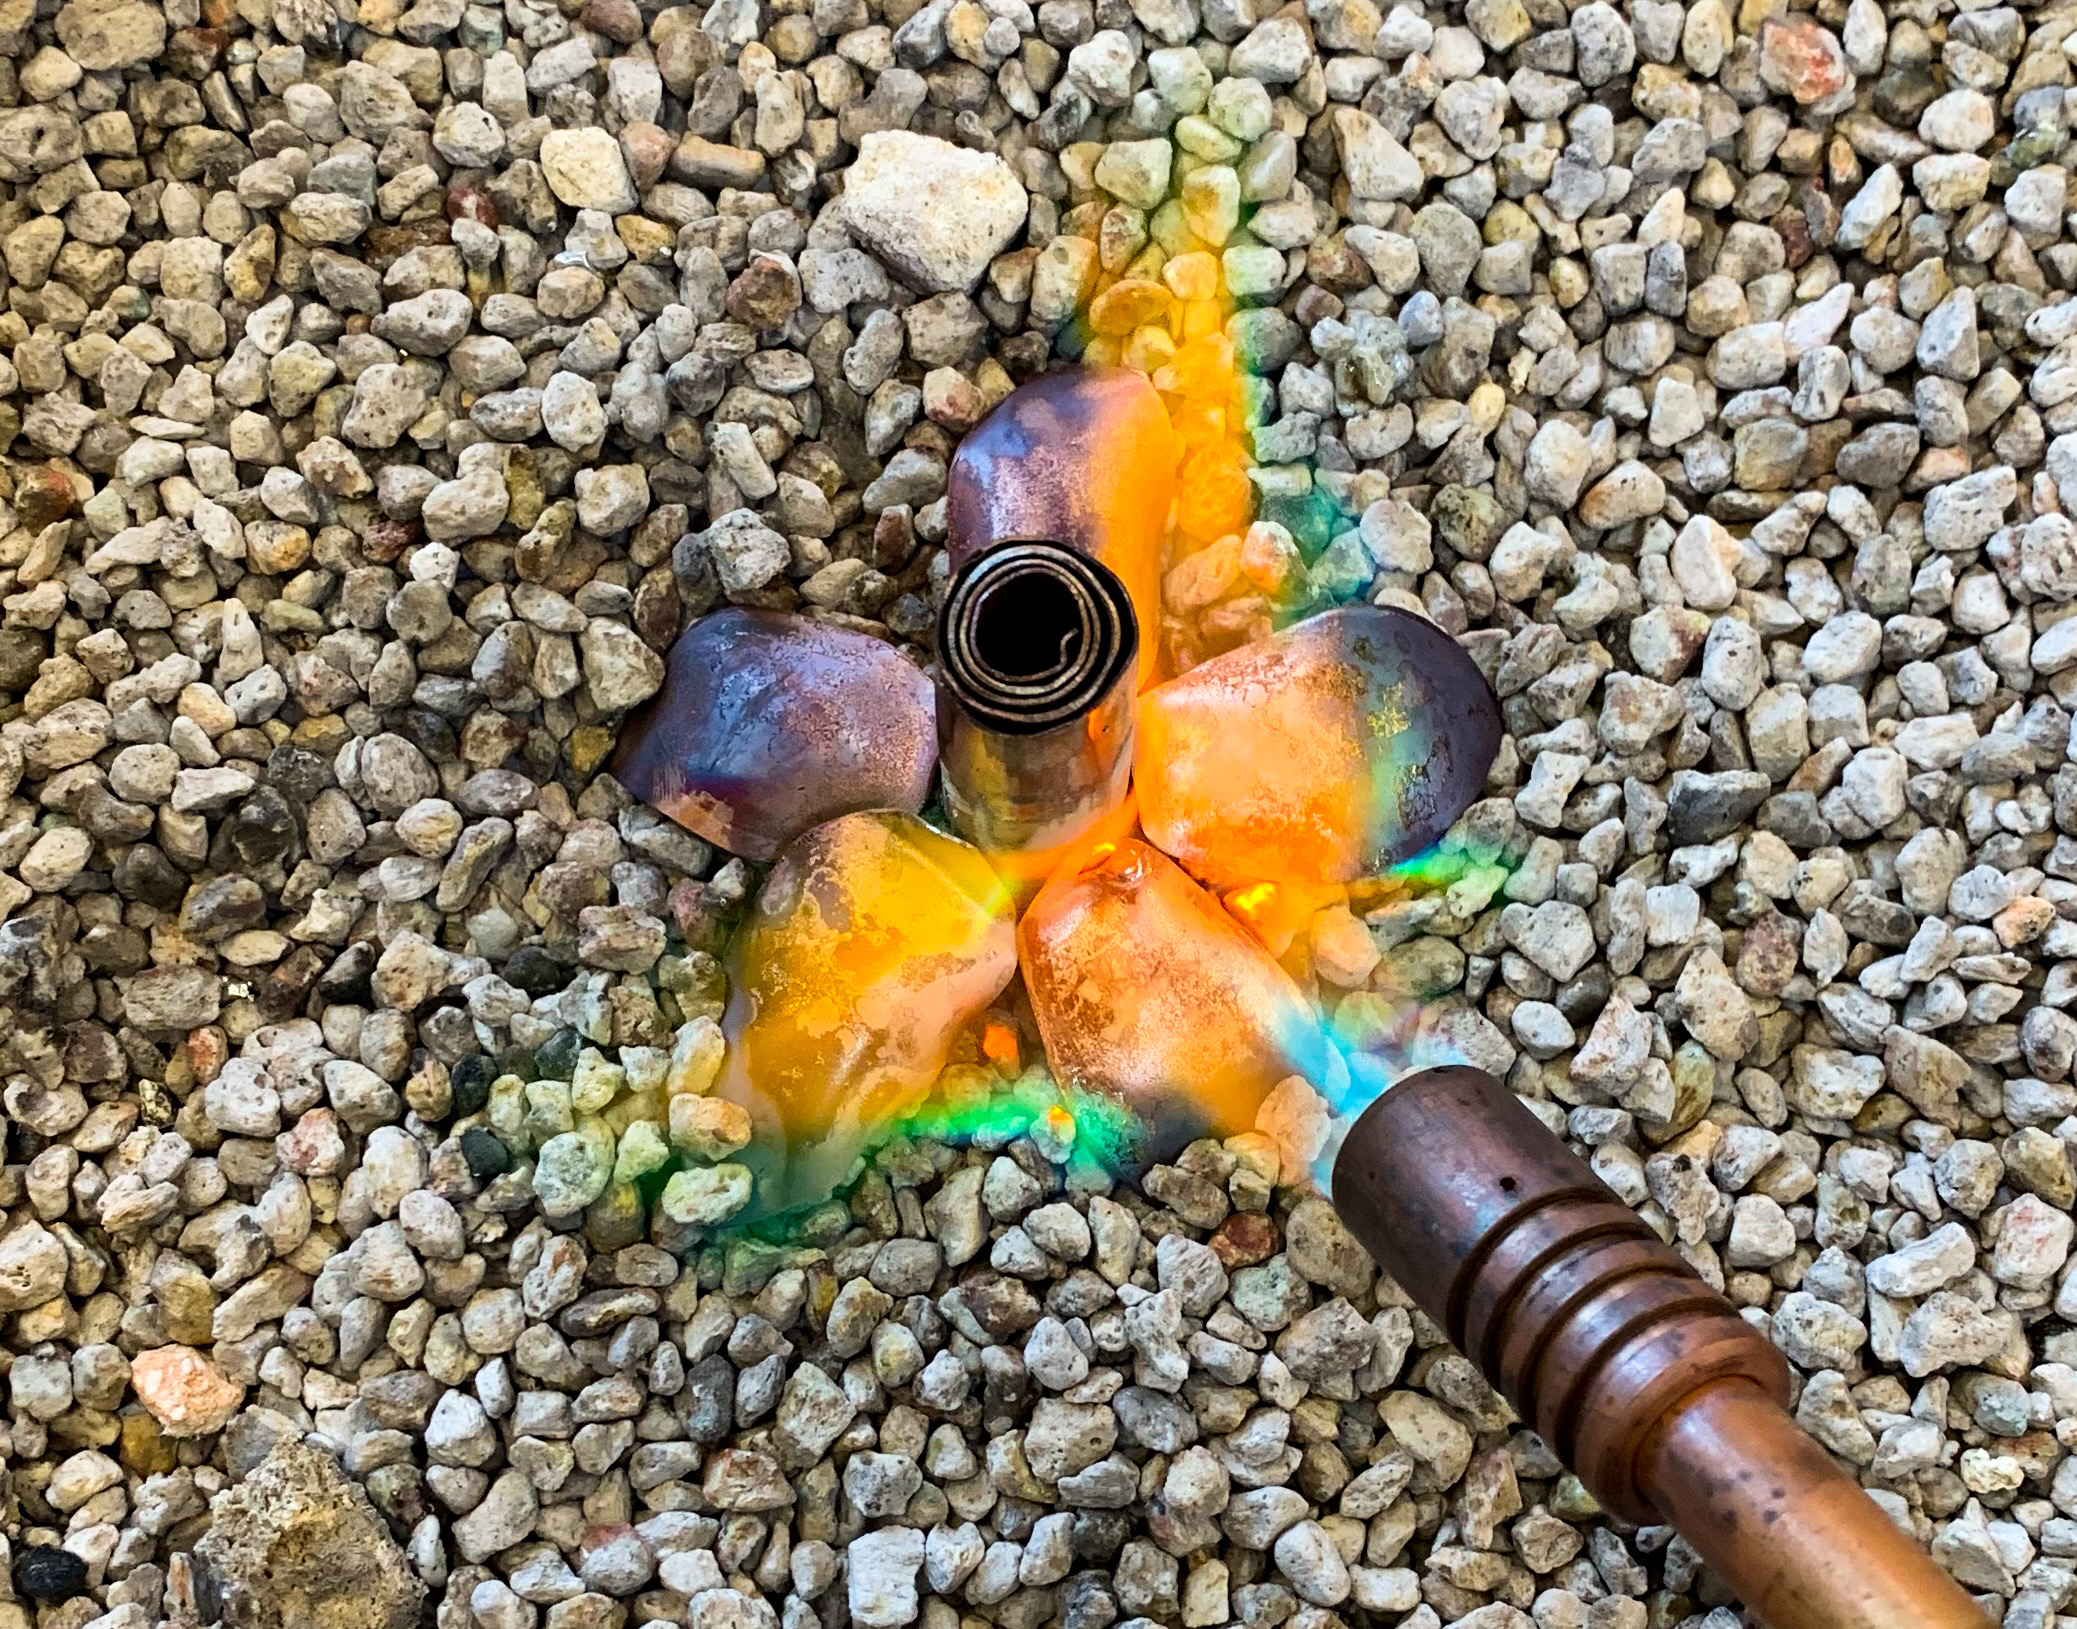
Soldering petals all at once, upside down
I made sure to use a specific type of solder and flux used for copper pipes. Additionally, I found that it was helpful to angle the propane torch such that the flames force the solder to flow into the cracks between each copper petal, creating a structurally sound flower.
Thankfully, everything worked out, and here is the finished copper flower!
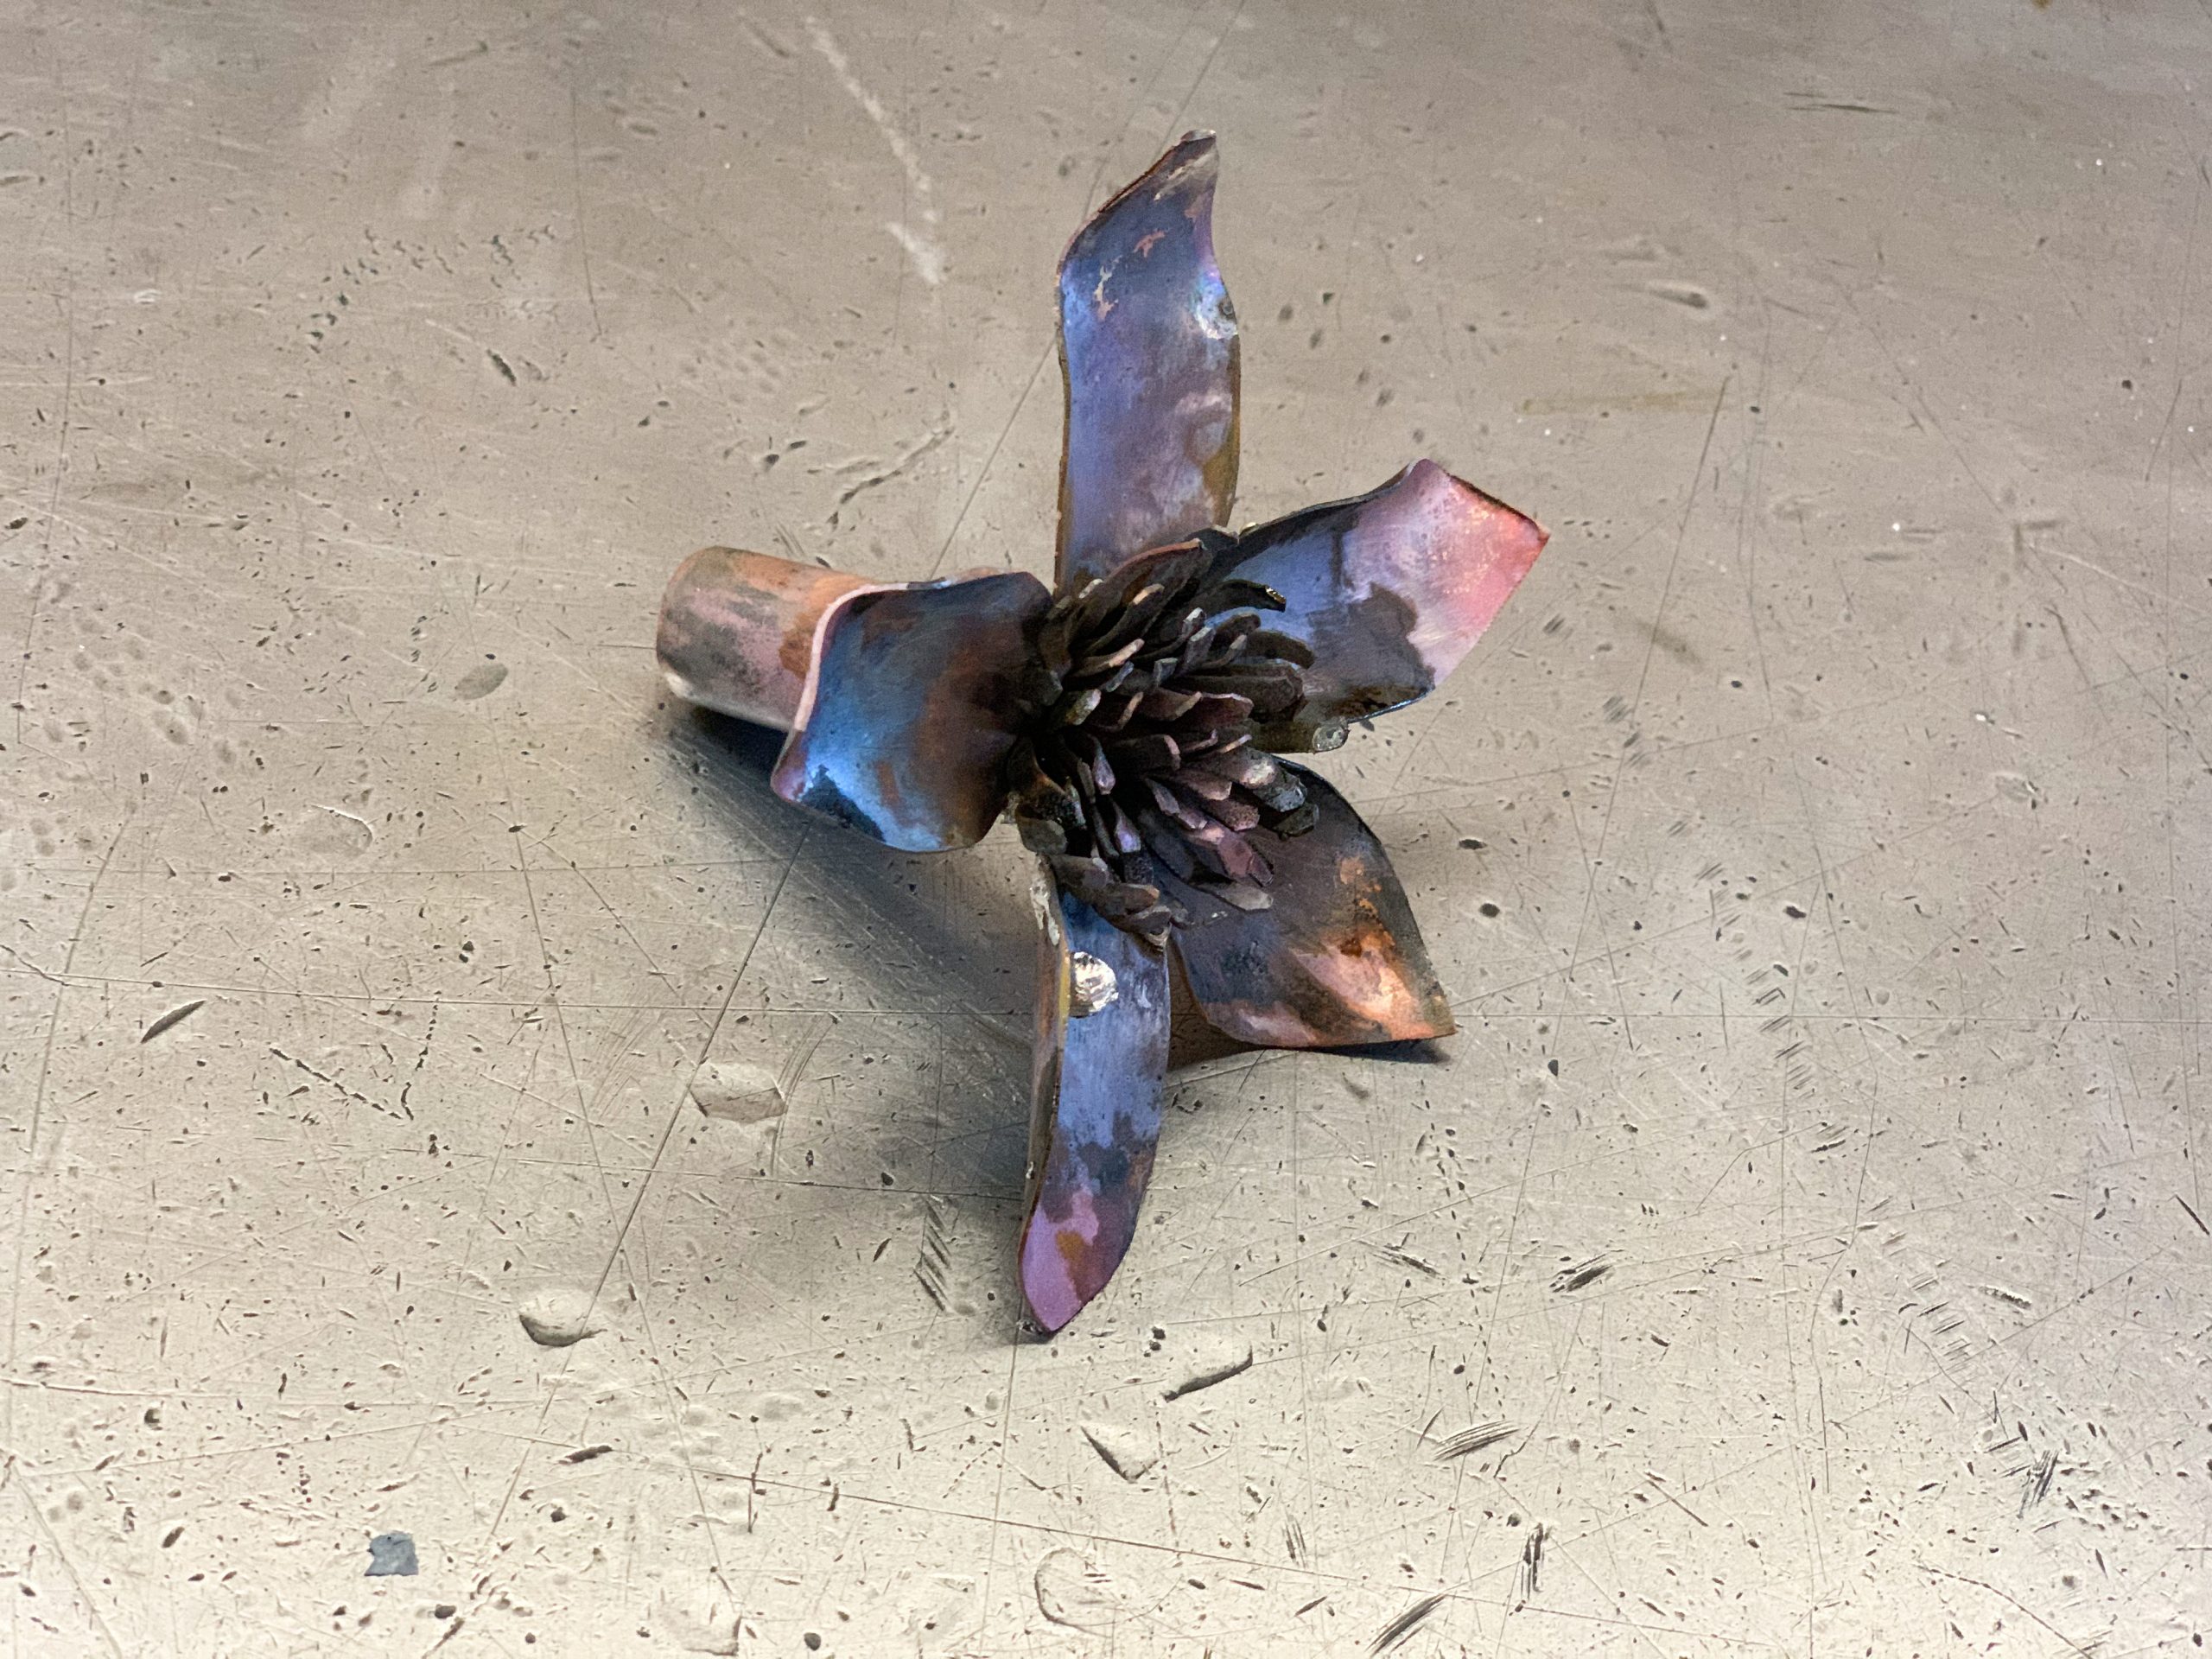
One layer of petals soldered
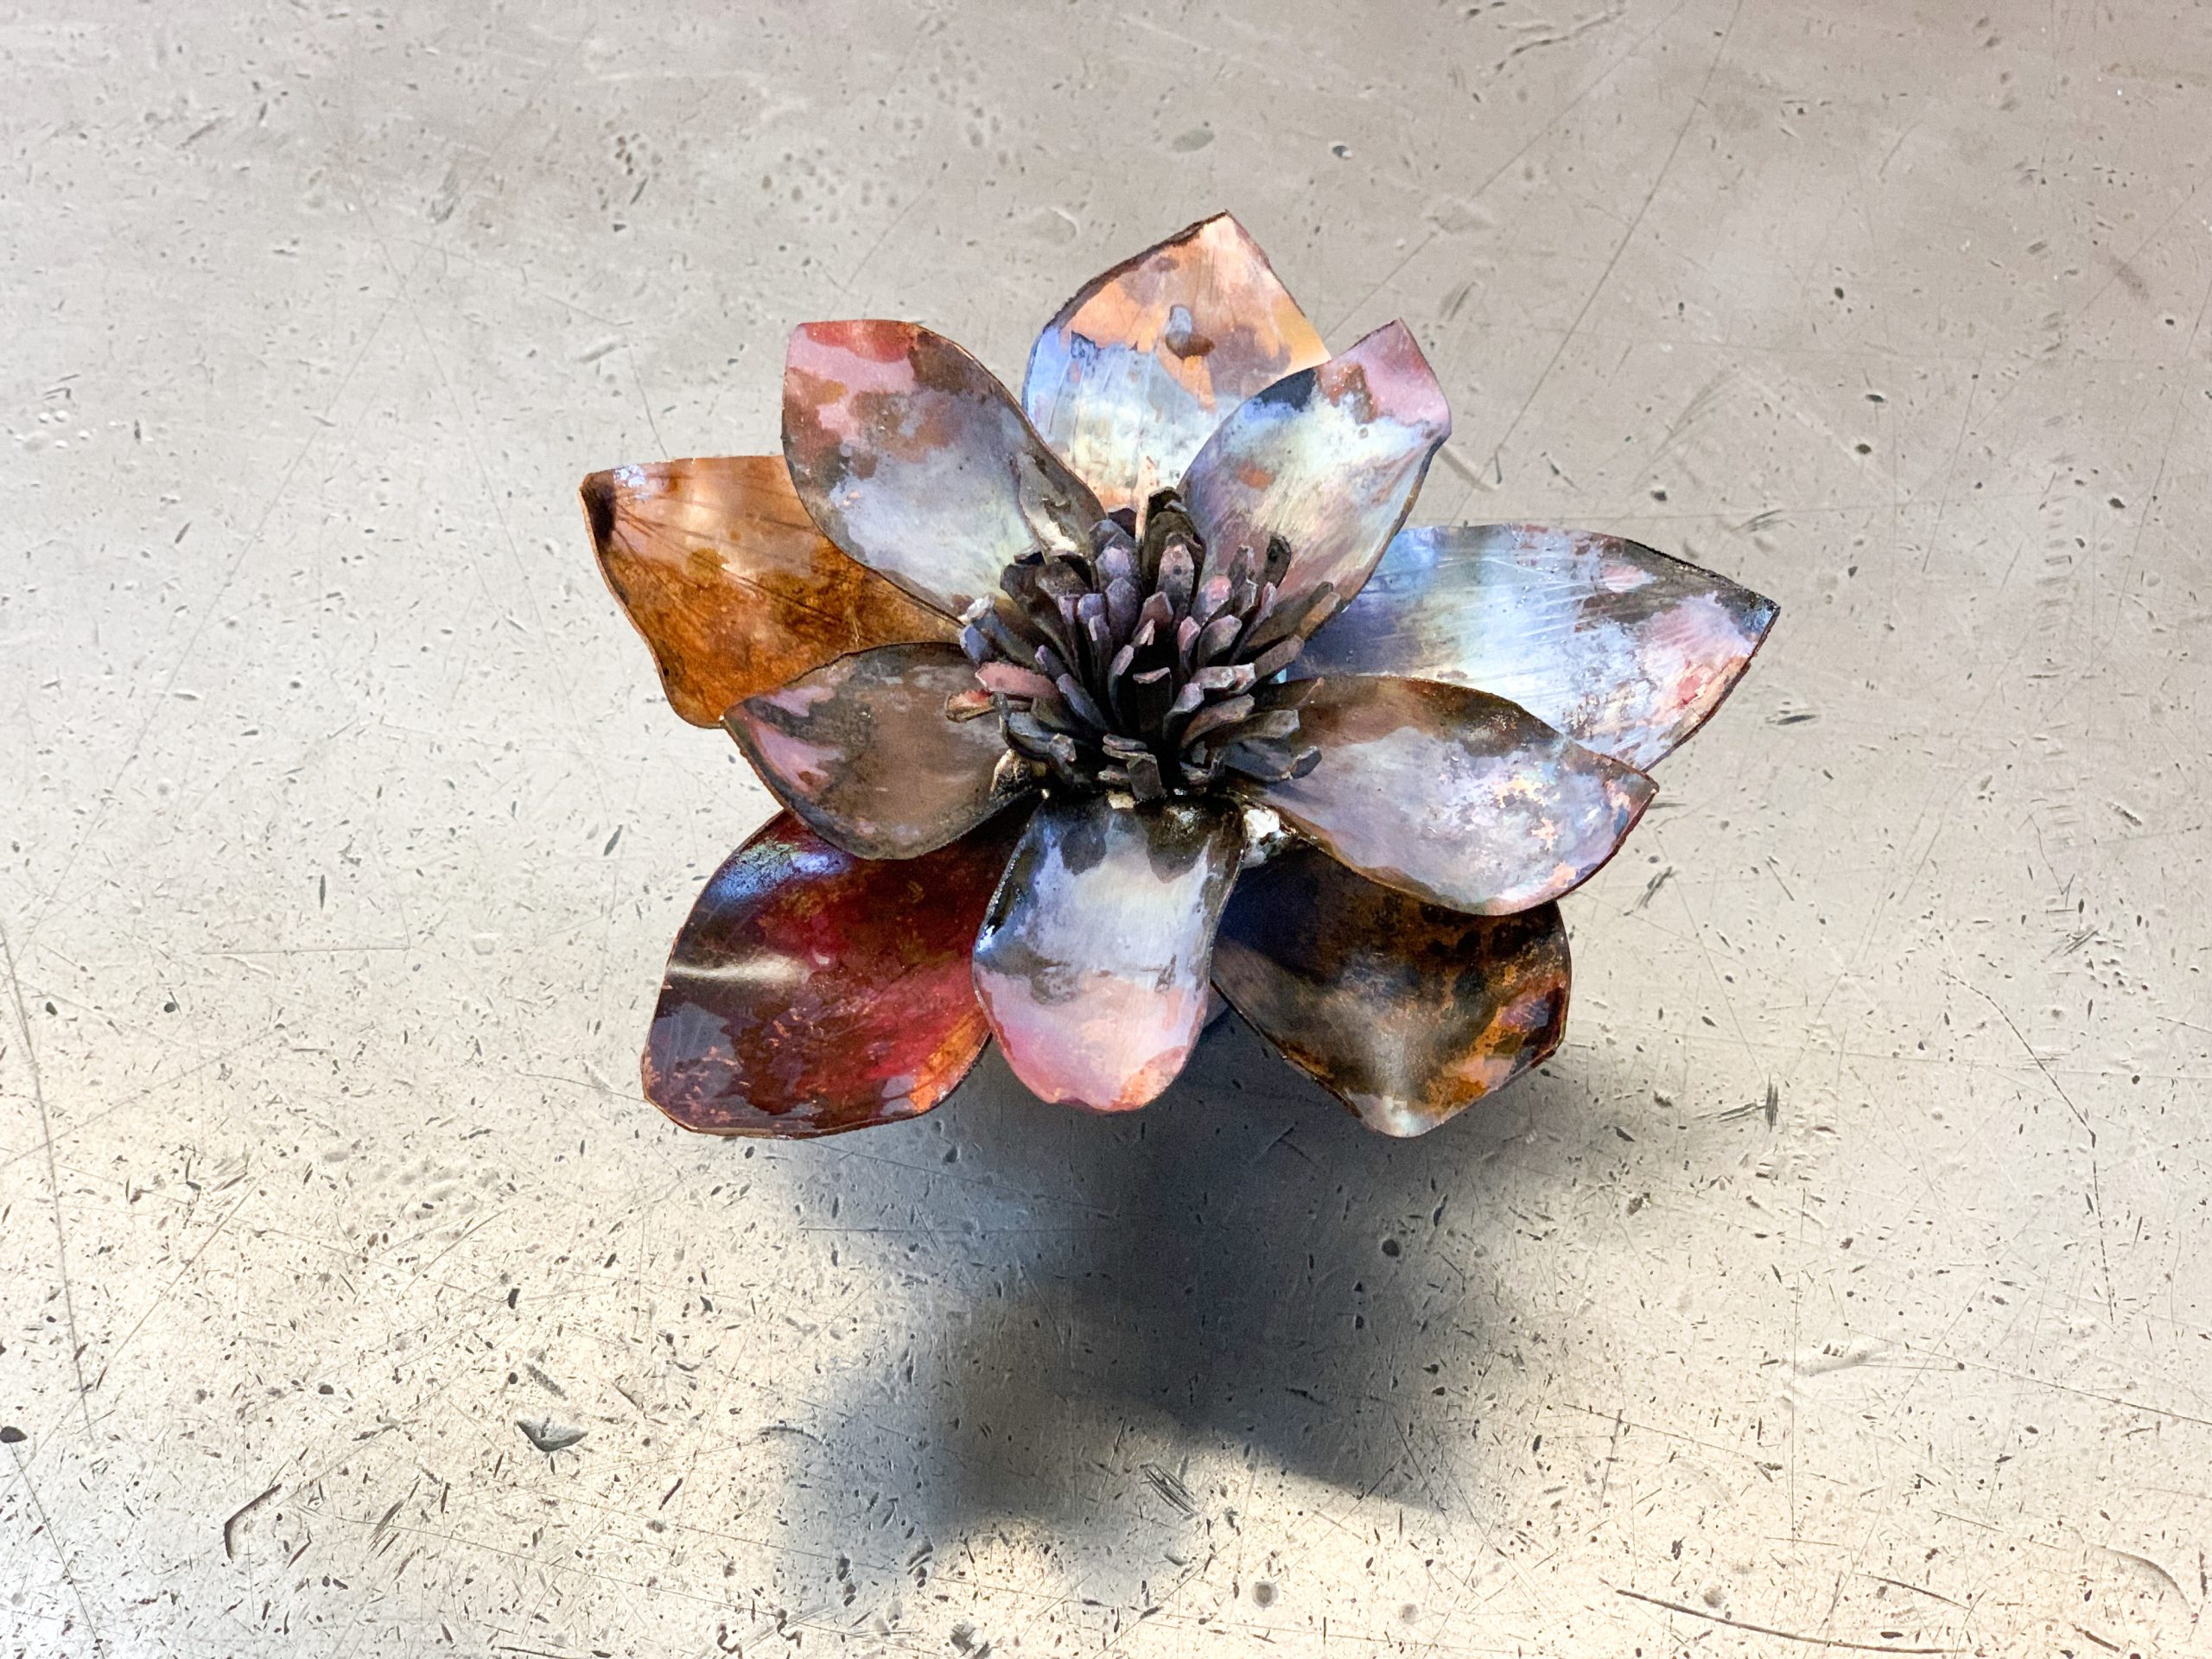
Both layers soldered
WOOD WORKING (WOODEN BASE)
Next came the question of finding adequate wood. I actually went “wood hunting” with a friend in the class; our hunt began at Home Depot and ended at Global Wood Source, where we both ended up buying cocobolo wood. I was so enamored with the wood–its deep rich color and its lighter striations–that I didn’t notice some of its minor imperfections (it had a small crack in one portion and was substantially thinner at one corner). But alas, I had to make do with what I had (I did spend $55.19 on it after all). Thus, some of the design choices I made aimed to reduce these imperfections as much as possible.
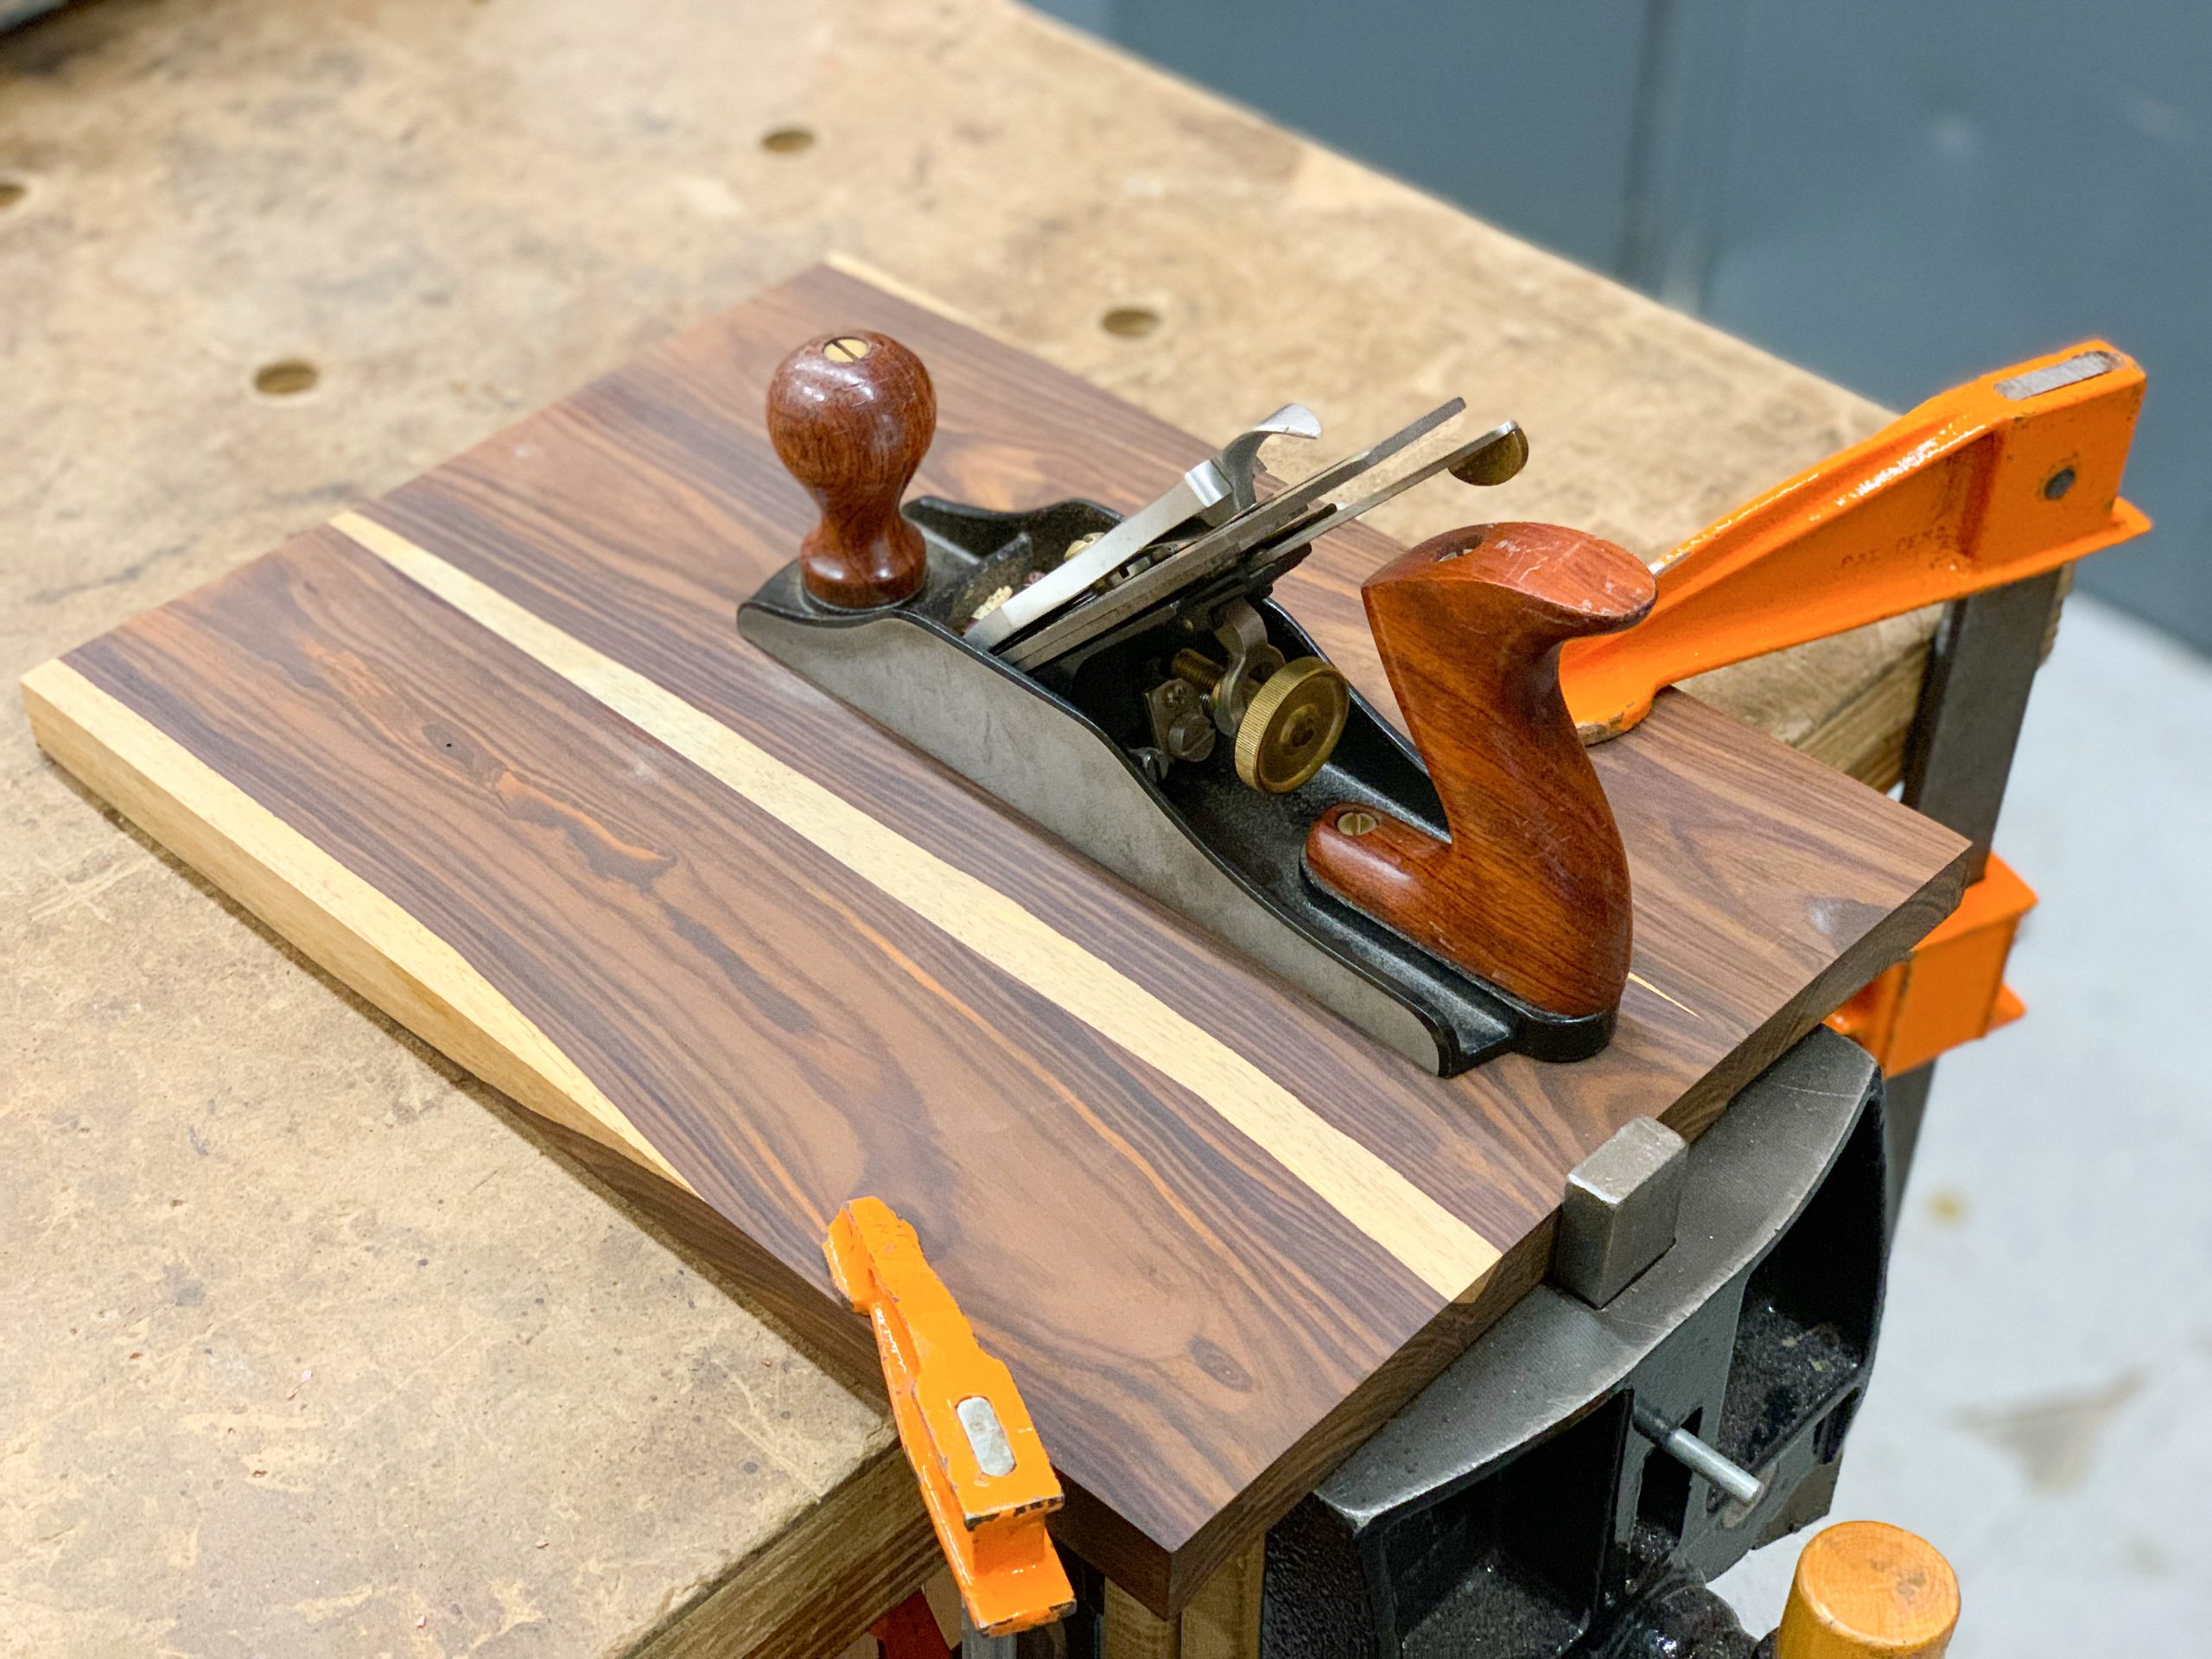
Hand planing
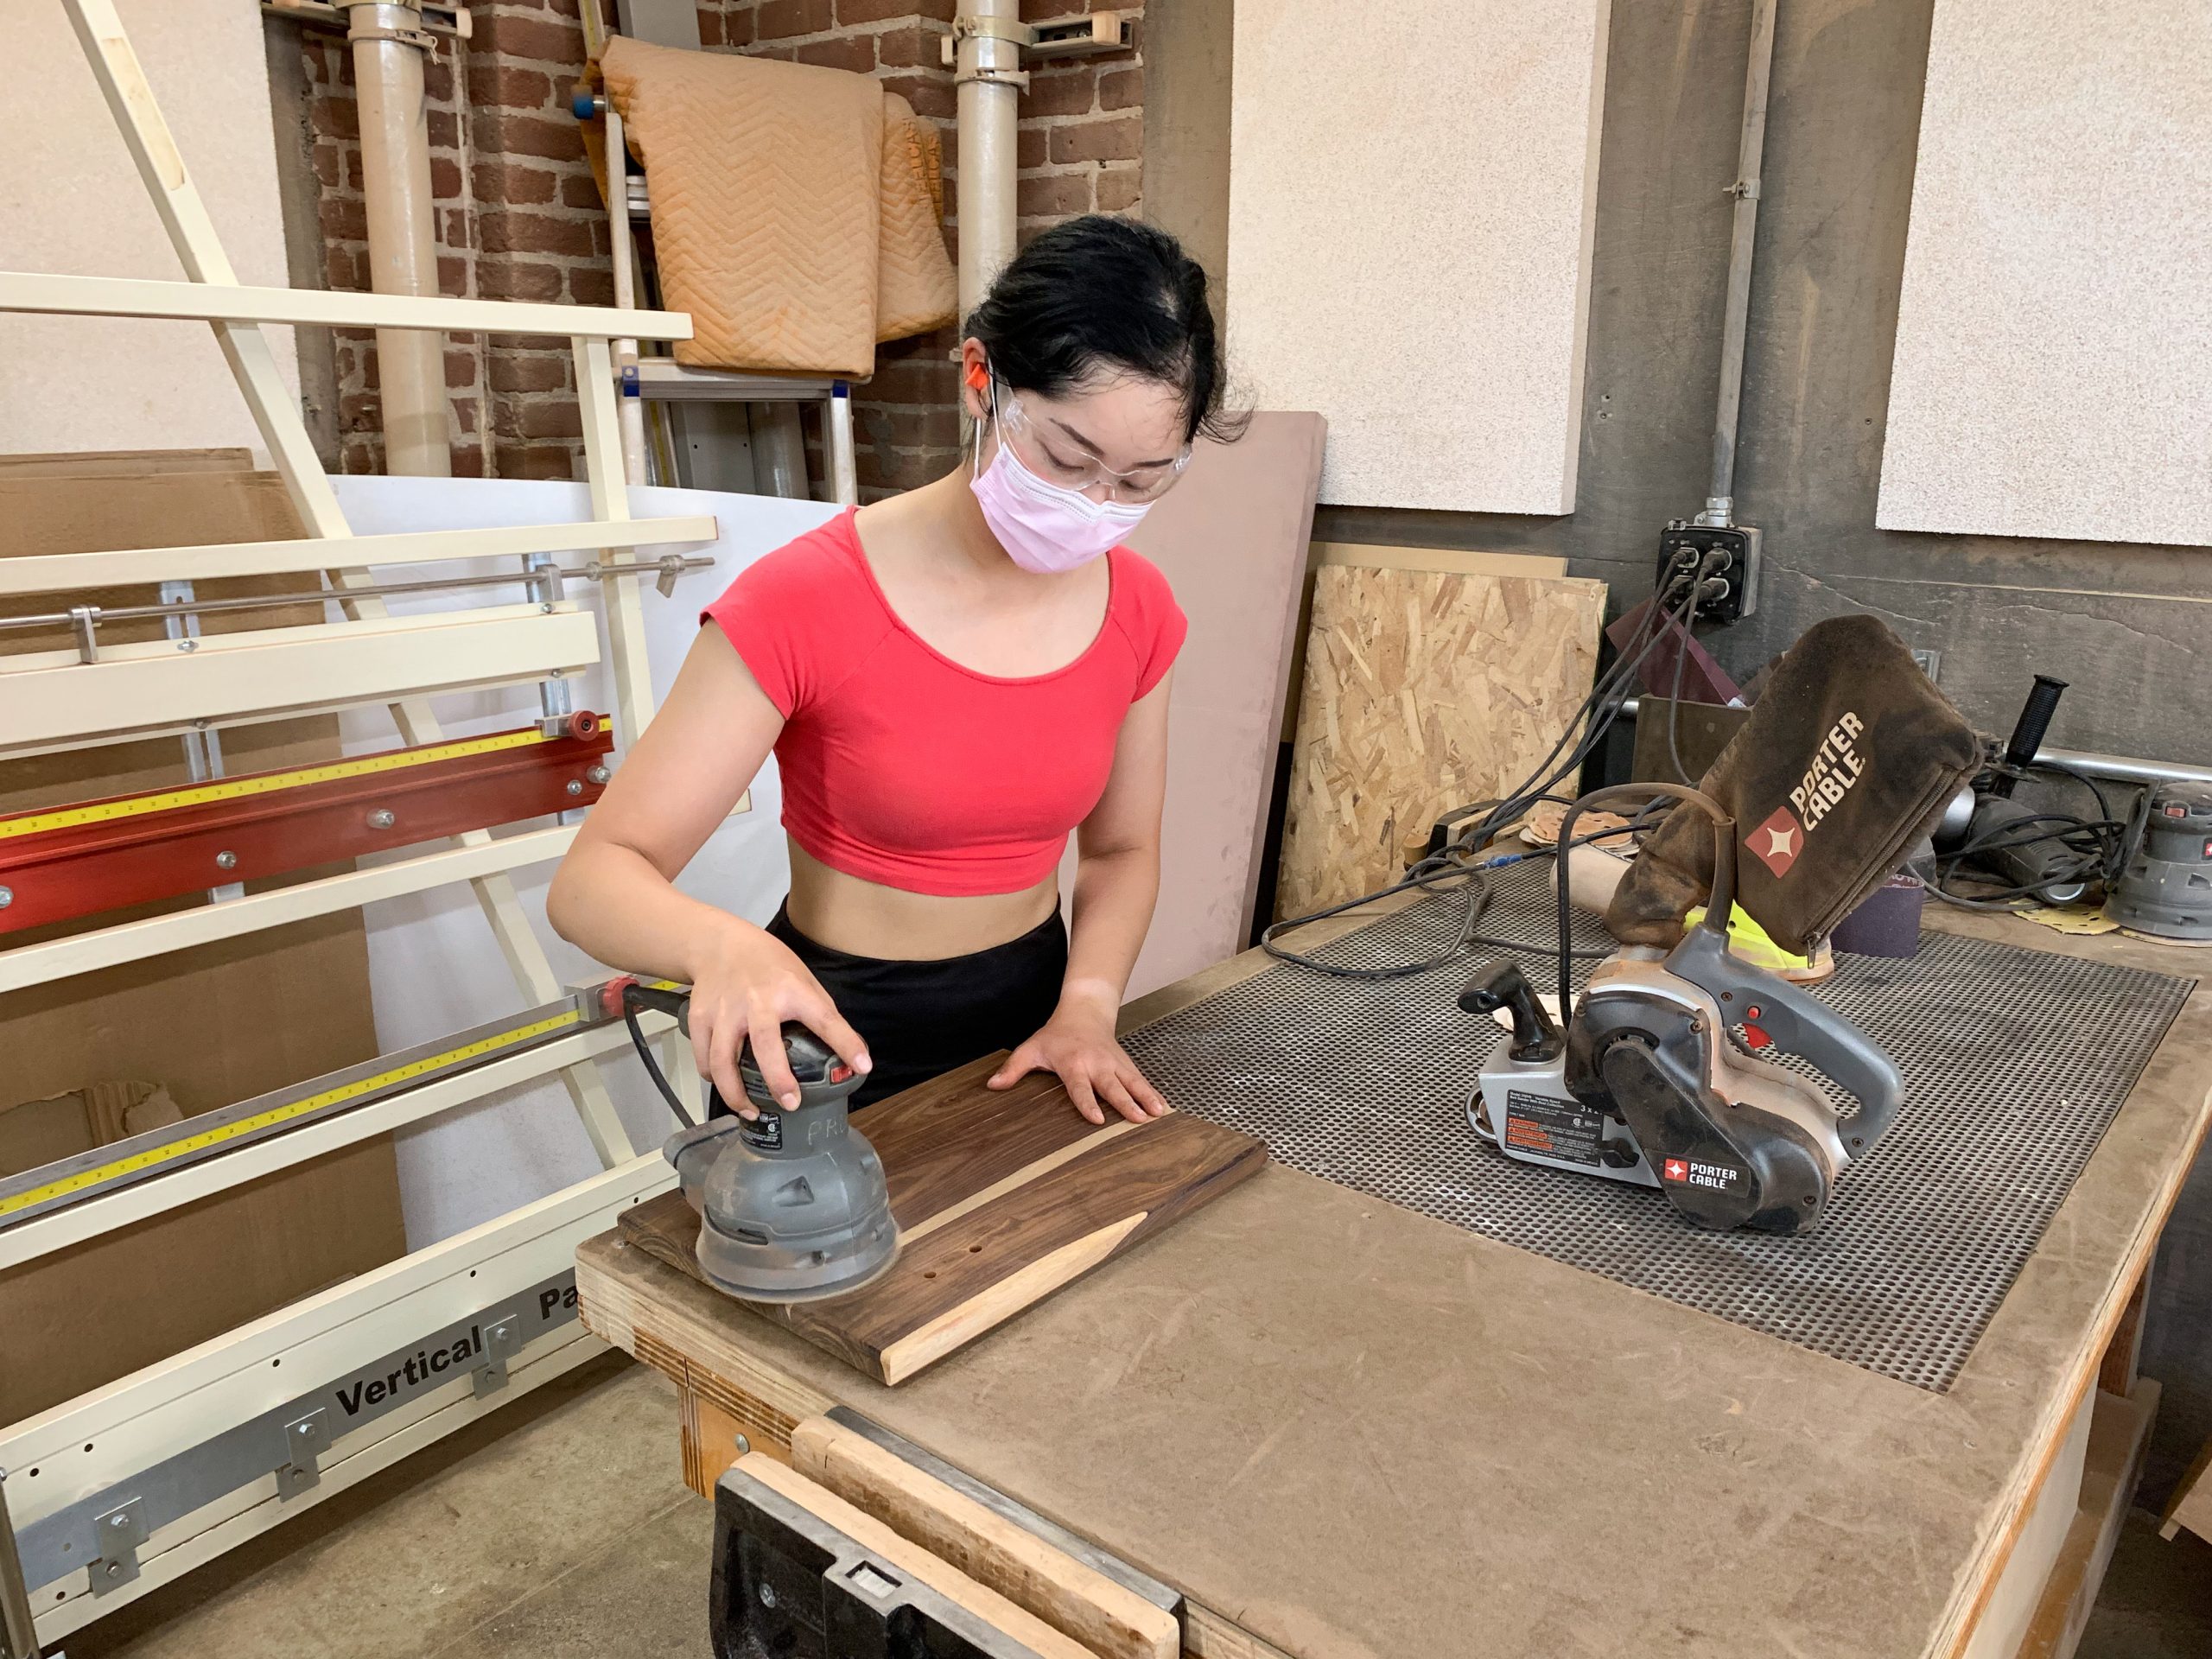
Sanding
Under normal circumstances, I would run the board through the planing machine, but unfortunately, the cocobolo was so hard and dense that it got stuck in the machine! Thus, I had to resort to hand planing. With some patience and much sanding, I was able to achieve a smooth, flat surface.
For some finishing touches, I added a fillet on the top edge and a chamfer on the bottom edge of the wood. Finally, I drilled some countersunk holes to secure my metal parts.
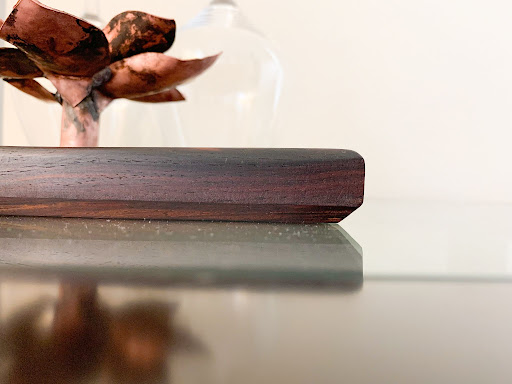
Fillet on top and chamfer on bottom
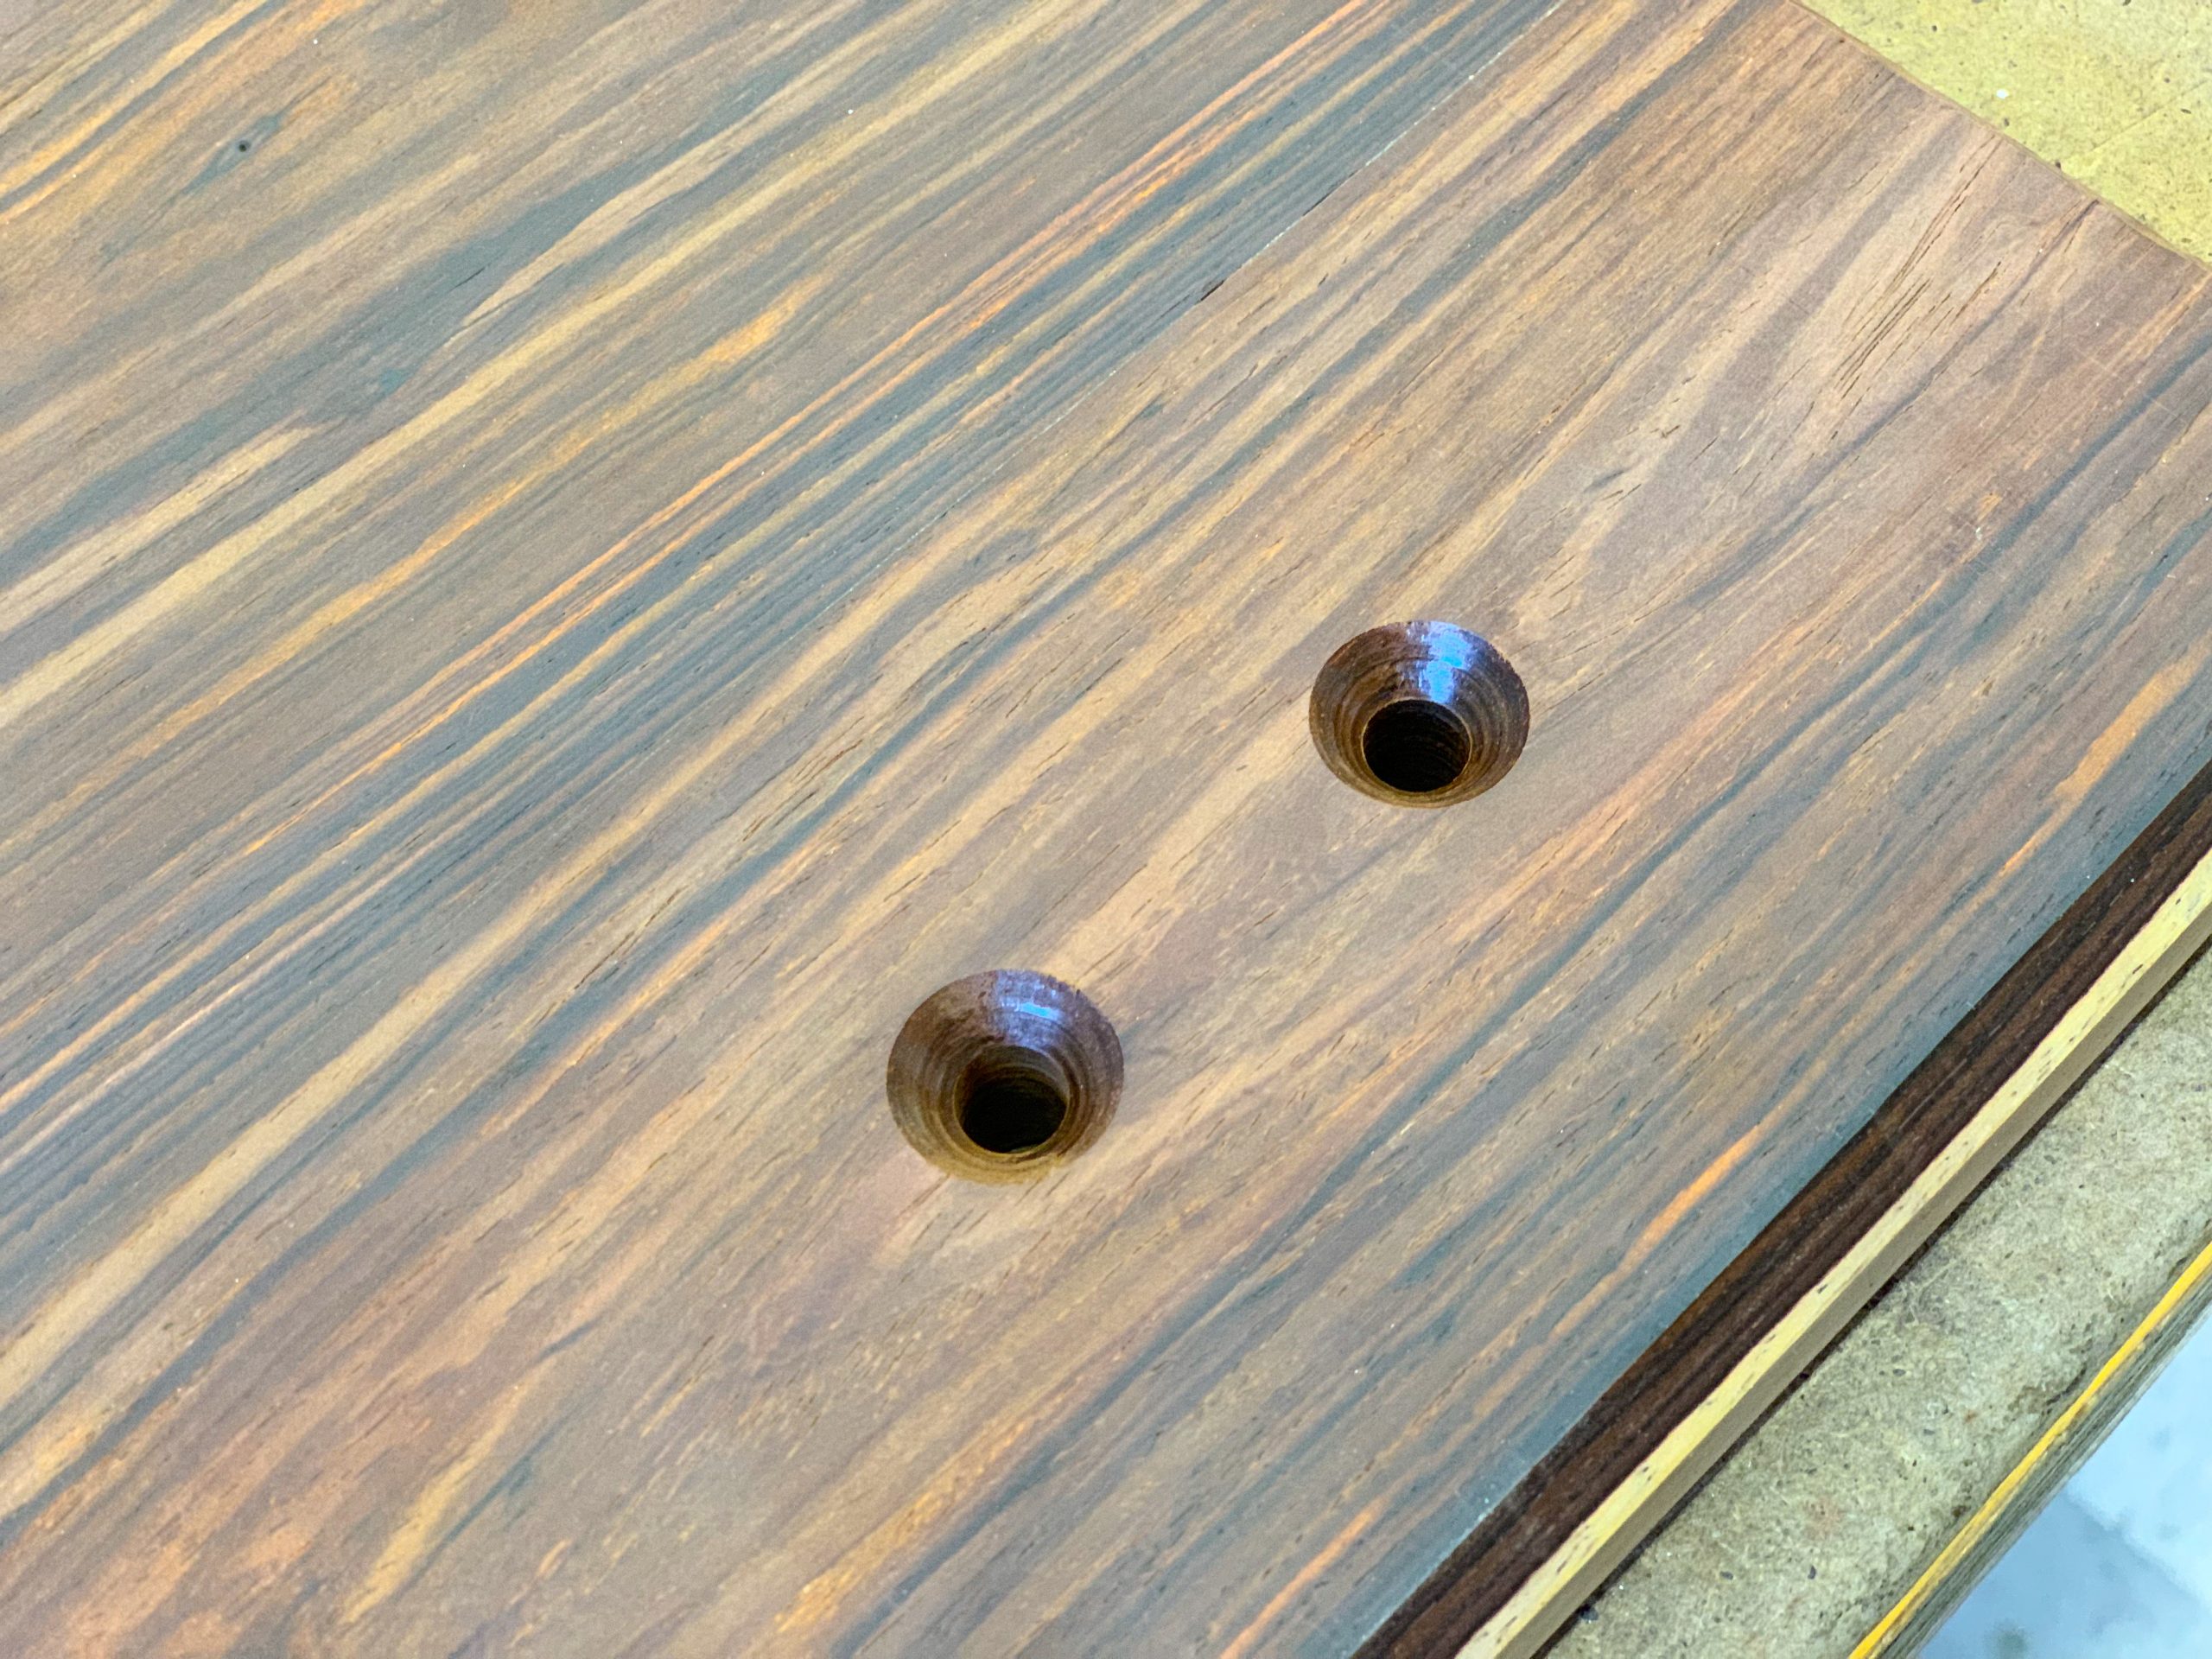
Drilled countersunk holes
At the end of the day, I do not regret using the cocobolo wood, as I feel that my project would not be the same without it.
FINISHING
Bead Blasting
When considering how I wanted to finish each of my parts, I realized that my project consisted of many materials, colors, and shapes. Thus, in an effort to keep the final product cohesive and elegant, I opted for a clean, matte, bead-blasted look for my aluminum parts (the “pringle” and the “neck”).
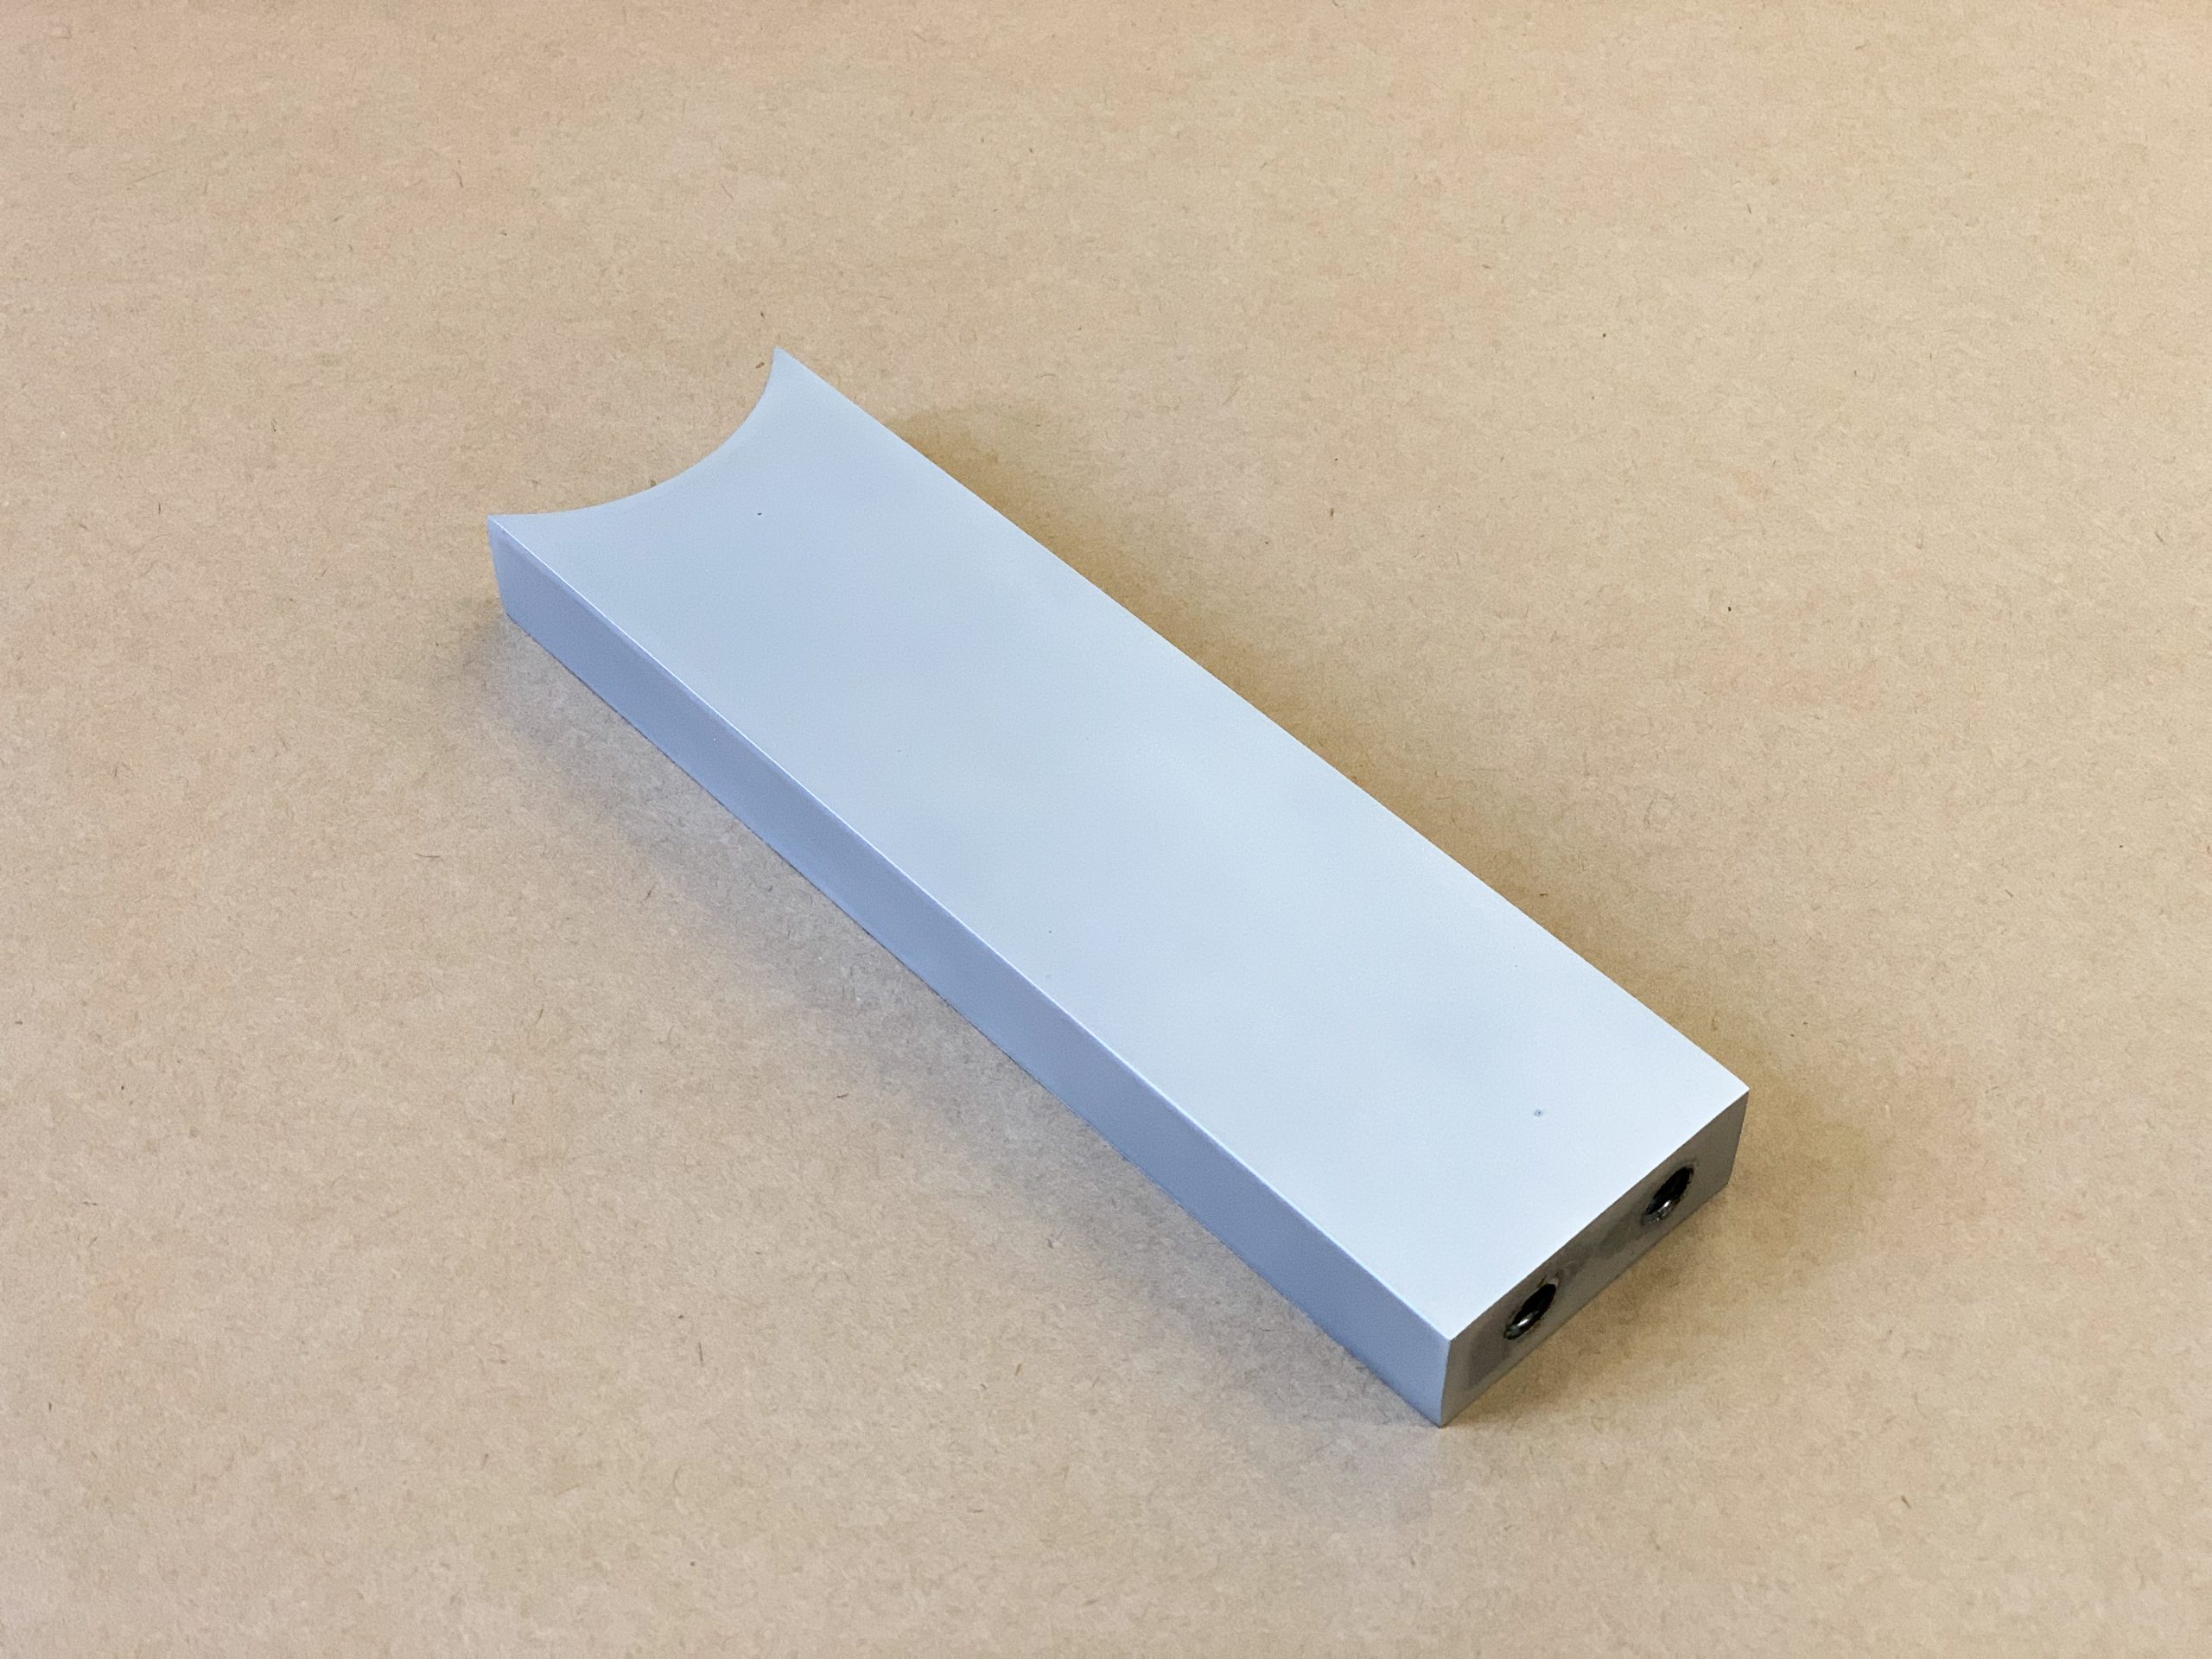
Bead blasted neck
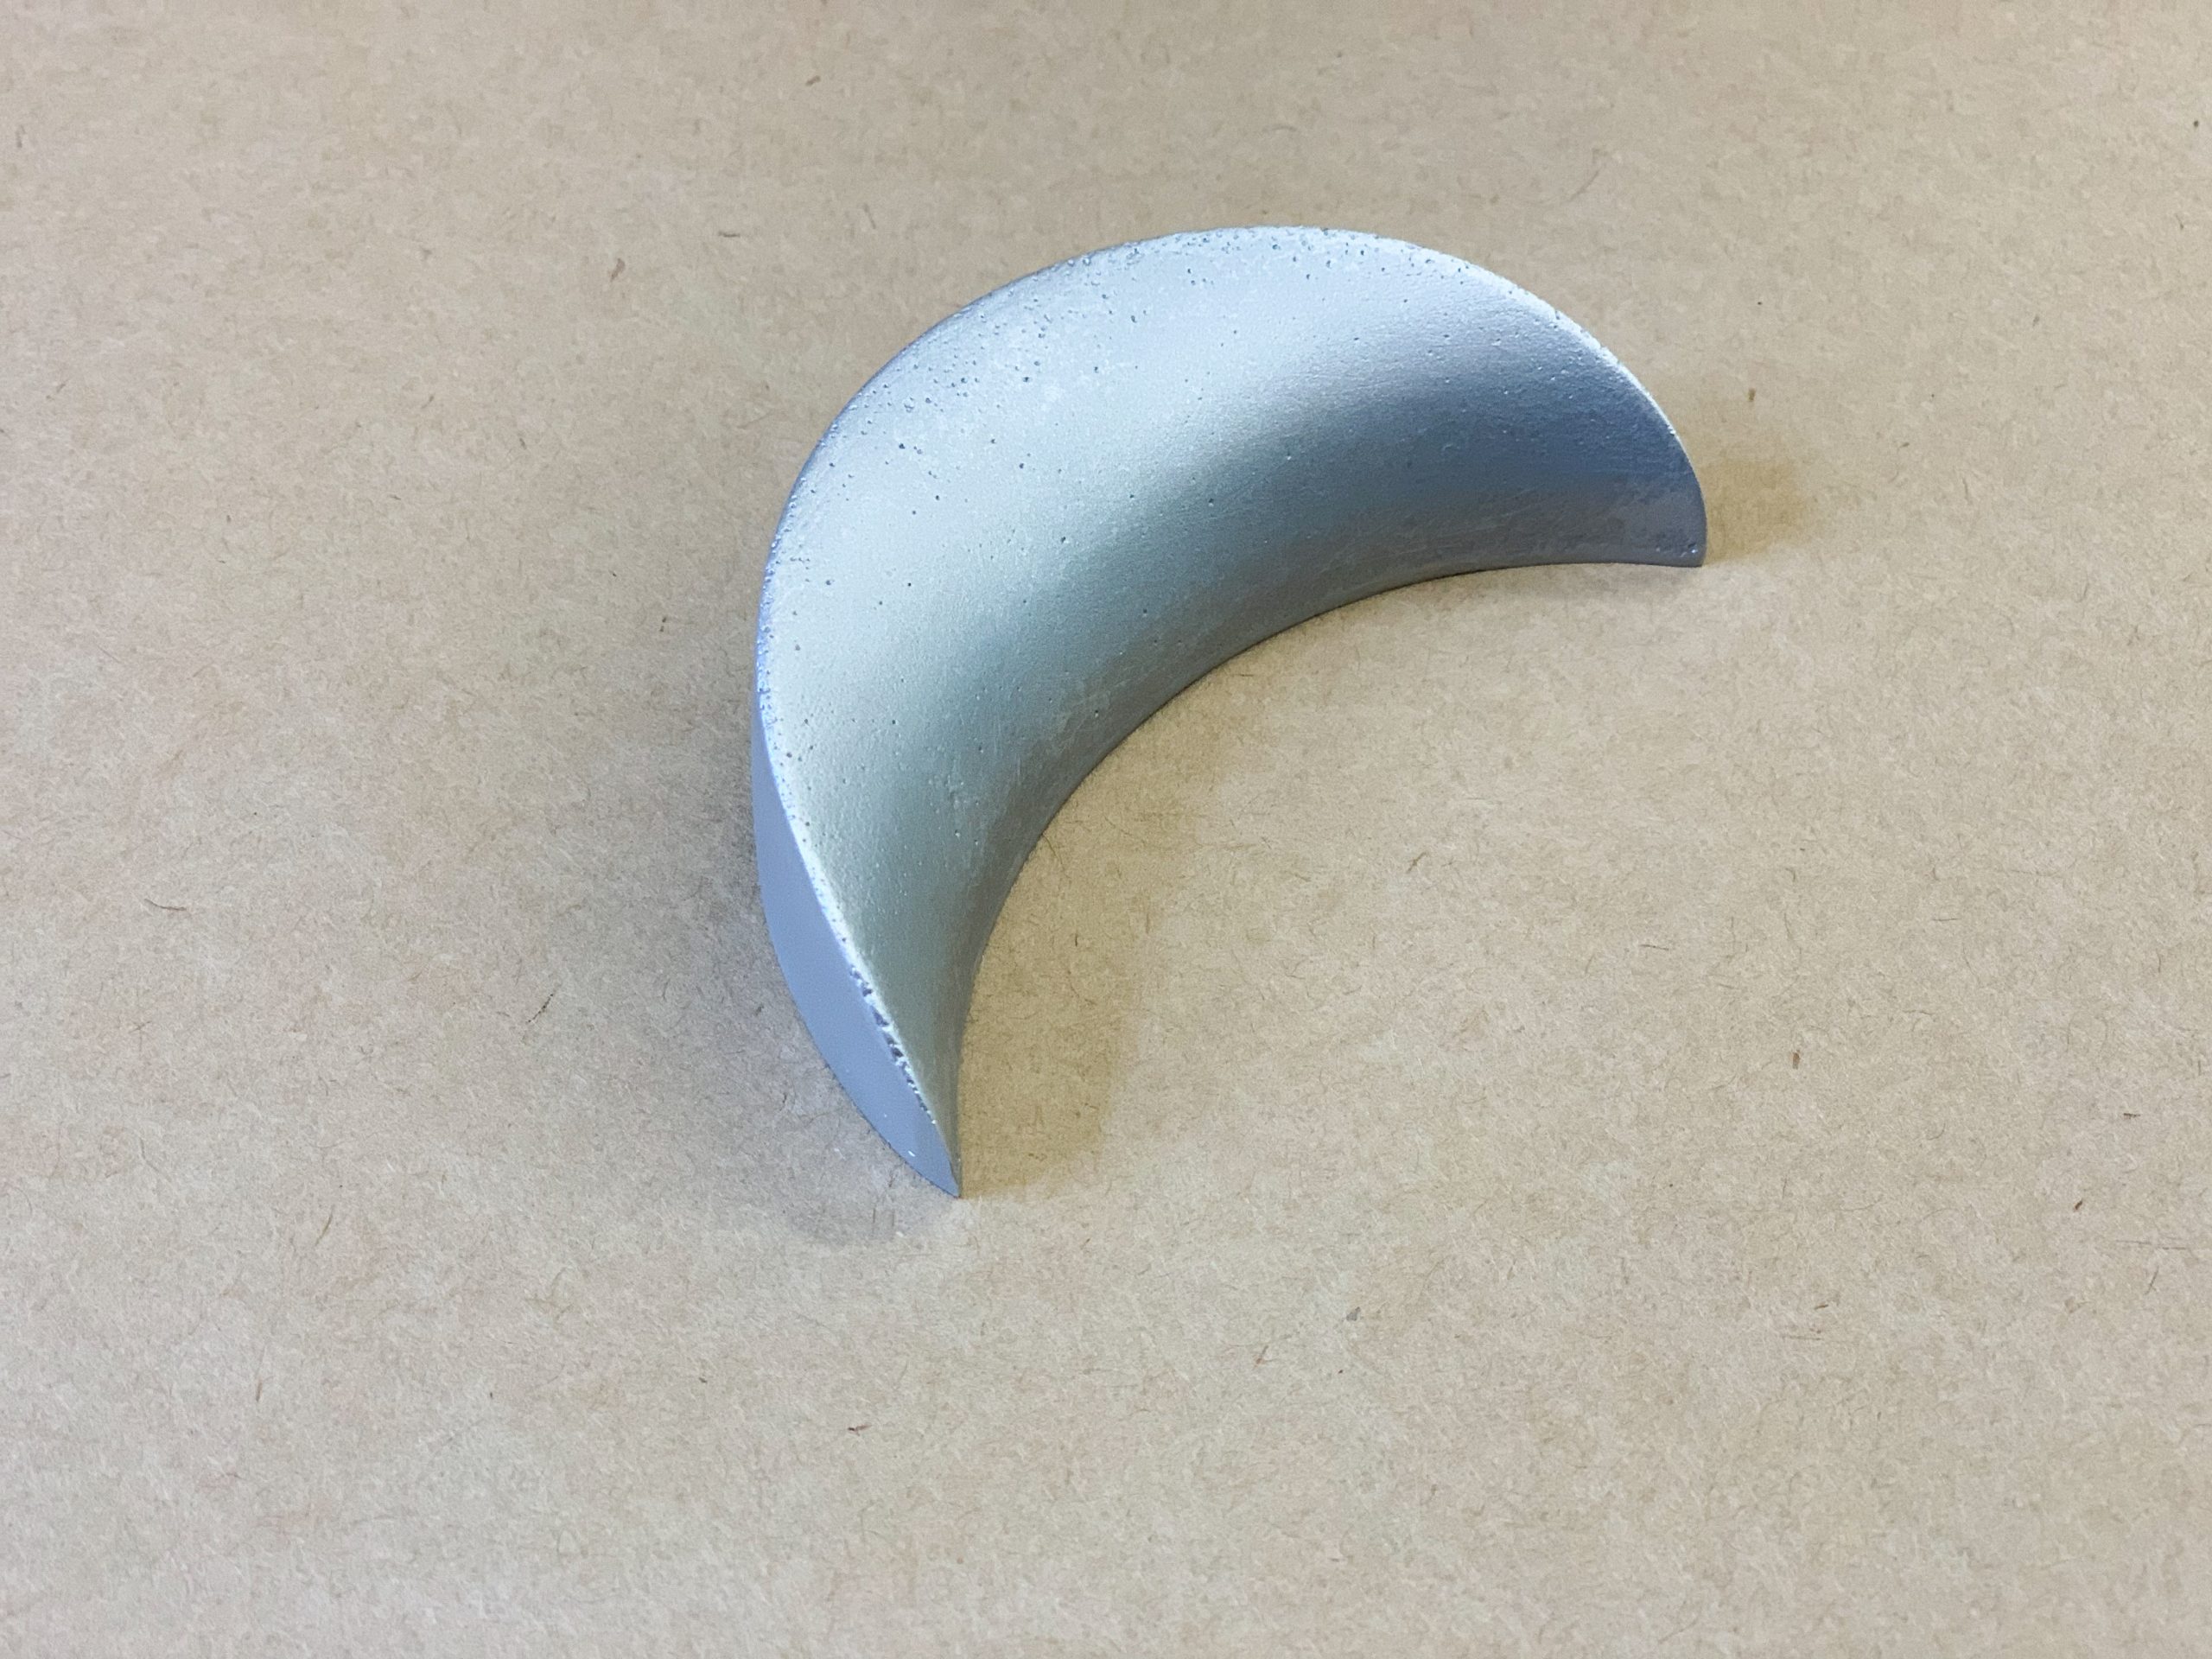
Bead blasted pringle
Patinas (Copper Flower)
After testing out green and black patinas on smaller pieces of copper sheet metal, I decided that I didn’t want to use patinas on my final flower. Instead, I dipped the flower into a pickling solution for about half an hour, which lightened the color of the copper to a luminescent rose color while also preserving the darker purple/magenta coloring created naturally through annealing.
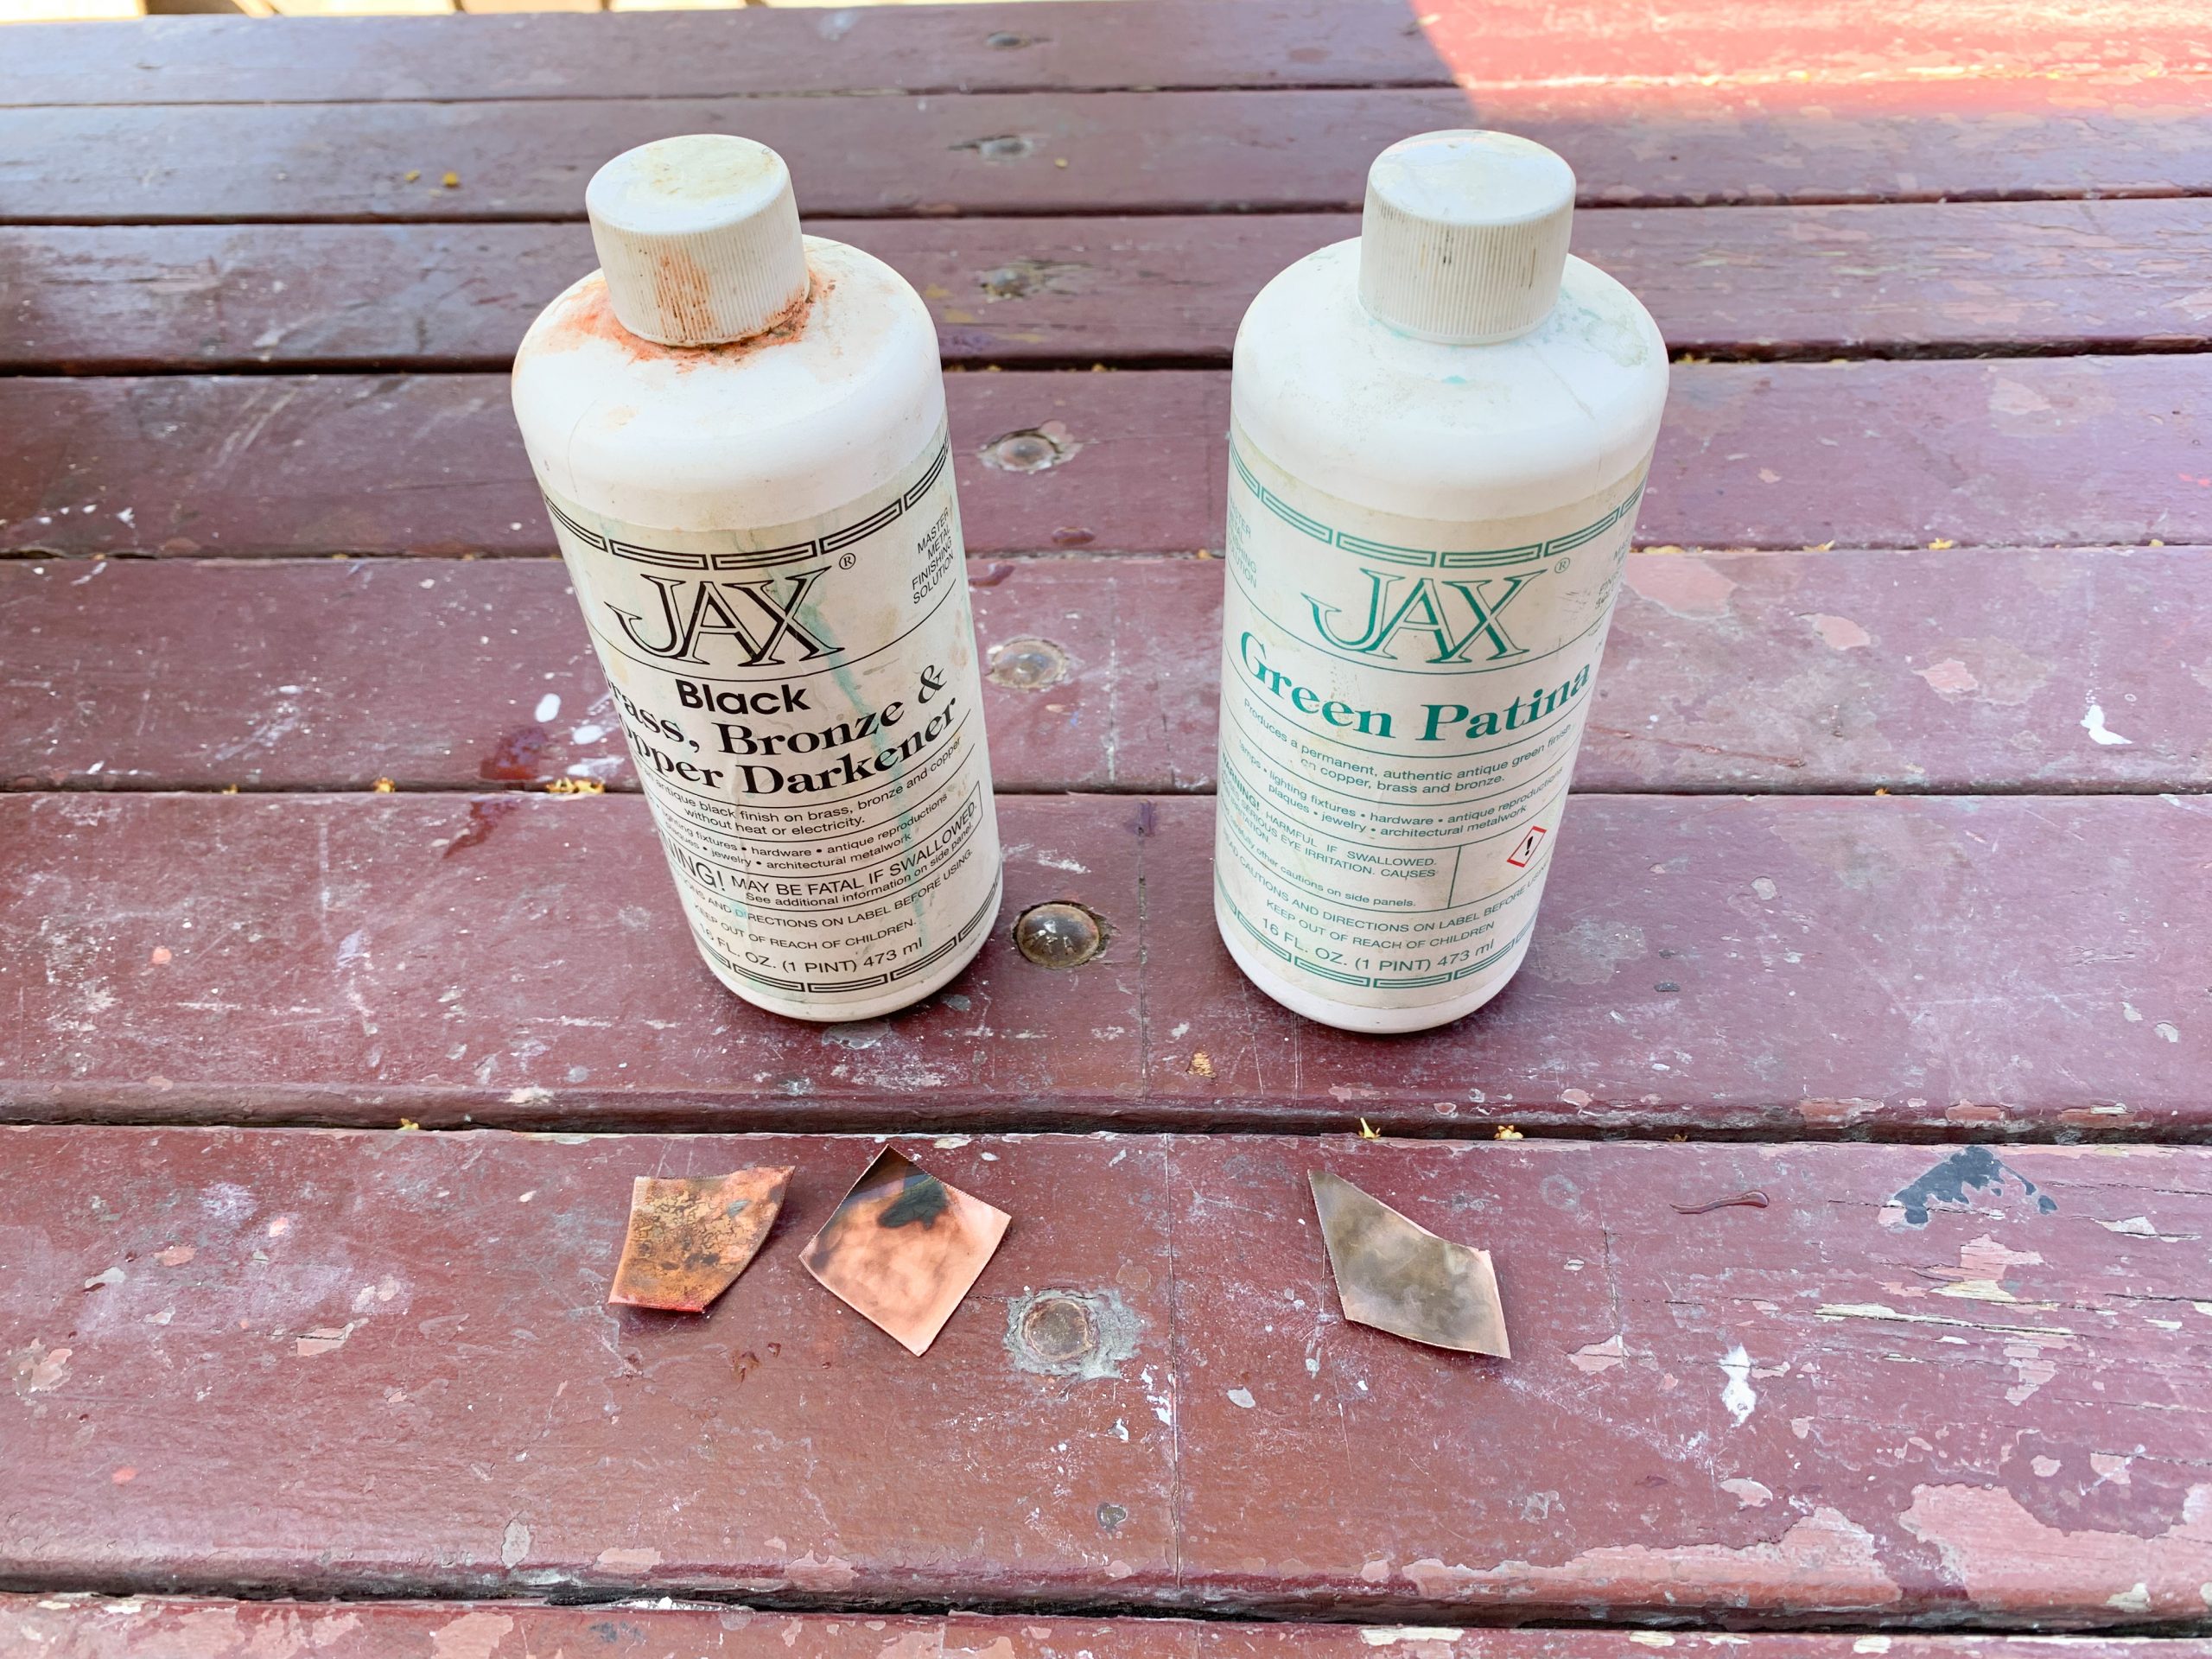
Trying out black and green patinas
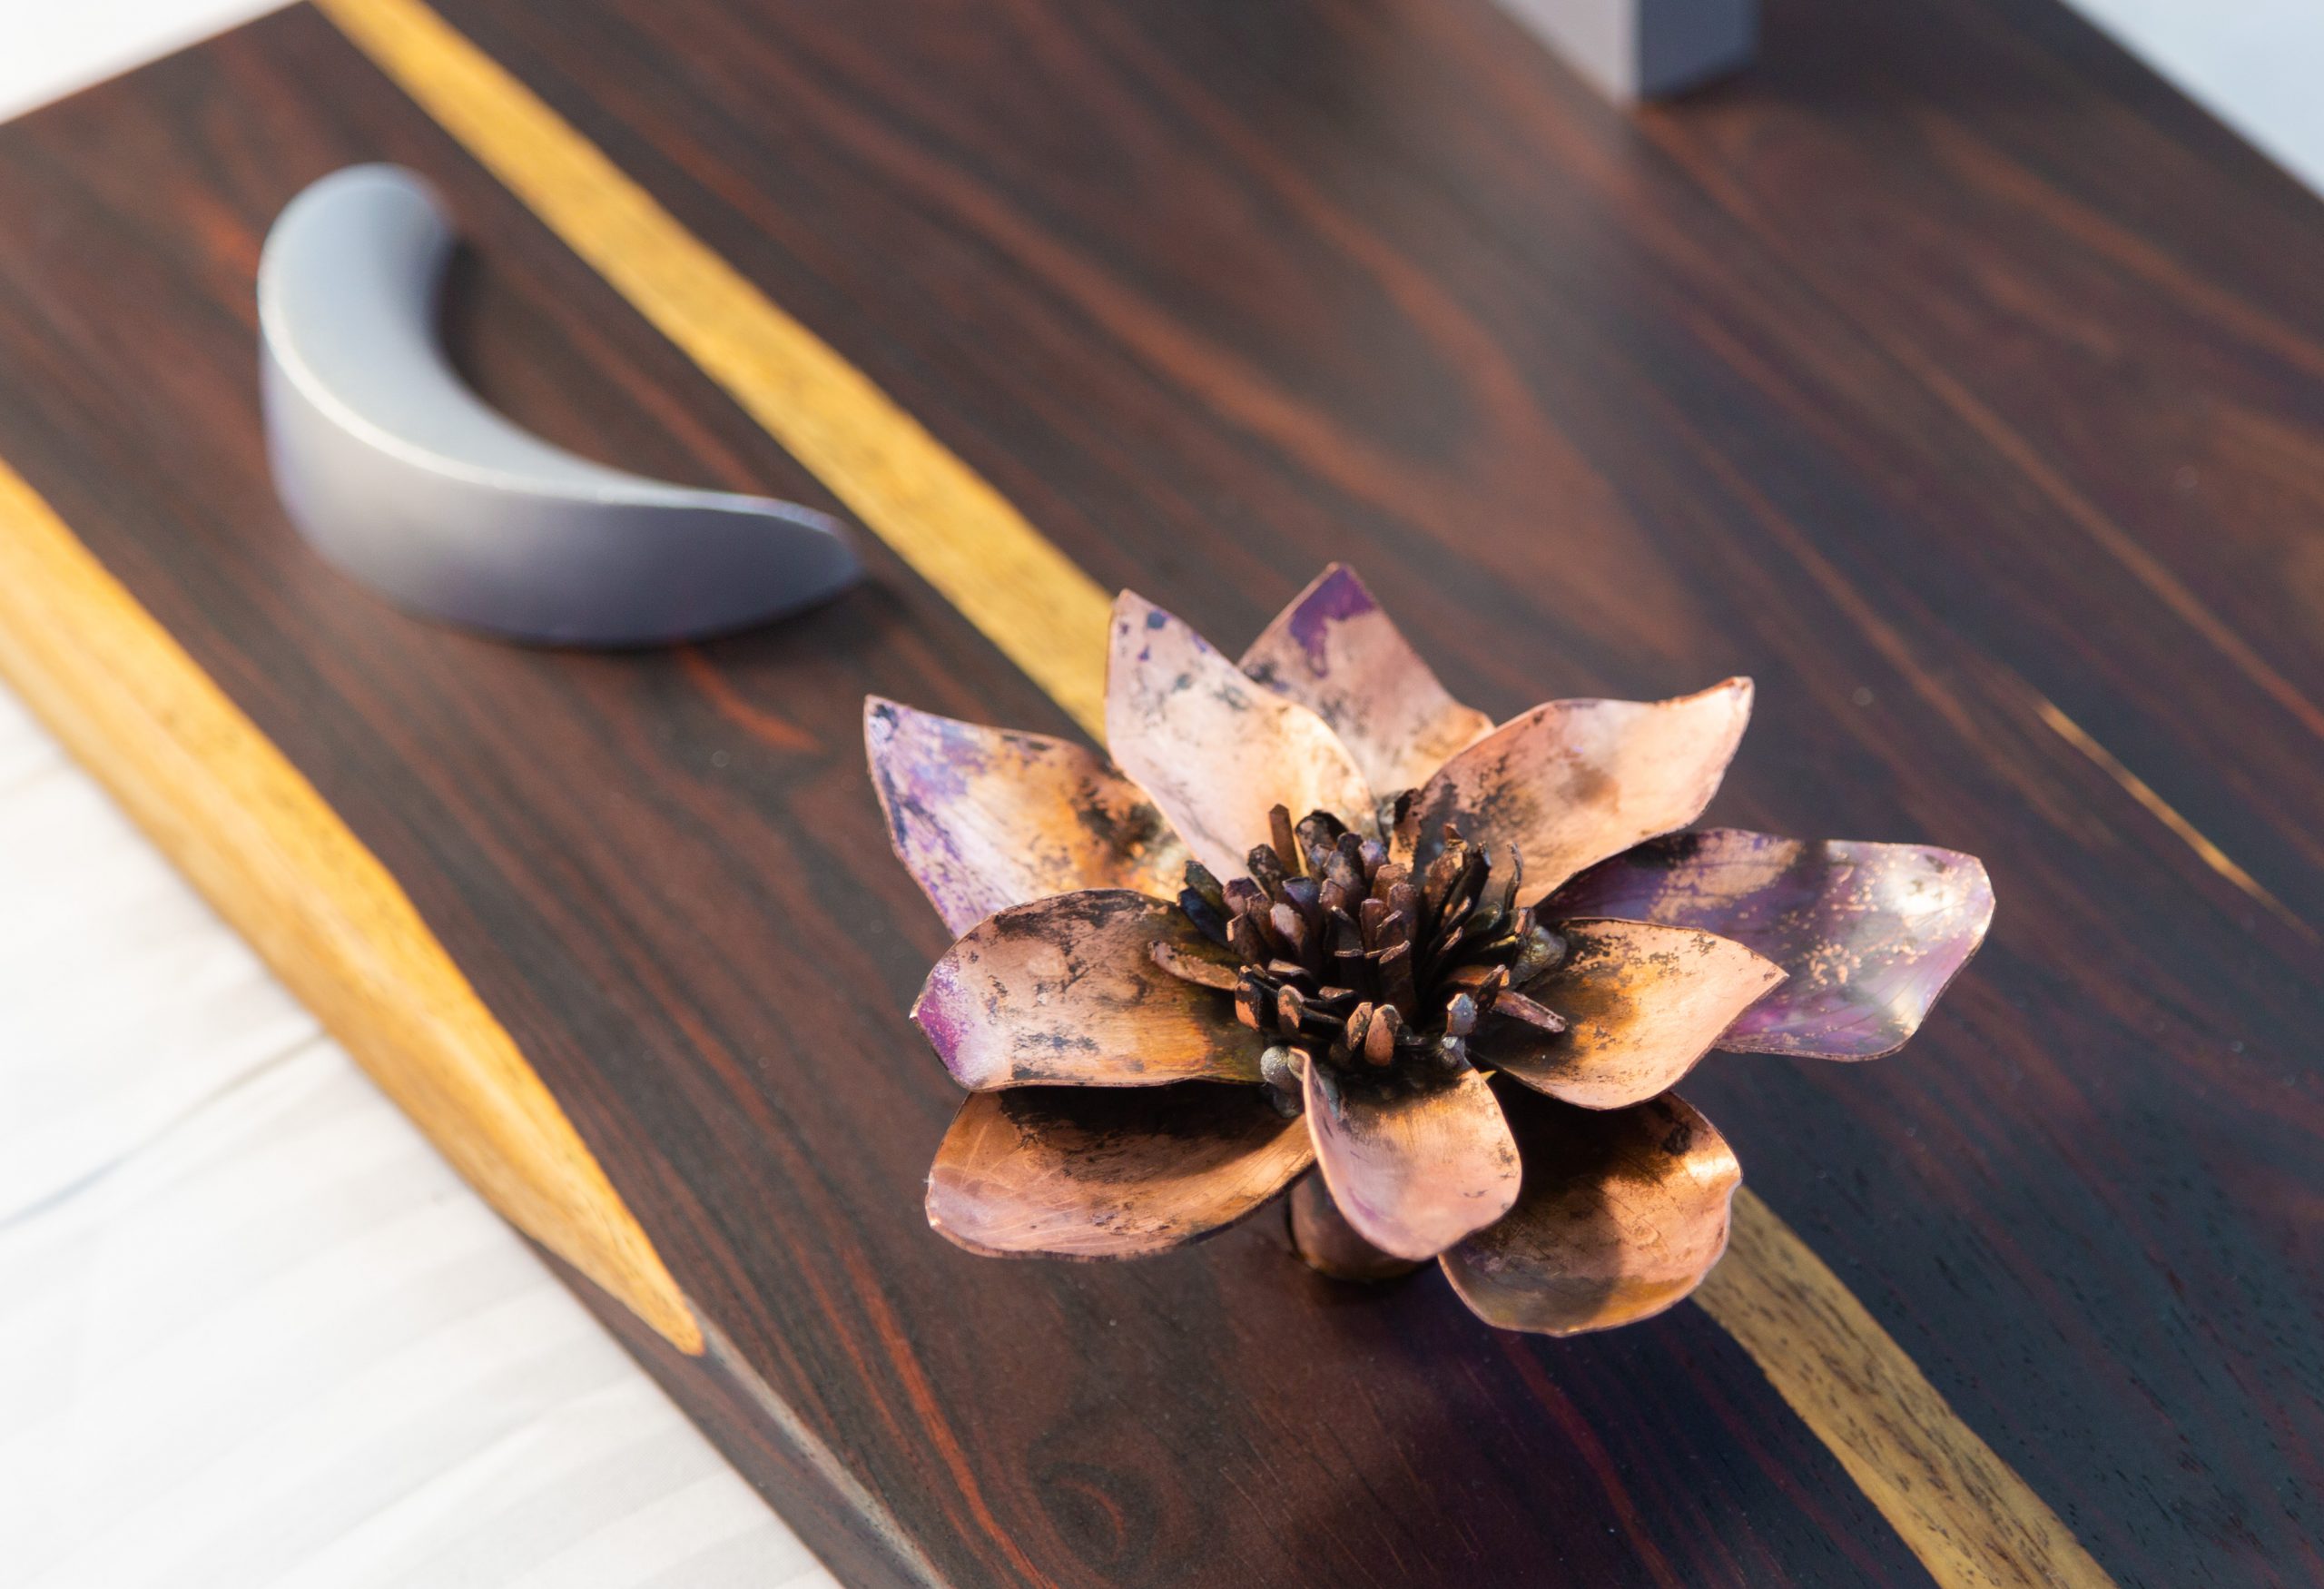
After pickling and scrubbing
Varnish
I finished my cocobolo wood (though it was already quite beautiful) using Tried and True varnish oil, which yielded a deep, rich coloring that complimented the copper flower.
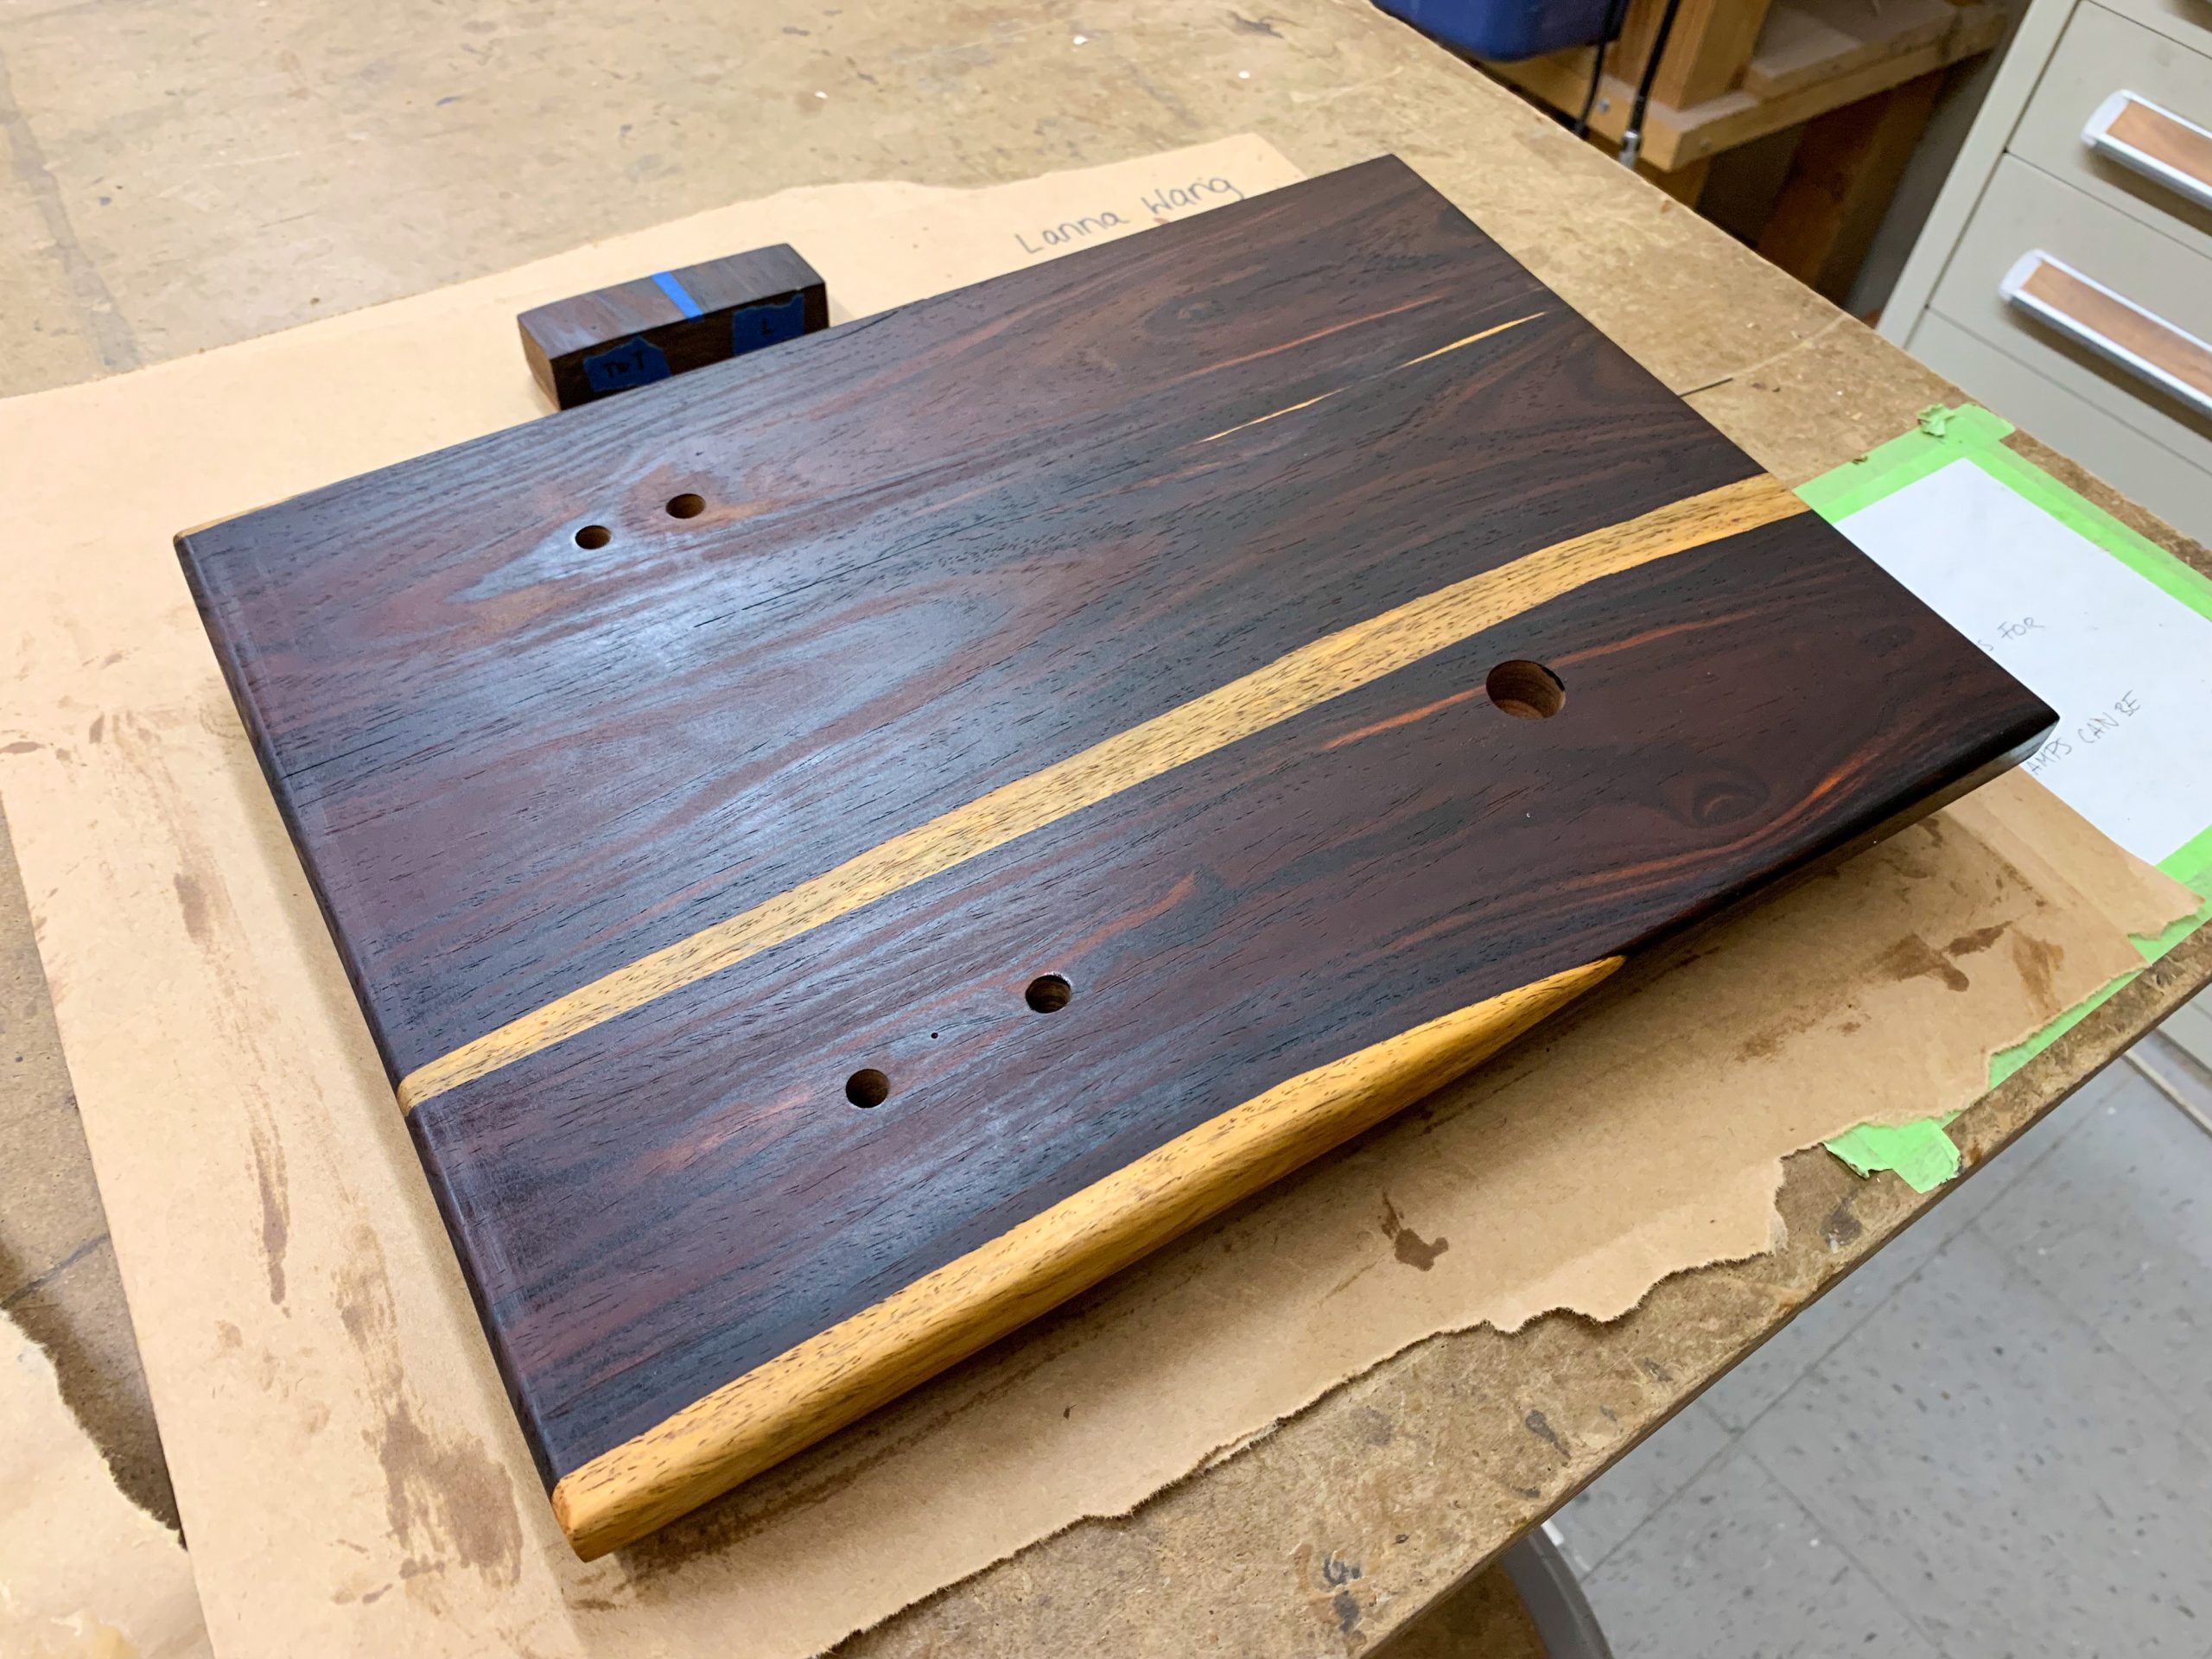
Tried and True varnish oil
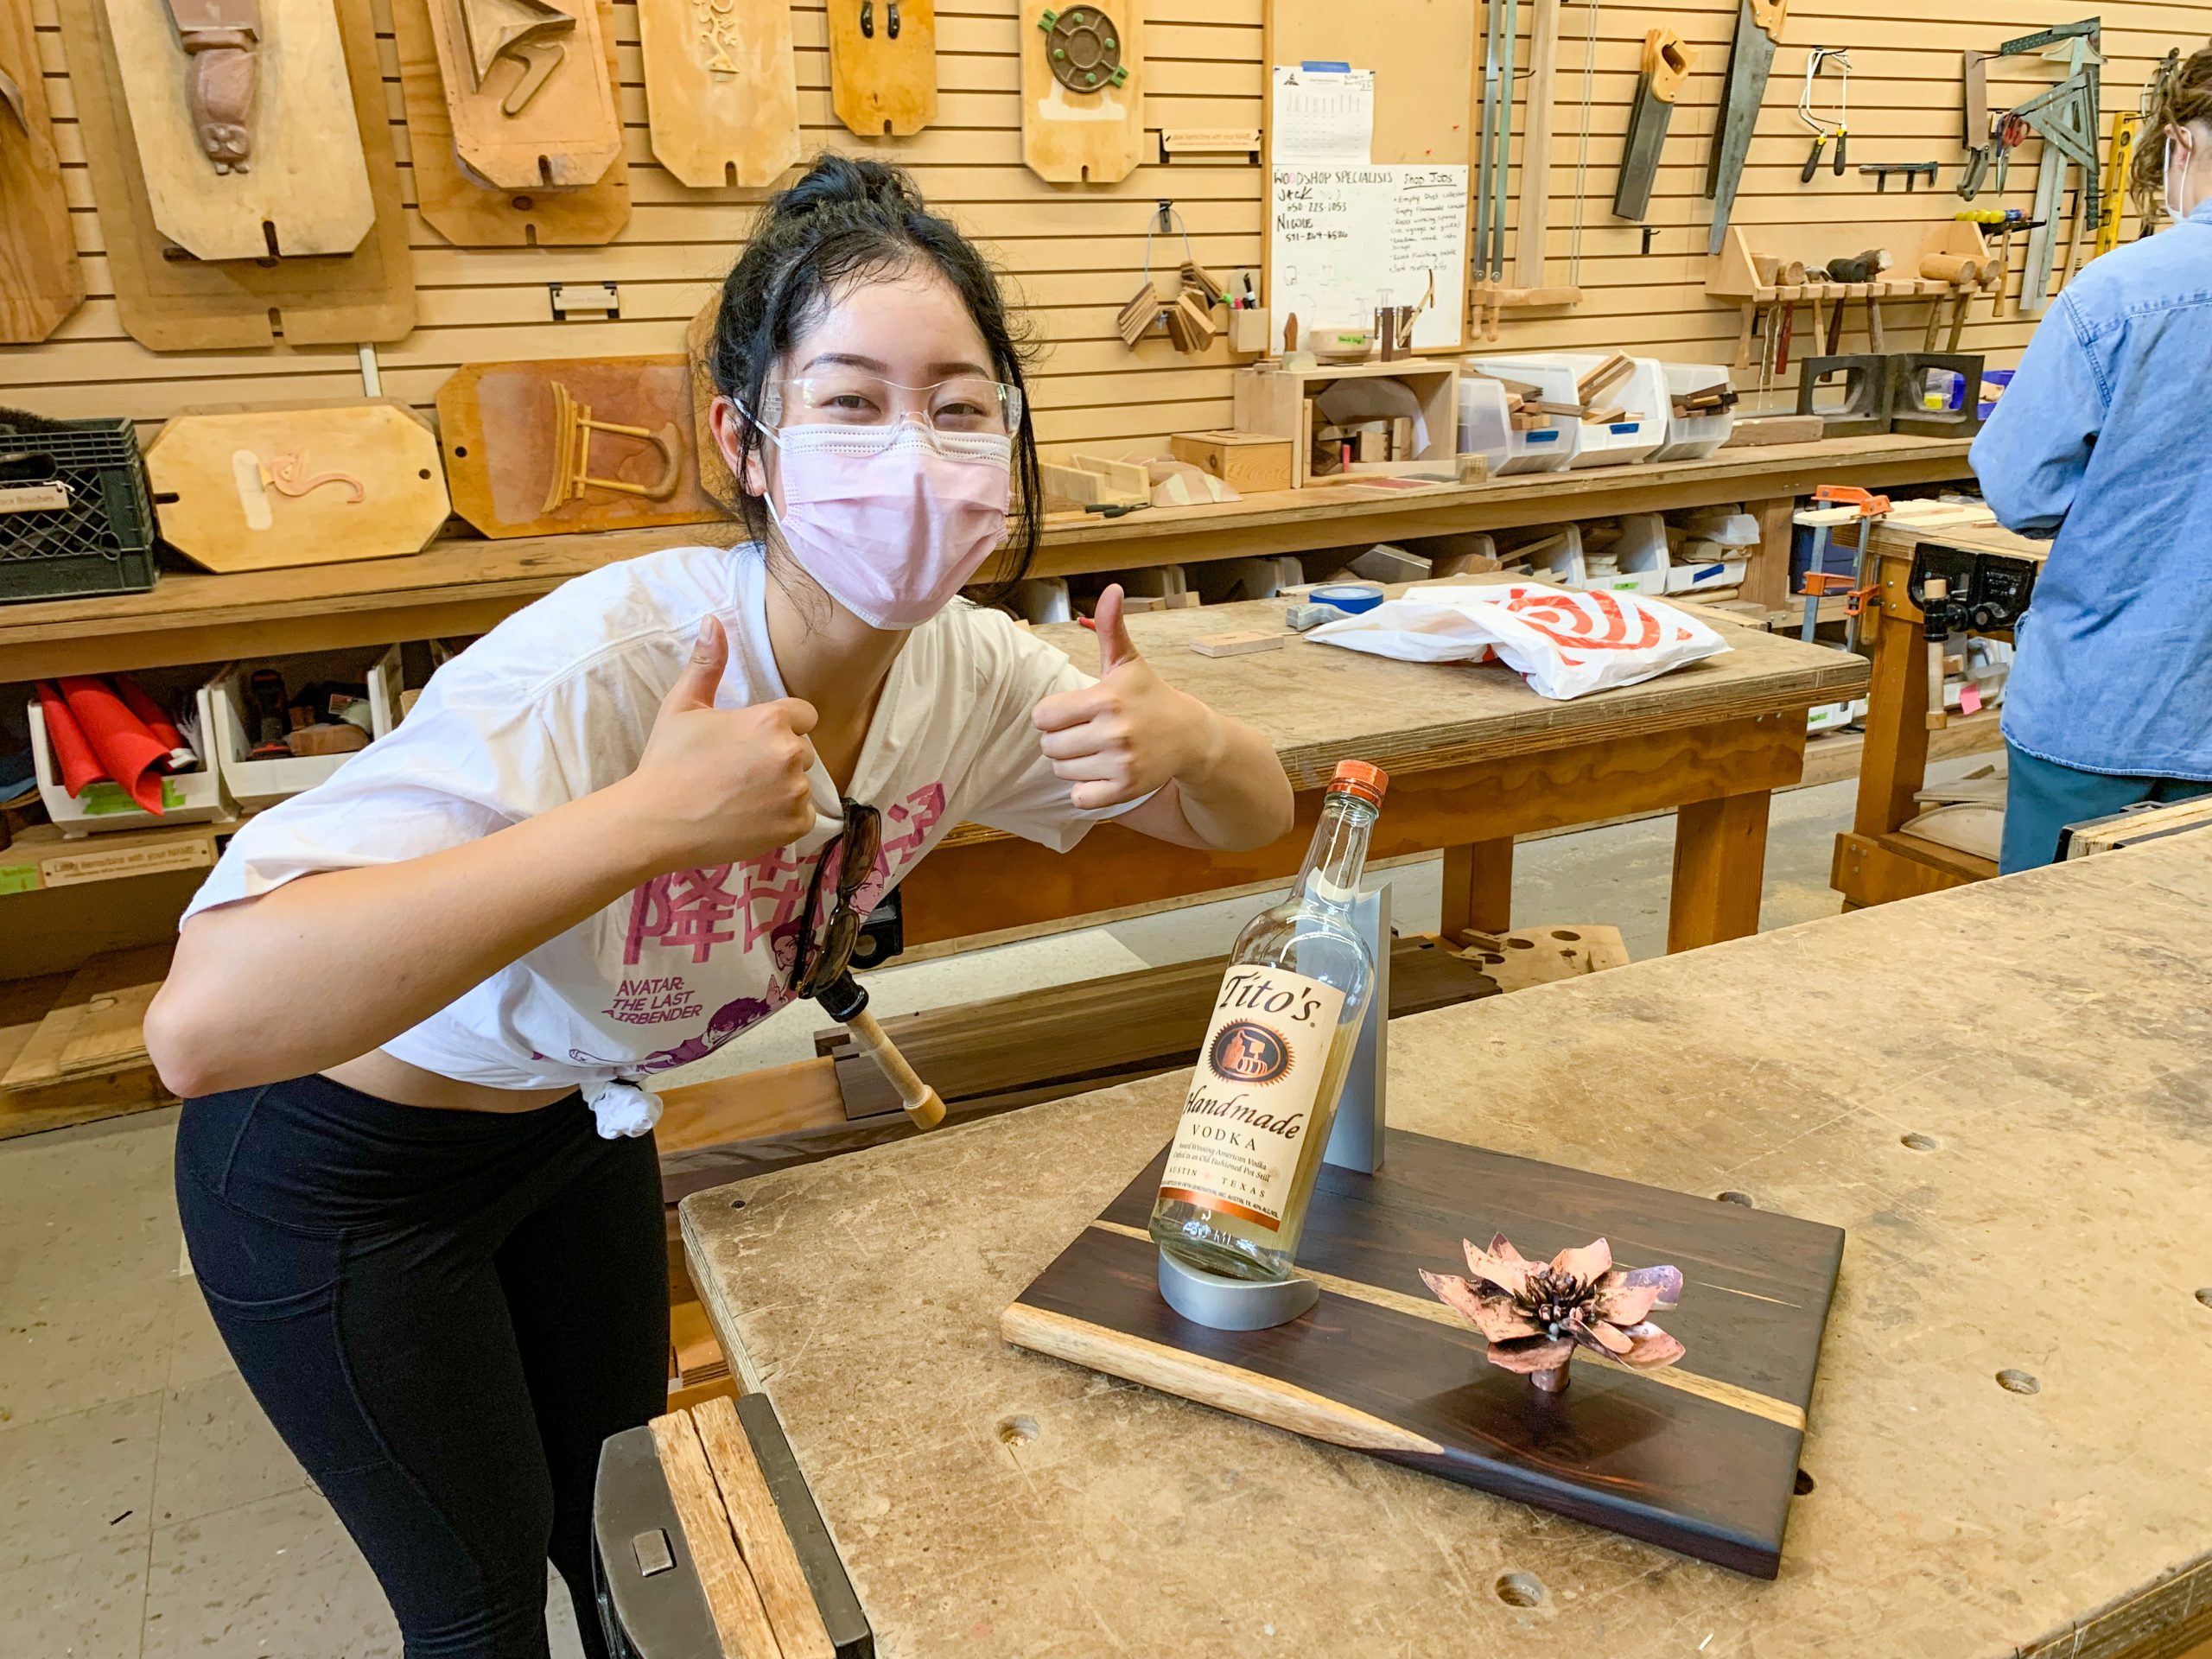
Double thumbs up!!!
REFLECTION
Project Scoping
Above all, this experience taught me the importance of scoping and setting realistic expectations for the completion of a product. I highly underestimated the time it would take for me to learn each skill, as well as the additional time and resources I would need to accommodate for any mistakes. Moreover, I have come to appreciate the technical knowledge behind manufacturing. Now, I look at everyday objects around me and cannot help but wonder how exactly they are made.
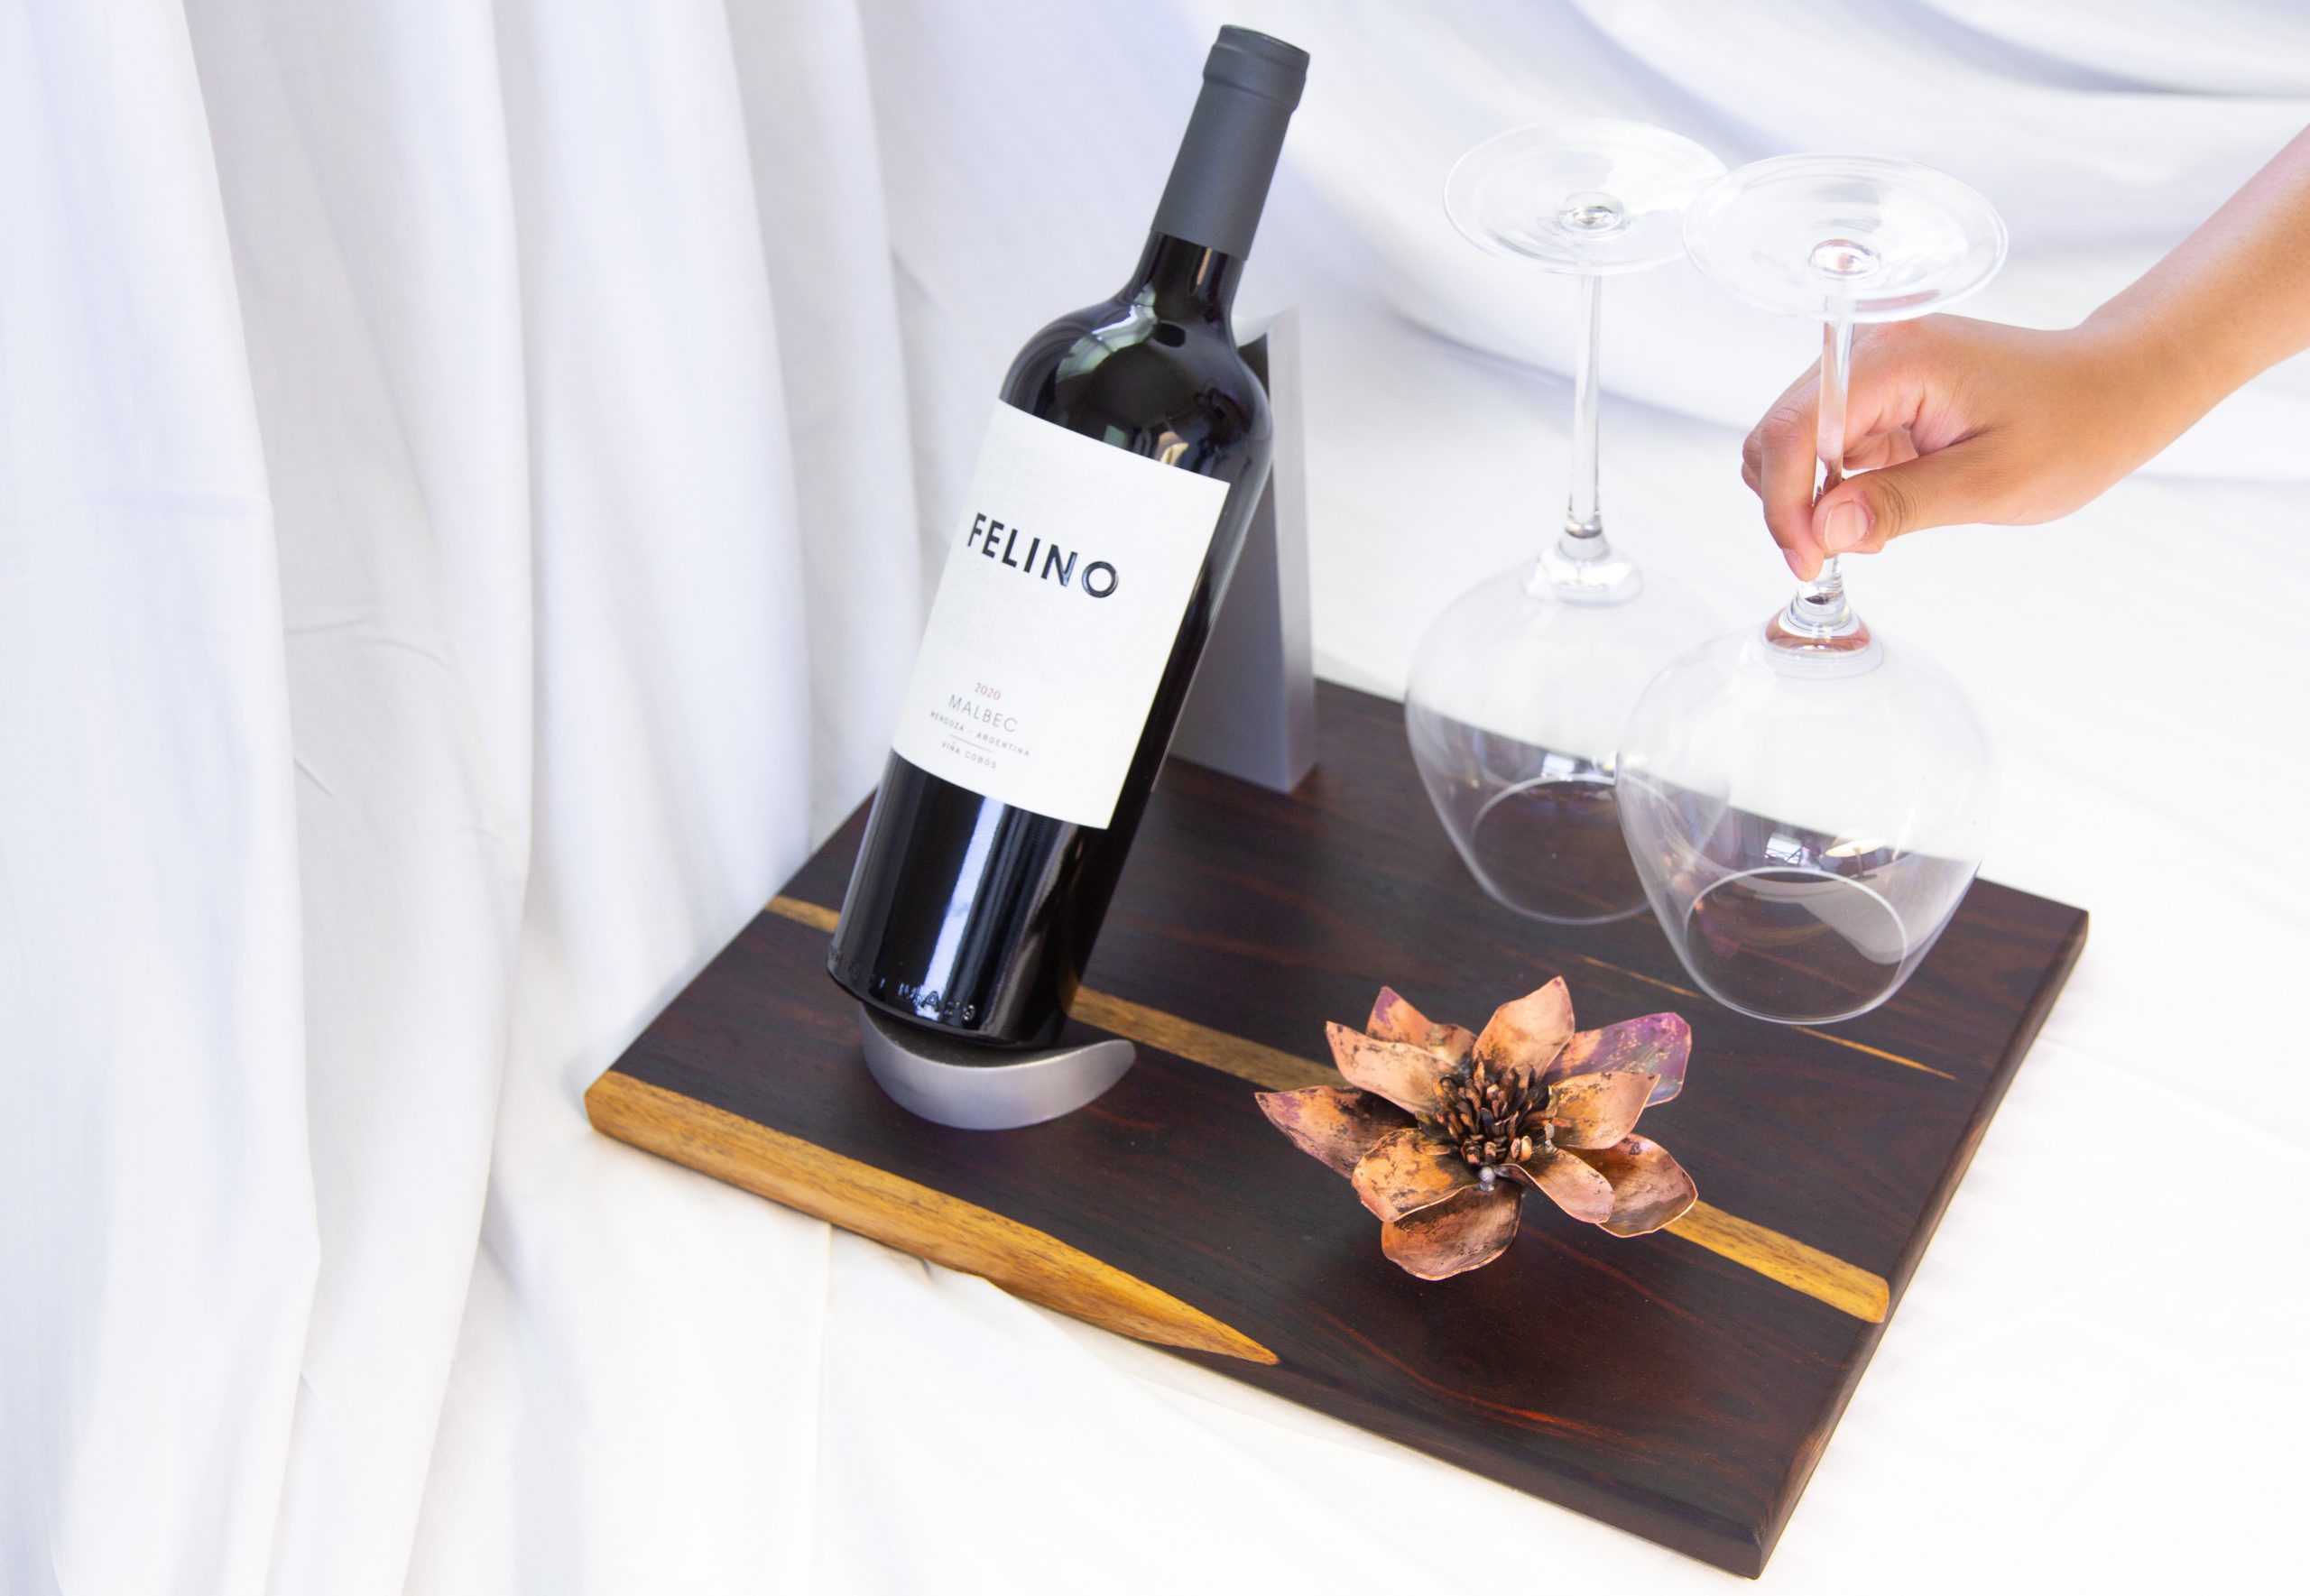
Jack of All Trades
Despite the difficulties, I am ultimately glad that I challenged myself to explore a wide range of skills for my final project. I realized that I loved running between the Foundry, Machine Shop, and Wood Shop and working on multiple pieces of my project at a time. It seemed that my mind was always engaged, always puzzling over problems that I had encountered; of course, this was stressful and demotivating at times, but it was fulfilling in the end to reflect on what I had accomplished.
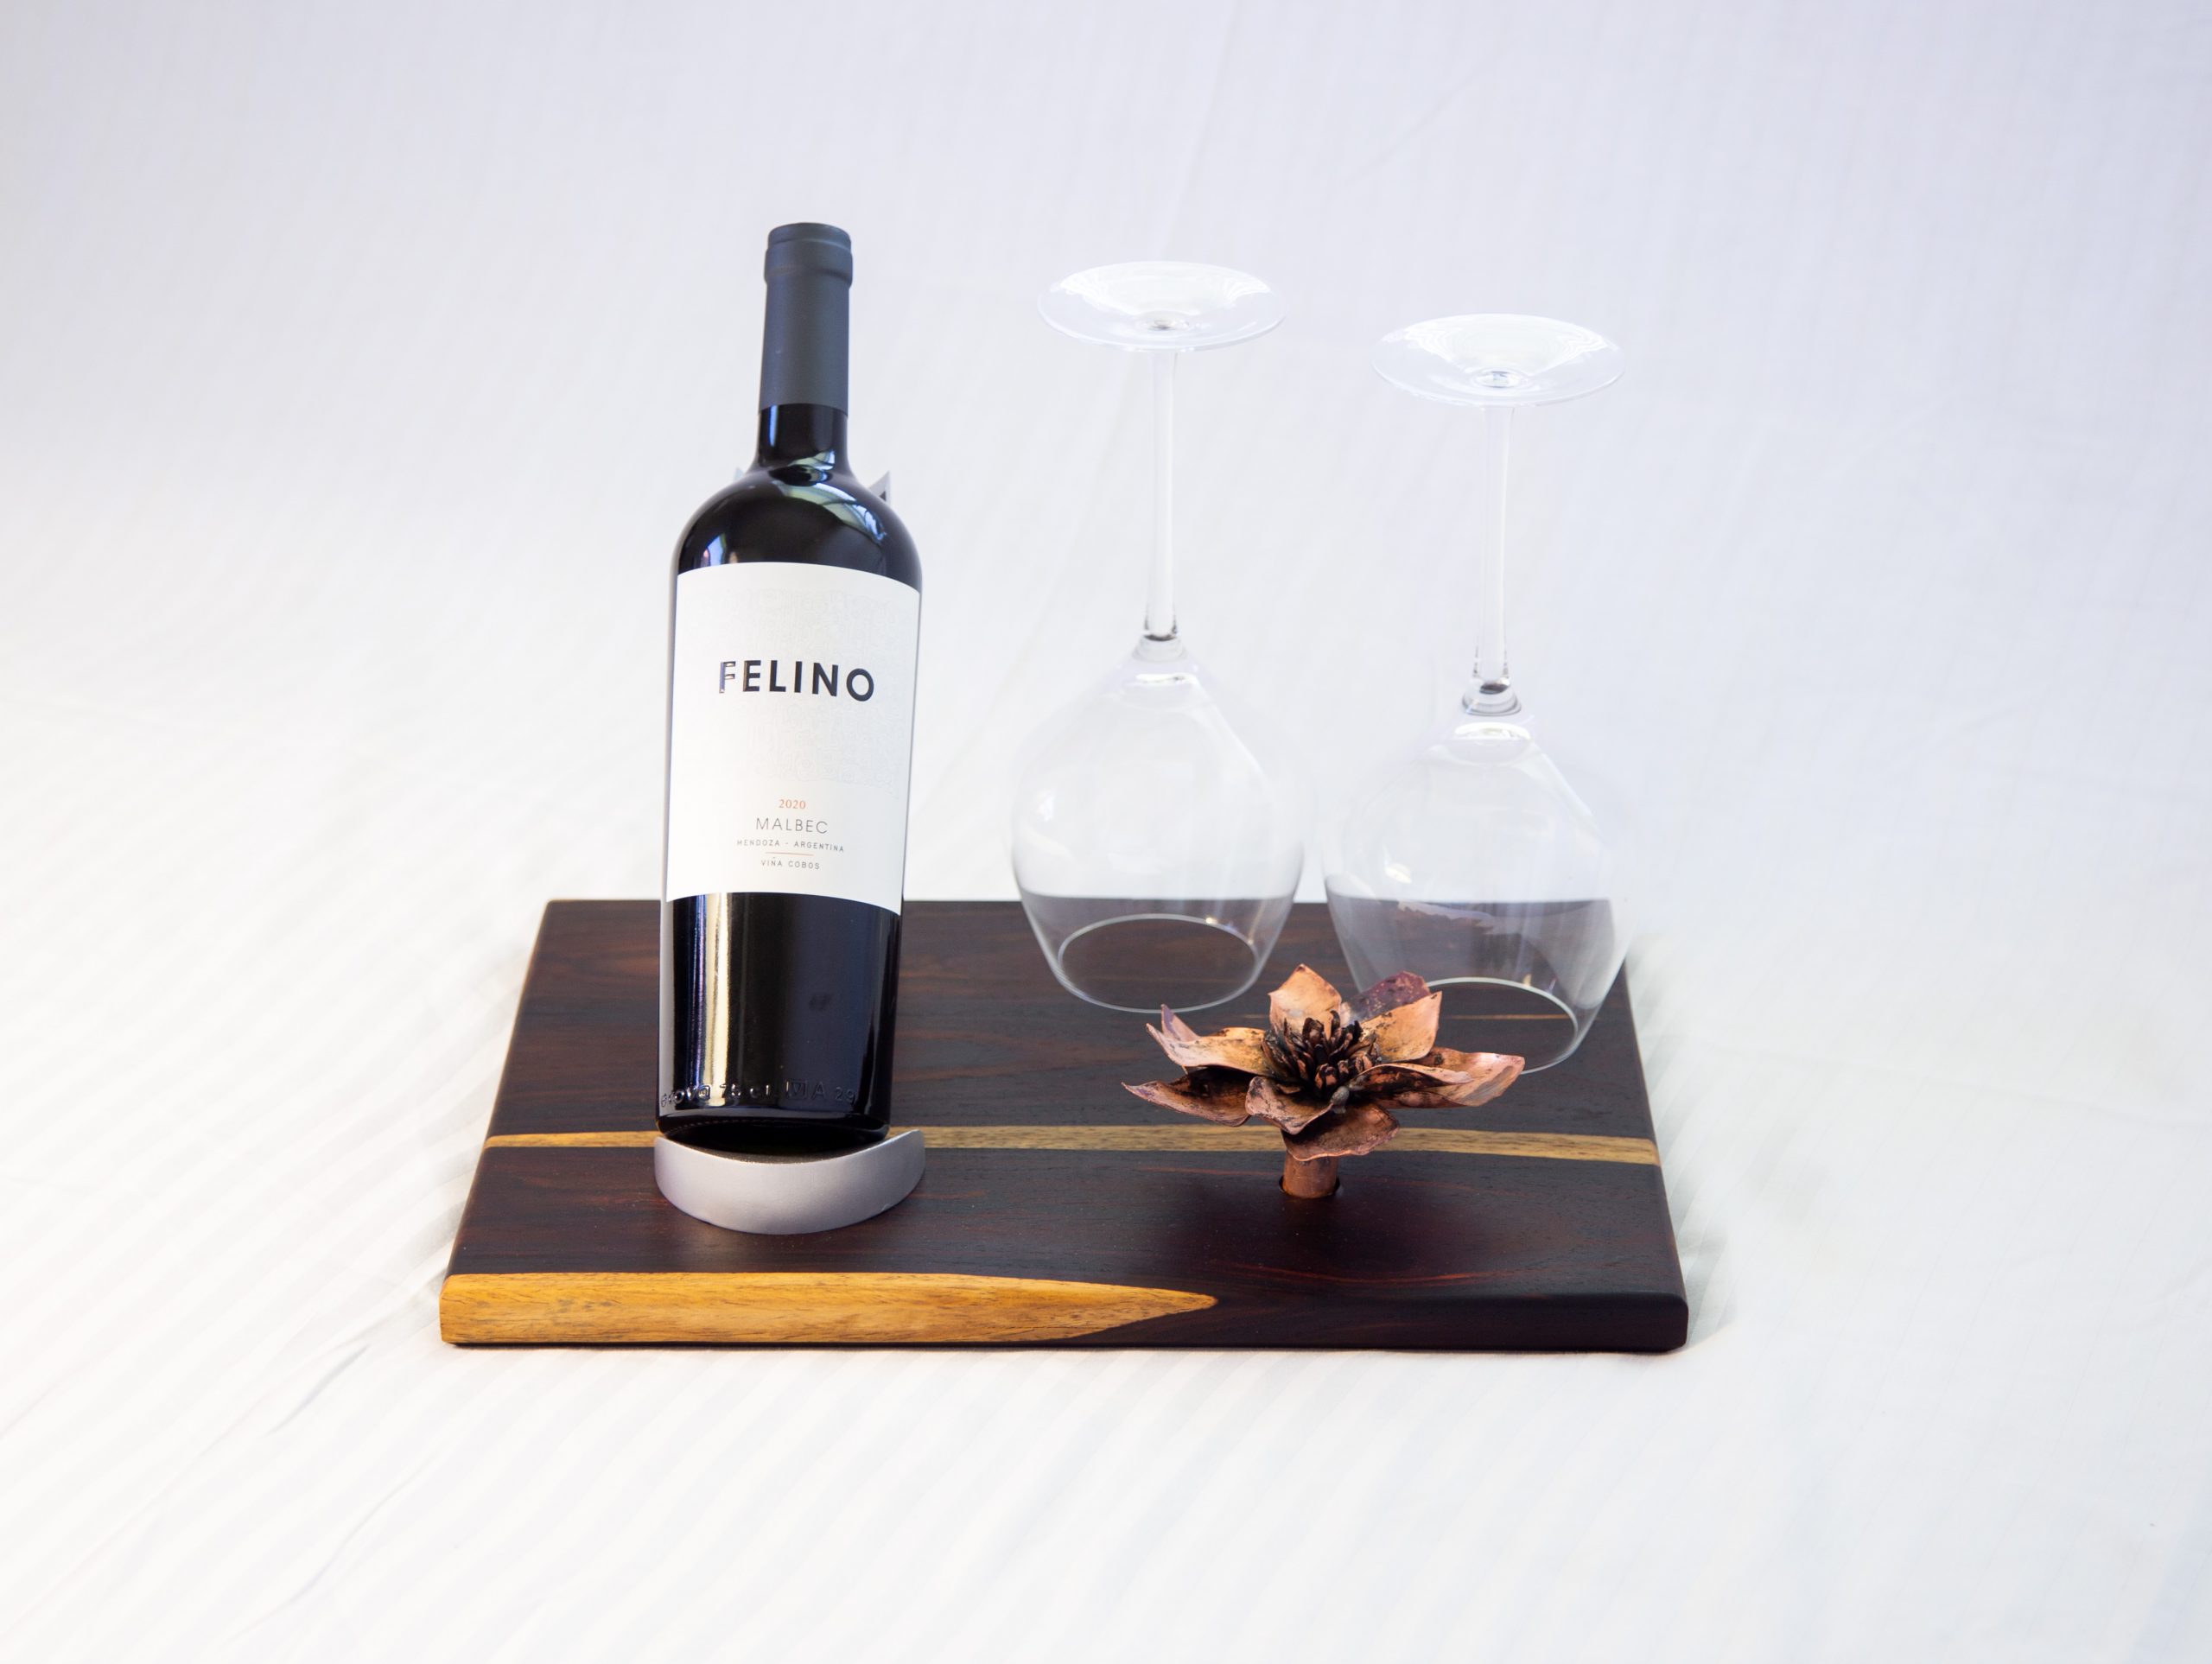
Community
Finally, there were many times throughout the quarter where I have decided to miss plans with friends to go to the PRL instead (and yes, they have teased me about it), because I genuinely loved working at the PRL–not only because I enjoyed honing my skills, but also because I found a safe and supportive community in the PRL.
Each time I came to the PRL, I would see familiar faces. I found a sense of camaraderie with the people in my coaching group and structured lab groups, as well as my “sanding group”–the people who always happened to be sanding their magnifying glass rings at the same time as me. Additionally, the CAs always made me feel so welcomed! I am continually amazed by their willingness to help and their sheer abundance of knowledge; I definitely could not have completed my project without their wisdom and motivational support!
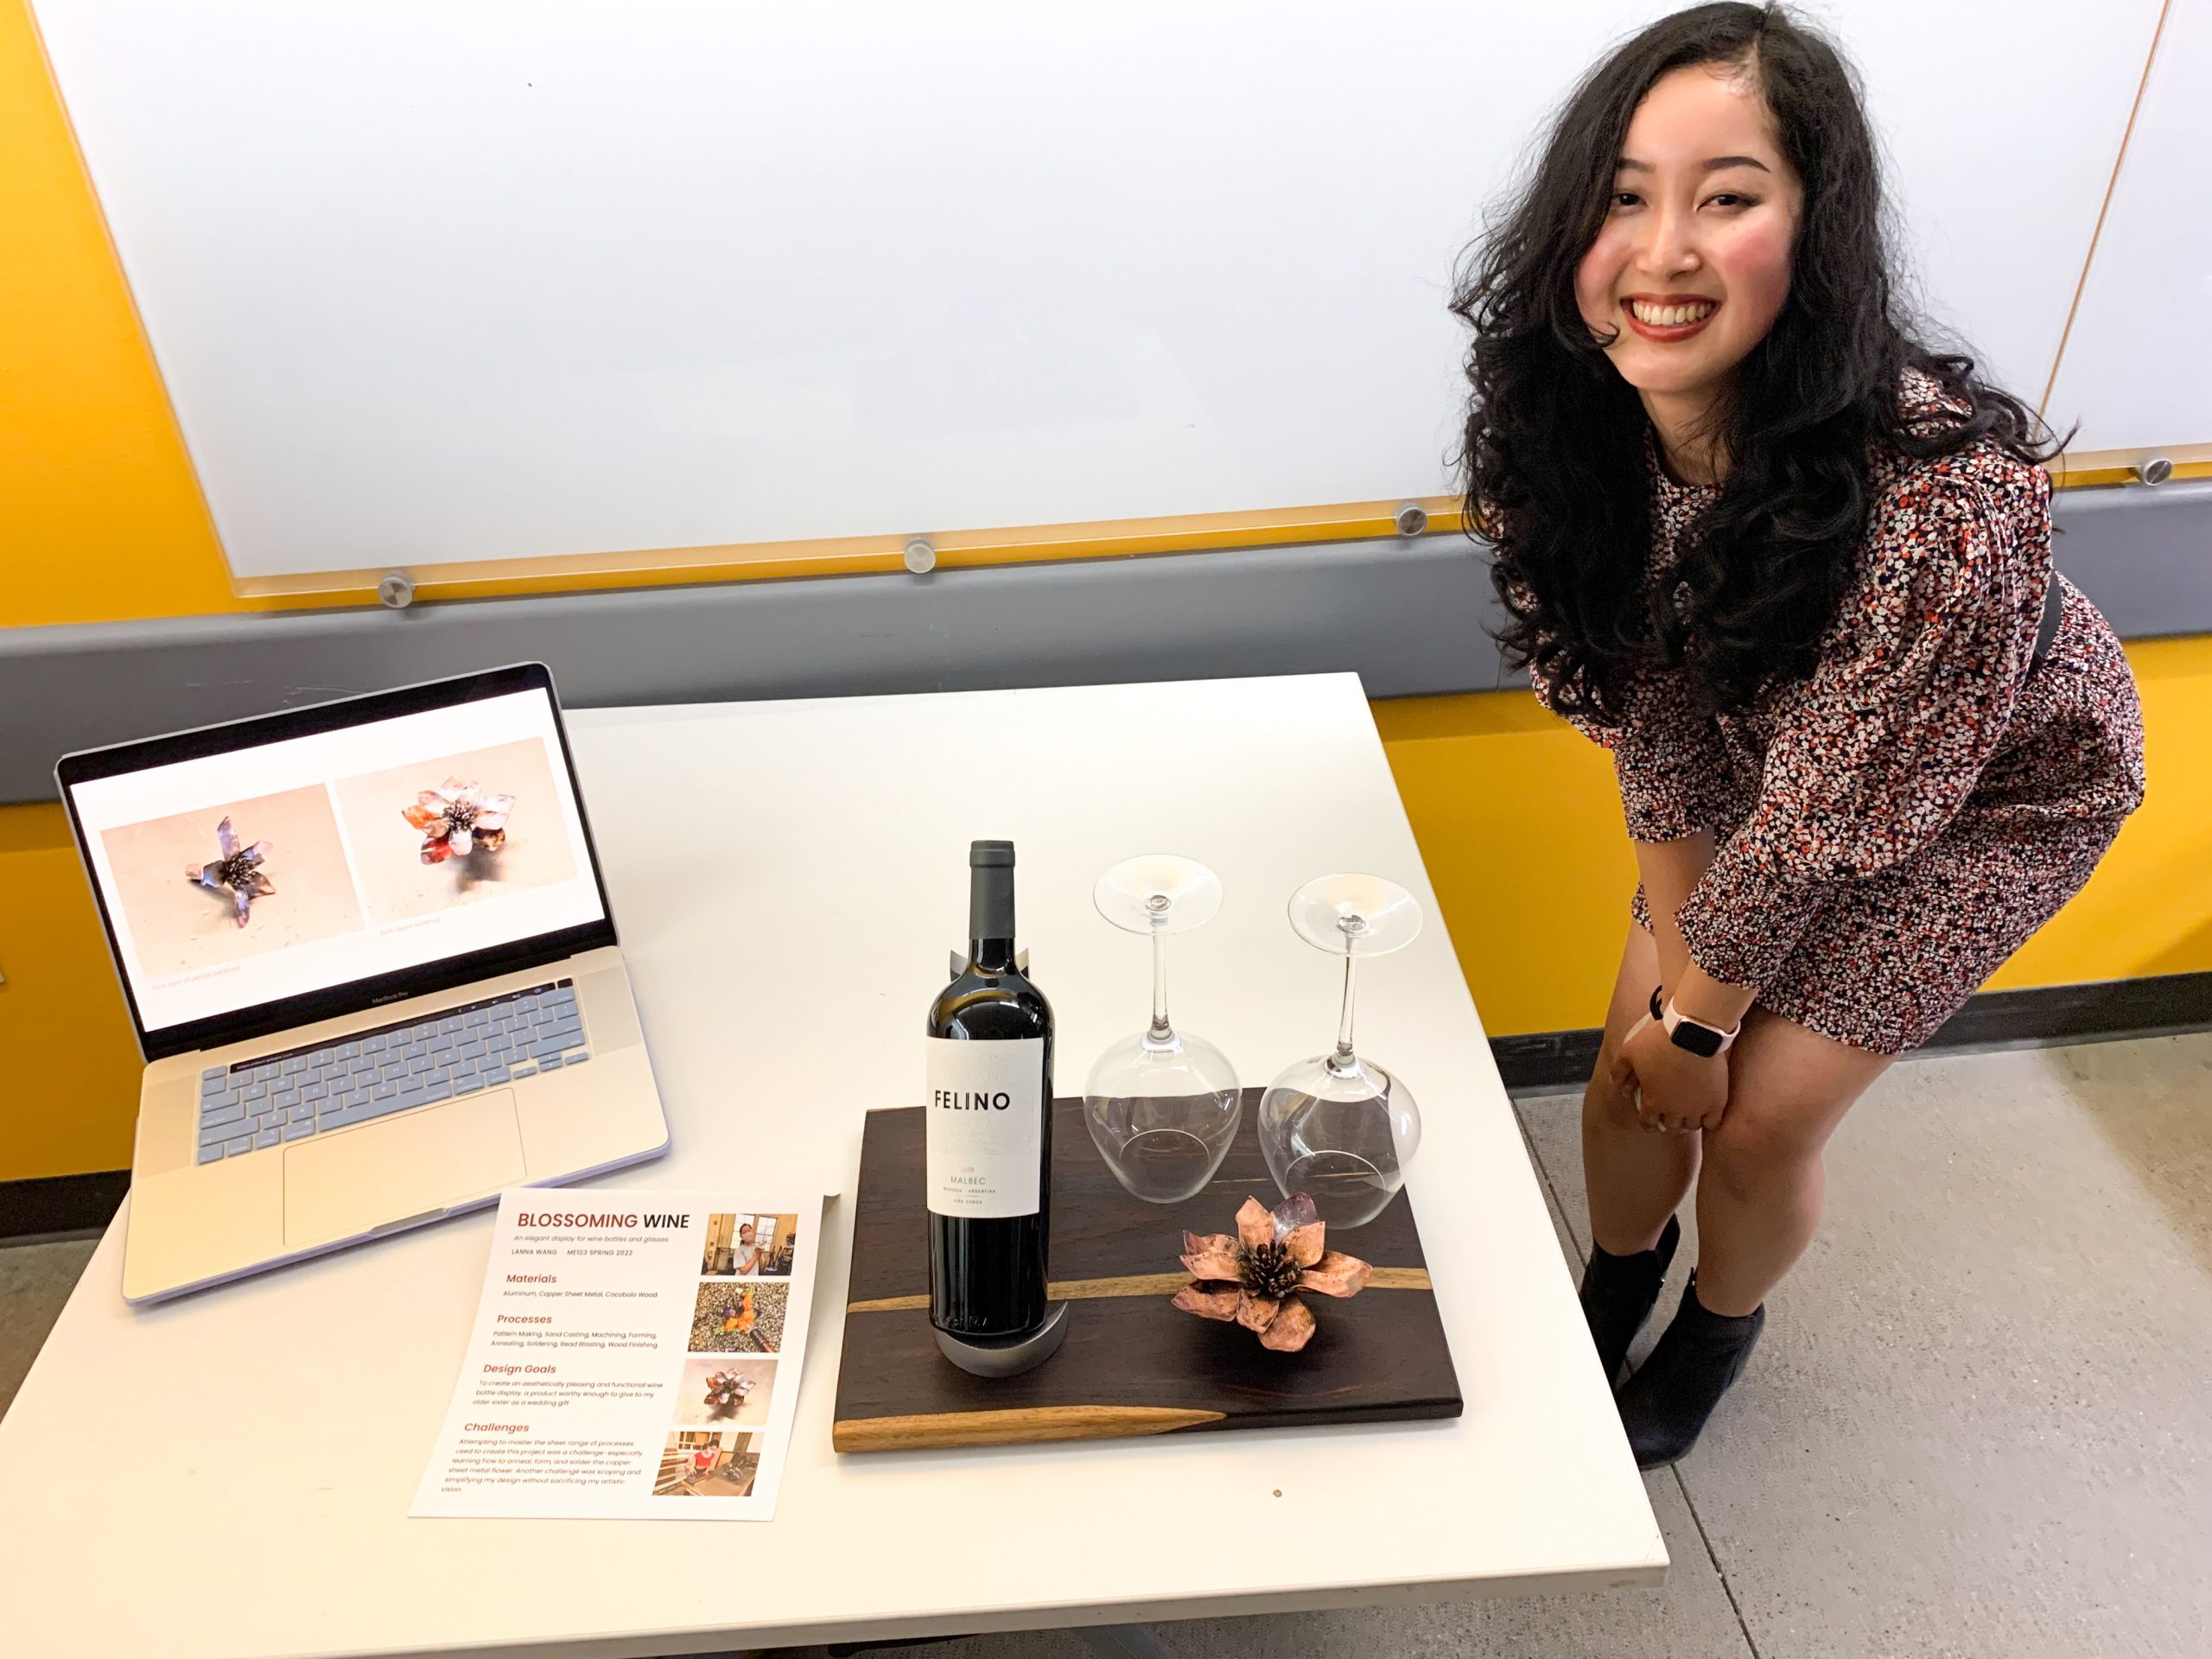
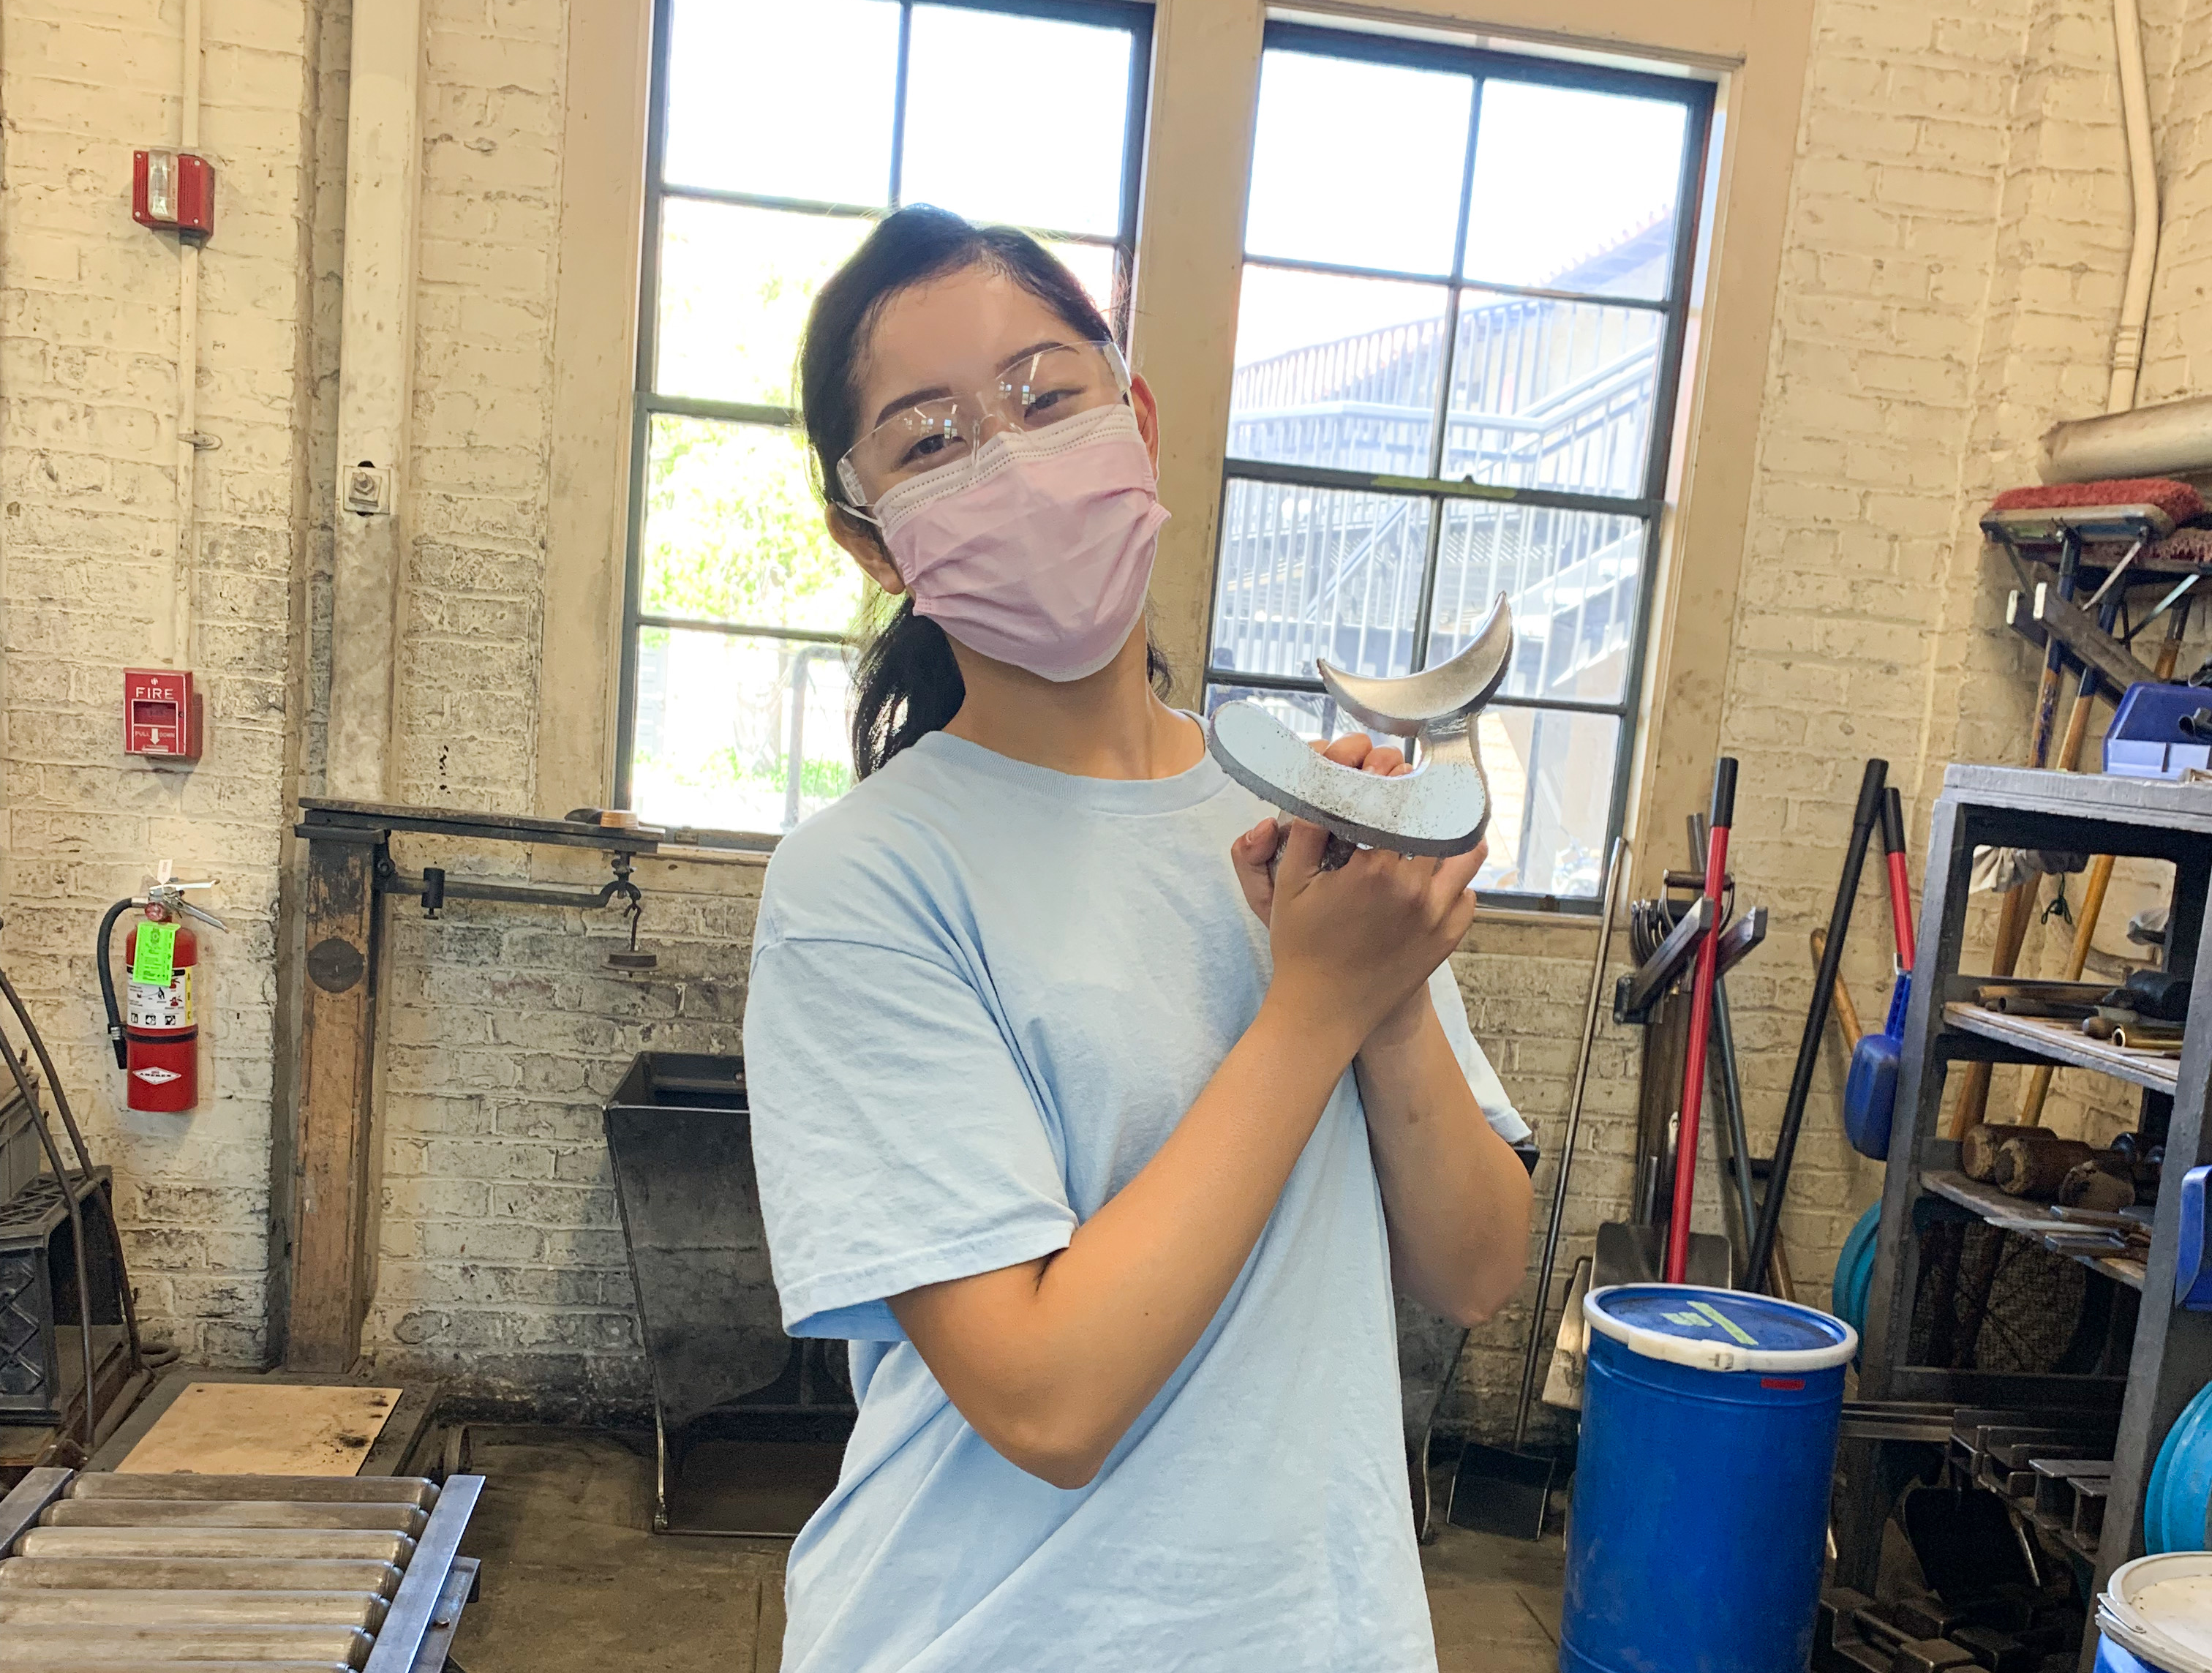
Me at Meet the Makers (where we present our final products)!!

